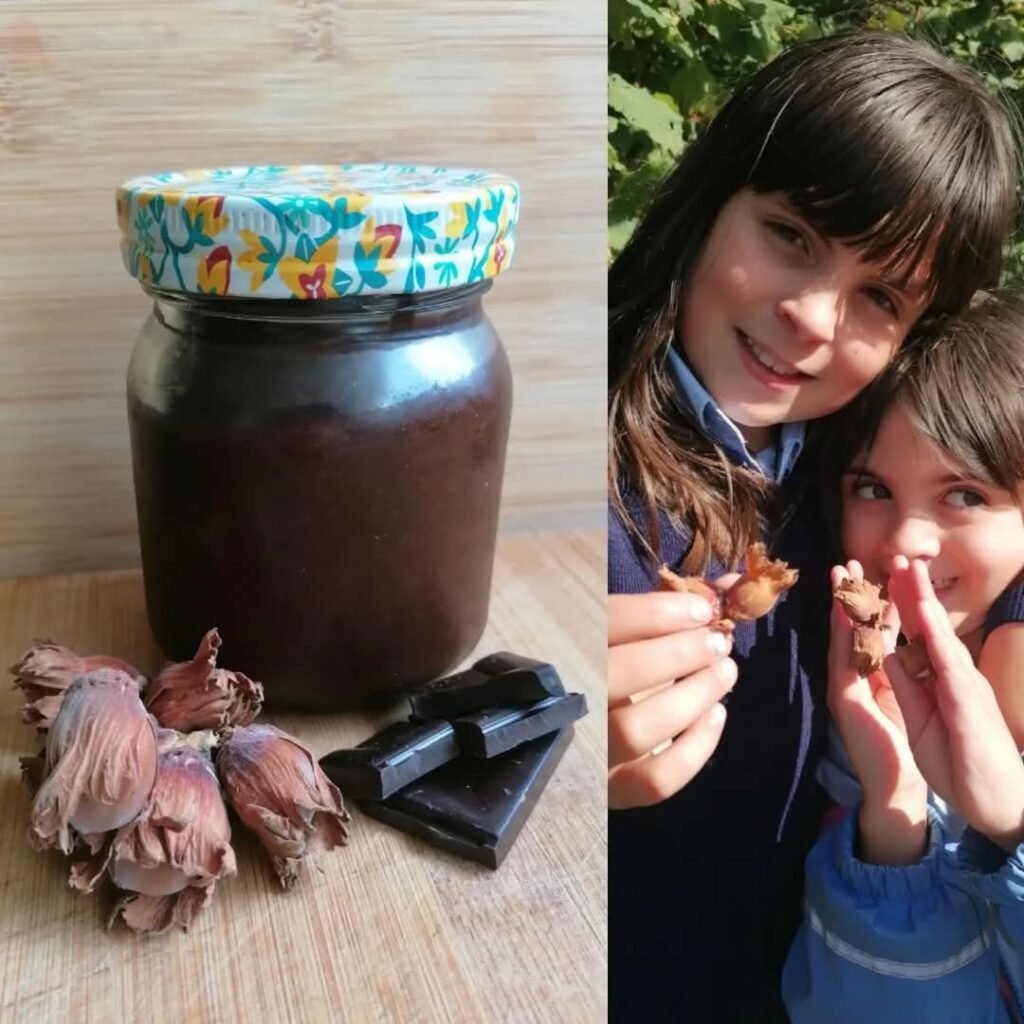
Who doesn’t love Nutella, and isn’t a sugar-free, homemade Nutella recipe every parent’s dream? We all appreciate a delicious treat, but it’s even better when it’s good for you too, a detail the kids don’t need to be alerted to, of course.
Once you have children, you start reading up on things. After finding out how bad palm oil is for you, I flat-out refused to buy the stuff. Naturally, this turned my girls into absolute Nutella fanatics. Nothing makes a jar more desirable than a mum saying no!
Then, one beautiful autumn afternoon in our local park, the penny dropped. Hazelnuts. Nutella. The same thing?! Within minutes, they were filling a backpack, and the fate of my kitchen was sealed.
I won’t spill the whole saga here. If you’d like the full, slightly ridiculous story (shells, sore fingers and all), you can read it on my Substack: You mean these can turn into Nutella?
In the meantime, back to the good stuff. Below, you’ll find my sugar-free version, a classic one for the purists, and a few tips to keep your fingers and your sanity intact. And no, you don’t need a hazelnut bush to make it. Shop-bought hazelnuts work perfectly well.
So grab a spoon and let’s get started!
Why Hazelnuts Are Good for You
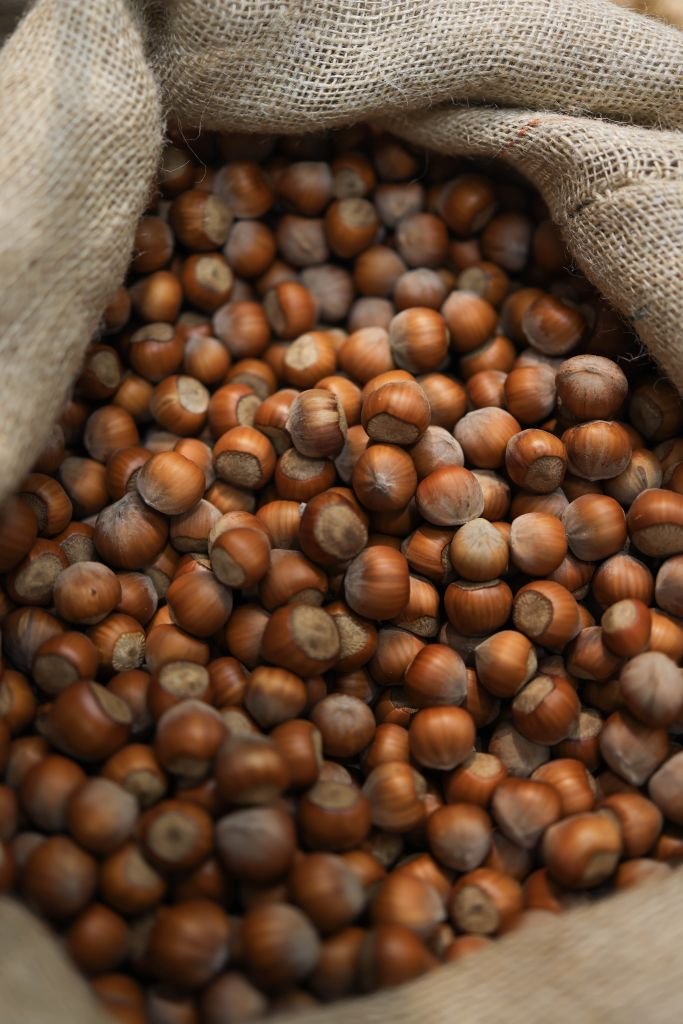
Without the hazelnut, this recipe wouldn’t exist. If those bushes hadn’t been growing in our local park, nobody would have asked what Nutella is made of, and I’d probably still be saying no to the jar. So let’s give the little nut some credit.
First, there’s vitamin E, an antioxidant that helps protect your cells from everyday wear and tear. It also supports your immune system and helps keep your skin healthy. Not a bad bonus for a spread that goes on toast!
Then there’s fiber, which is easy to overlook but really matters. It feeds the good bacteria in your gut, which helps keep your digestion running smoothly. Happy gut bacteria are a surprisingly big deal for how we feel overall.
Hazelnuts also bring healthy unsaturated fats and magnesium, which your muscles and nerves like to have around. In other words, they’re doing a lot more than just tasting good.
A word of caution, though: hazelnuts are calorie-dense, so a spoonful on toast is the plan, not the whole jar. (They are very easy to over-spoon!)
Is Dark Chocolate Healthy?
Let’s be honest: chocolate is allowed in this house. And the dark kind has a few things going for it. It’s rich in plant compounds called flavanols, which is why dietitians tend to prefer it over milk chocolate, as long as it’s enjoyed in small amounts. The general advice is to pick one with at least 70% cocoa.
Rather than take my word for it, here’s a short video that explains it better than I can:
How to Crack Hazelnuts (Without Sore Fingers)
I’ll be honest with you: there’s no secret hack for this. If there is one, we never found it! Cracking hazelnuts is slow, sore-fingered work, and the complaining is part of the process.
Here’s what worked for us. Spread the nuts on a damp kitchen towel, cover them with a second one, and take turns tapping them with a rolling pin. The towels keep the shells from flying across the kitchen. The tricky part is the force: hit too hard and you end up with a million tiny bits, too gently and nothing cracks. Expect a few rounds of trial and error before you find the sweet spot.
Make it an event, too. Put on some good music, make a big cup of hot cocoa, and give everyone a job.
What about the skins?
We roasted our nuts in the oven and rubbed off the thin brown skins by hand. It worked, but it made a proper mess!
If you’d like a tidier way, America’s Test Kitchen tested several methods and found that roasting alone loosened only about half the skins. What worked far better was boiling the nuts briefly in water with baking soda: they used about 1 cup of nuts, 3 cups of water and ¼ cup of baking soda, boiled for four minutes. Then they drained and rinsed the nuts, brushed the skins off with a towel, and dried the nuts in a 350°F (about 175°C) oven for 15 minutes. Without the baking soda, the skins were almost impossible to remove, because the alkaline water softens the bitter tannins in the skin.
We only went through all of this for the nuts the girls collected themselves. The recipe turned out to be such a hit that we started selling jars of it at farmers markets, and it became quite a success. At that point, I switched to ready-made hazelnut butter from Nuts in Bulk, which had the best prices on 100% nuts. (If you’re making a big batch, that’s a wonderful shortcut.)
Homemade Hazelnut Chocolate Spread

Ingredients
- 220 g whole hazelnuts, rosted or hazelnut butter
- 45 g dark chocolate melted
- 120 g Icing sugar
- 30 g unsweetened cacao powder
- 2 tsp Coconut oil melted
- 1 tsp Vanilla essence
- 1 tsp Sea salt optional
Instructions
If you use whole hazelnuts
- Pre-heat the oven to 170 C and roast your hazelnuts for about 10-15 minutes until golden brown
- Spread them on a kitchen towel and ones cooled rub them gently to get the skins off
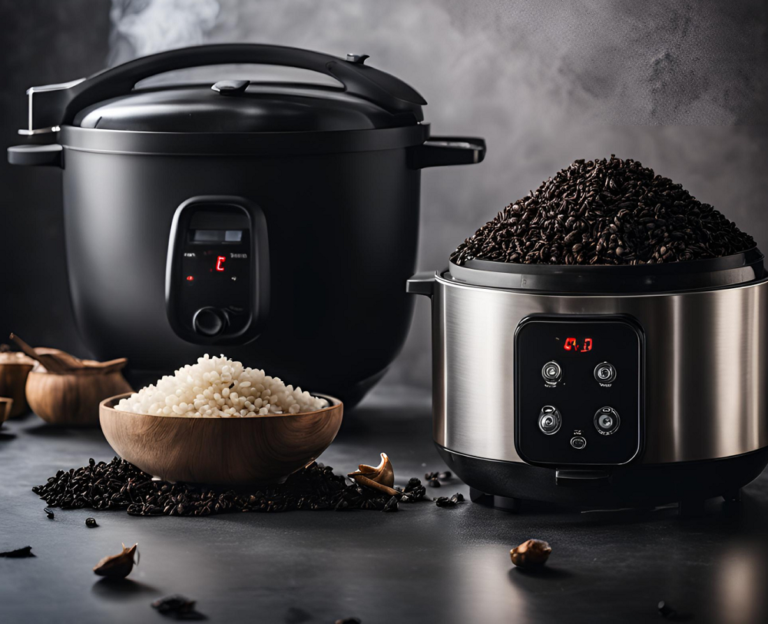
- Put them into a food processor and chop until they liquify which might take about 5 min.
- Melt the chocolate and coconut oil over water
Once you have hazelnut butter
- Add the icing sugar and cacao to the blender and mix
- Add the salt, coconut oil and melted chocolate and mix well
- Fill into sterilized jars and enjoy
Notes
- Hazelnut butter shortcut: If you use ready-made hazelnut butter instead of roasting and grinding your own, look for one that is 100% hazelnuts, with no added oils or sugar.
- Jars: For a longer shelf life, sterilize your jars first and fill them while the spread is still warm. I sterilize mine in the oven, since it’s usually hot anyway. Let the jars and lids dry fully, because moisture is what spoils homemade nut spreads.
- Storage: Keep it in a clean, sealed jar [in a cool, dark place / in the fridge] and use a clean, dry spoon each time. Best eaten within 2 weeks, I think but ours never lasted any longer.
- Texture: It will be thicker when cold, so let it sit at room temperature for a few minutes before spreading. A little oil on top is normal. Just stir it back in.
- Nut allergy warning: Contains hazelnuts. Please check with other parents before sharing with kids who aren’t your own.
Sugar-free Nutella
Ingredients
- 150 g whole hazelnuts or hazelnut butter
- 150 g dates pitted
- 60 g maple syrup
- 2 tsp Vanilla essence
- 3 tbsp Coconut oil melted
- 30 g Cacao powder unsweetened
- 3 tbsp boiling water
Instructions
If you use whole hazelnuts
- Roast your hazelnuts at about 200 C for about 15 min. (That is my oven, keep an eye on them, because you don't want them to burn, just golden with the skins cracked)
- Rub the skin off between 2 tea towel, I found, worked best. and blend them in a food processor until they turn into a wet paste
If you use hazelnut butter start here by adding it to the blender
- add the dates, maple syrup, vanilla essence and coconut oil and blend
- It'll be quiet thick, so add the boiling water one tbsp at the time until you get the consistency you like (I find 3 is good)
Notes
- Storage: Keep it in the fridge in a sterilized, sealed jar and use a clean, dry spoon each time. Without sugar to help preserve it, this version keeps for [X weeks]. If you’re making a big batch, fill small jars and keep the spare ones sealed until you need them.
- Hazelnut butter shortcut: If you use ready-made hazelnut butter, look for one that is 100% hazelnuts, with no added oils or sugar.
- Chocolate: Use [unsweetened cocoa / 100% chocolate / a sugar-free dark chocolate], because regular dark chocolate contains sugar.
- Texture: It will be firmer straight from the fridge, so let it sit at room temperature for a few minutes before spreading. A little oil on top is normal. Just stir it back in.
- Allergy warning: Contains hazelnuts. Please check with other parents before sharing with kids who aren’t your own.
Homemade Nutella FAQ
Why is my homemade Nutella gritty?
Almost certainly because the nuts haven’t been blended long enough. My first attempt was a gritty disaster. The nuts need to be blended until they release their natural oil, which turns the crumbly mix into a smooth spread, and that took a good bit longer than I expected. Be patient, scrape down the sides now and then, and keep going until it goes from crumbs to a creamy paste. (Give your blender a break if it gets warm.)
Can I use shop-bought hazelnut butter instead?
Absolutely, and it’s what I switched to. It skips the cracking, the skinning and the long blending, and the texture comes out smooth every time. Look for one that is 100% hazelnuts, with no added oils or sugar. I get mine from Nuts in Bulk: it’s great quality, the price is good, and it always arrives on time.
Why is there oil on top of my jar?
That’s completely normal for a spread with no stabilizers. Just give it a good stir. It will also be firmer straight from the fridge, so let it sit at room temperature for a few minutes before spreading.
How long does it keep?
In my experience, at least 4 weeks, either unopened or kept in the fridge. I always made just enough, so I can’t promise anything longer. Use sterilized jars and a clean, dry spoon each time, and if anything looks, smells or tastes off, don’t risk it.
Time to Get Spooning
So there you have it: two recipes, a few tricks for the nuts, and one very tired mum who once promised her girls Nutella and had to deliver. (Worth it. Every sticky, shell-covered minute.)
Now it’s your turn. Whether you go for the classic or the sugar-free version, grab the kids, put on some good music and expect a little complaining while you crack the nuts. It’s part of the charm, and I promise the first spoonful makes up for it.
Looking for more ways to make your children’s food a bit healthier? Have a look at my healthy breakfast muffins, with three easy recipes in one post.
And I’d love to hear from you: have you ever made Nutella from scratch, or had your own “you mean this turns into that?” moment? Tell me in the comments!