Why should learning a new language always be done through vocabulary lists and textbooks? Don’t they always say that learning by doing is the best approach? That’s exactly why I figured I’d teach kids a new language through arts and crafts, instead of handing them a list of words to memorize.
When we arrived in Germany, my girls had to start from scratch. There was no vocabulary list and no textbook. We just started using words. Nouns came first and fastest, because everything they saw had a new name. They didn’t think of it as learning vocabulary. They thought of it as naming things, and it felt like a game.
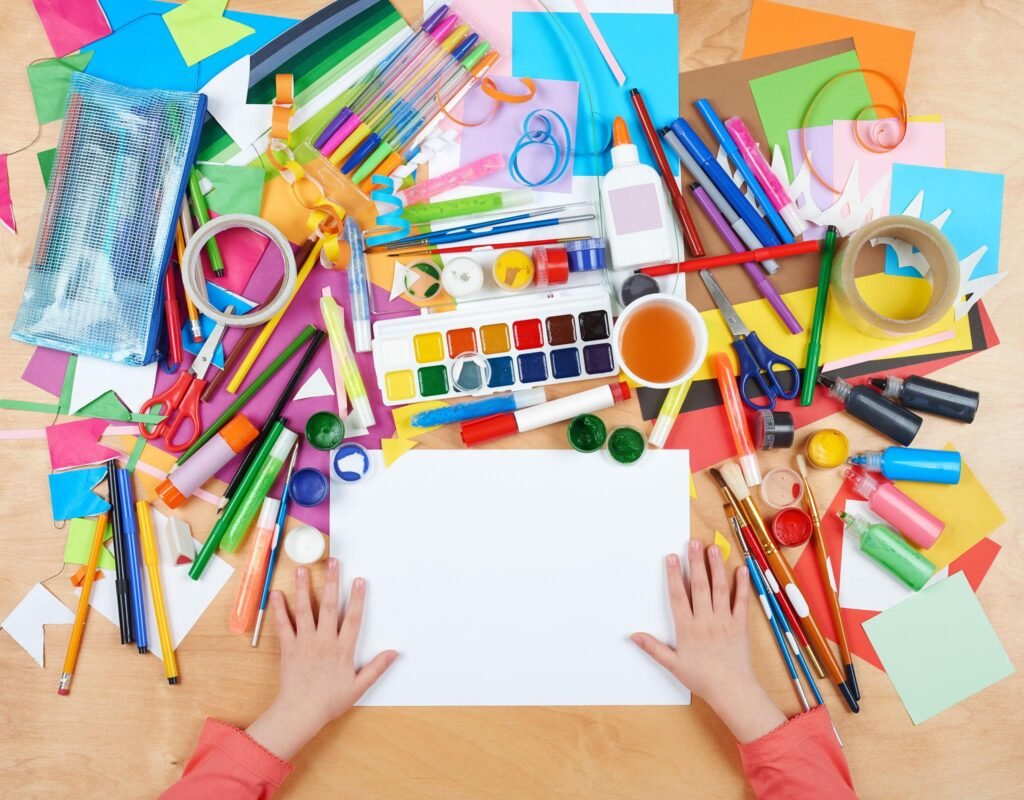
That’s the same idea behind crafting. There are scissors on the table, paper everywhere, a pot of glue that somehow ends up in the wrong place, and suddenly there is plenty to talk about.
When we sit around the table and their hands are busy making something, some of the self-consciousness that comes with speaking a new language falls away. If a word comes out wrong, it doesn’t become a big deal. We simply carry on, and that same word often comes up again a few minutes later. With another chance to hear it and say it, the pronunciation gradually becomes more natural.
The craft also gives us something to talk about: colors, shapes, numbers, animals, people, food, clothing. Instead of presenting vocabulary as a list to memorize, I can introduce words while we’re actually using them.
In this guide, I’ll show you how to turn simple arts and crafts into language-learning activities, from choosing the right vocabulary to encouraging children to listen, speak, repeat, and use the language for themselves.
What Is Creative Language Learning?
We tried the “proper” way first: a list of Gaelic words, sat down, repeat after me. It went about as well as you’d expect. The words sat there on the page looking back at us, and ten minutes later they were gone.
So our first real vocabulary sessions turned into a dress-up game instead, piling on layer after layer of clothes just so they’d remember the word for each item. Socks, jumper, coat, hat, all named and put on in a ridiculous little fashion show around the sitting room. And here’s the thing: Ruby can still recite those words today, six years later. Go figure.
That got me thinking about why crafting works so well for this. Kids touch different materials, feel the texture of a surface, cut out shapes, and repeat the same words over and over without ever noticing they’re repeating anything. One trick I use on purpose: put only one glue stick or one pair of scissors on the table. Suddenly they have to ask each other for it, by name, in the language, and that’s a whole extra round of repetition I didn’t even have to plan.
Nobody feels like they’re being tested. Their attention is on the craft, and the language slips in through the side door.
That’s creative language learning in a nutshell: kids pick up language while doing something that matters to them, not by stopping to “learn.”
The Make → Say → Play → Use Method
Once you’ve got this down, you can attach it to almost any project. It’s not complicated, and honestly, half the reason it works is because it doesn’t feel like a method at all once you’re doing it.
Make
Start the craft. Get the materials out, get hands busy. This is the setting where everything else happens, so don’t overthink it.
Say
Here’s where I do things a bit differently than you might expect. I don’t pick up the glue stick and announce, “Das ist Kleber.” That always felt a bit like a classroom, and my girls switched off the second it sounded like a lesson.
Instead, I just ask for it. As we’re making, I’ll say “Kleber, bitte” and hold my hand out, same as I would in English. No big introduction, no “repeat after me.”
The trick is in the setup. I pick projects that use the same tools over and over, scissors, glue stick, pencil, and I only ever put one of each on the table. So someone always needs to ask someone else for it. I’ll ask once or twice in German myself, and before long, they’re just copying me. Half the time they don’t even realize they’ve said a word in another language. It just slipped out, because they needed the glue stick and I had it.
Play
Once the project is finished, don’t pack it away. Use it. Have the finished thing do something, act out a tiny scene, ask a question about it. This is where the words move from “something I heard” to “something I actually say.”
Use
Once a word has stuck, I don’t go back to English for it. Ever. If Faye’s learned “Jacke,” then from that point on, it’s “Can you get your Jacke?”, not “coat.” That’s it, no switching back.
Right now, that means we speak a proper mix. Faye will quite happily say, “Can you give me meine Jacke bitte?” and to anyone listening in, it probably sounds like we’ve invented our own private language. Welcome to Denglish, people.
But here’s the thing: that mixing is exactly how the language builds. Every word we keep using instead of dropping is one less word they have to relearn later, and one more word that’s just theirs now, no big fuss. Because it happened gradually, one word slipping in at a time, they’ve never fought it or gone quiet, worried they might get it wrong. It just became part of how we talk, Denglish and all.
So don’t be put off if it sounds messy for a while. Messy is what it looks like on the way to fluent.
How to Turn a Craft Into a Language Learning Activity
Choose a Craft That Creates Opportunities to Talk
The craft itself doesn’t need to be complicated, and it definitely doesn’t need to have been designed with language learning in mind. What matters is whether it naturally gives you things to name, describe, count, choose, compare, or ask about.
A good test: as you picture yourself making it, can you already hear the questions that would come up? “Which color do you want?” “How many do we need?” “Can you pass me the…?” If a craft naturally throws up questions like that, it’s doing half the work for you already.
Decide Which Words to Teach
It’s tempting to try to squeeze a whole topic’s worth of vocabulary into one session. Resist that urge. A small group of words connected to the activity works far better than a long list.
How many exactly depends on the child, their age, and how far along they are in the language. But the number matters less than you’d think. What actually makes a word stick is hearing it and using it, again and again, inside something they’re enjoying, not how many words you managed to fit in.
A Simple Example: Felt Finger Puppets
This one came about because Faye wanted to sew something, and finger puppets were the easiest project I could think of that would teach her both sewing and vocabulary in one go.
I picked five animals, but not at random. I chose ones with different colors and different ways of moving, because that meant I could weave in verbs later once the puppets were finished and playtime started. A frog that hops, a bird that flies, a fish that swims: each one sets up its own little round of new words down the line.
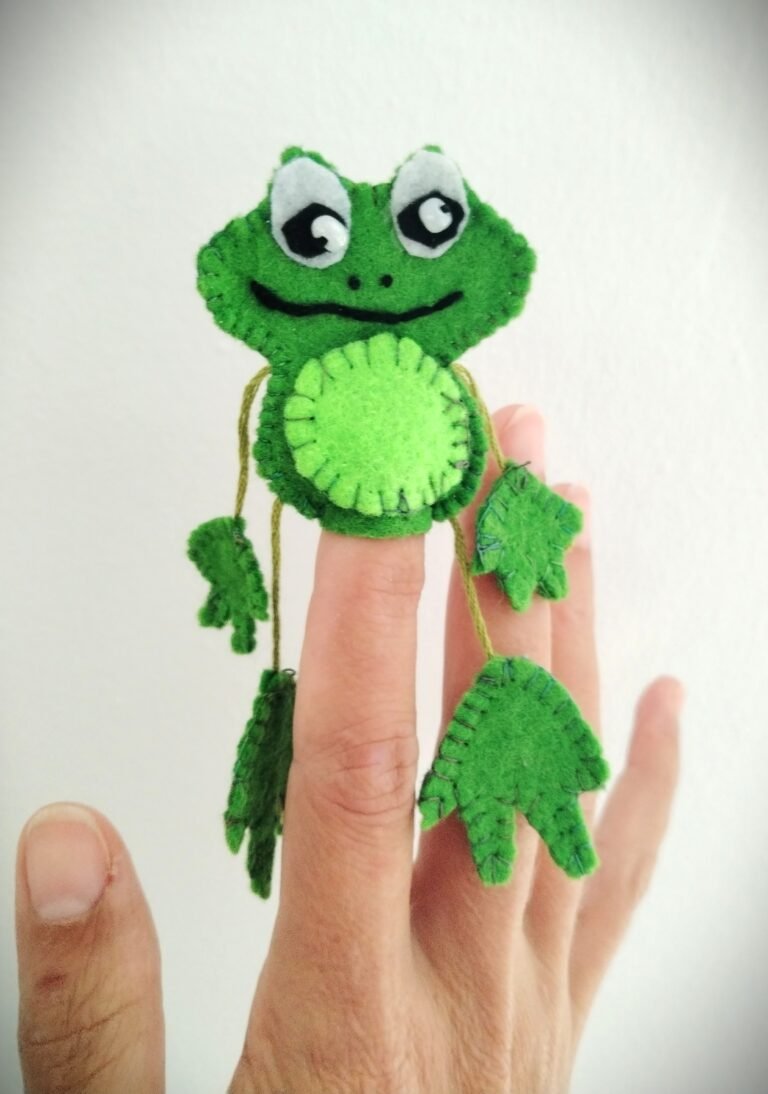
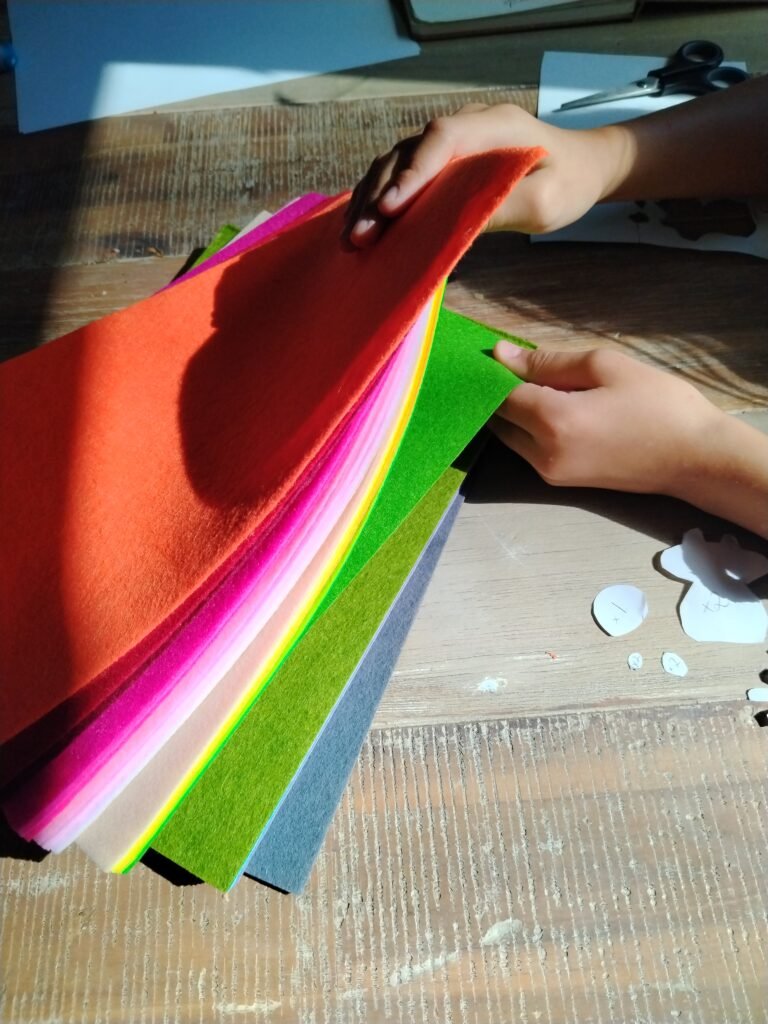
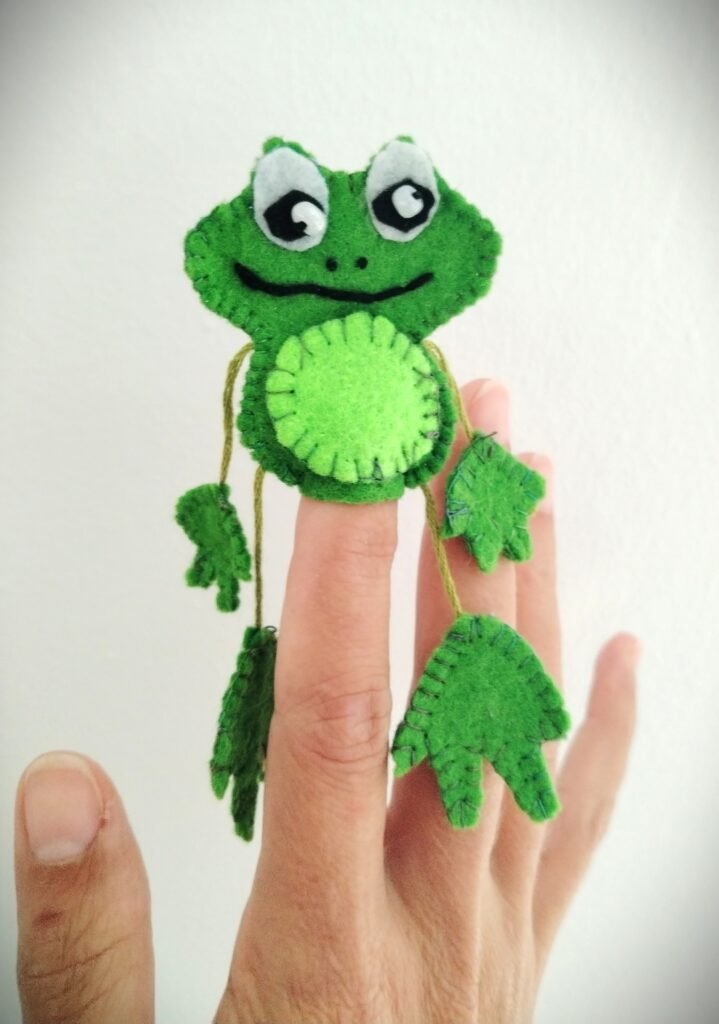
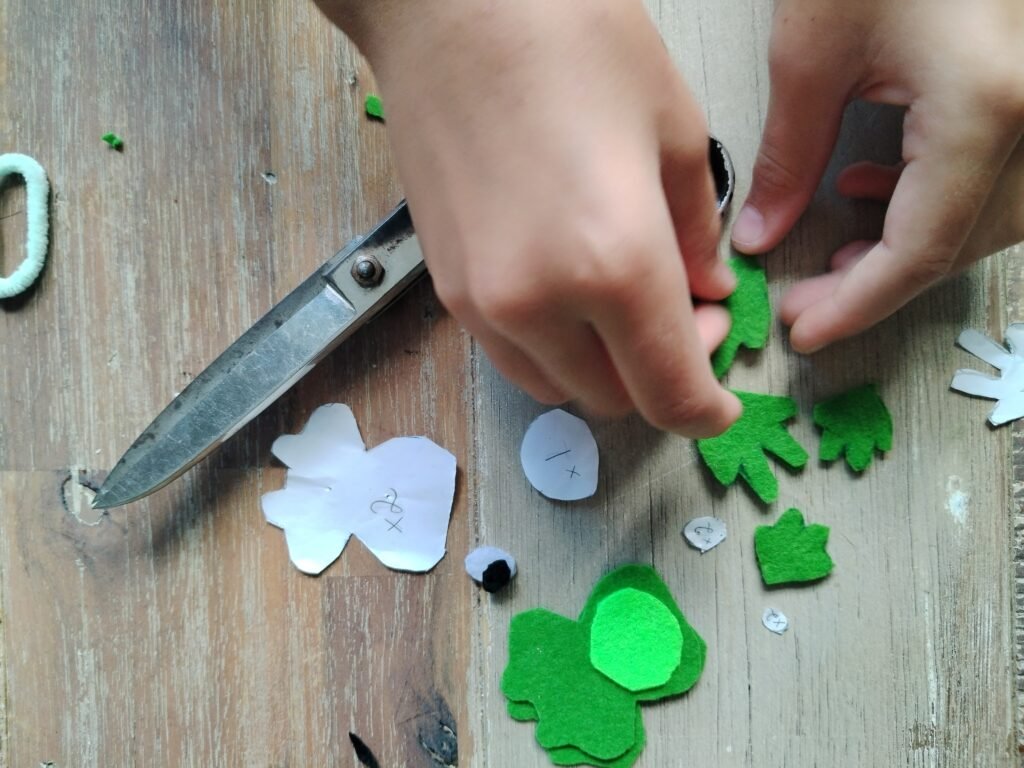
We made one puppet per session, never more. Take the frog: that session was all shapes, shades of green, and hopping. We cut ovals for the body and circles for the eyes, so “oval” and “round” came up constantly. I had two or three greens in the felt box, so we compared and picked. And once he was stitched together, he did a lot of hopping across the table, which is where “hop” stopped being a word and started being something Faye actually said while she made him do it.
Next session, a different animal, a different color, a different movement. By the time all five were finished, we’d built up a proper little vocabulary set, one puppet, one focus, at a time.
Other Language Learning Craft Ideas for Children
Felt Finger Puppets: Animals
This one’s a great starting project because it’s simple enough to finish in one sitting, and animals are a topic kids are already excited about. The word group here is rich: the animal names themselves, whether they’re furry or feathered, how each one moves, and the noise it makes. One puppet can easily give you four or five words instead of just one.
A Quilted Bag: Shapes and Colors
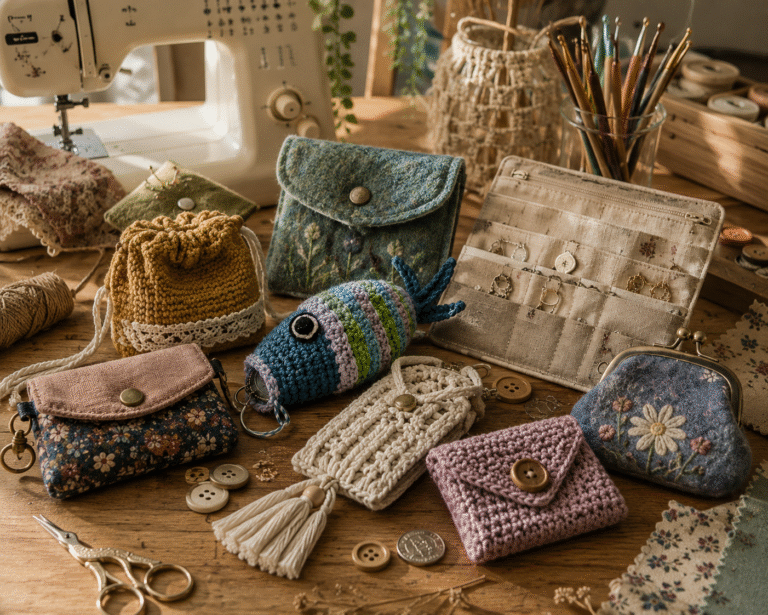
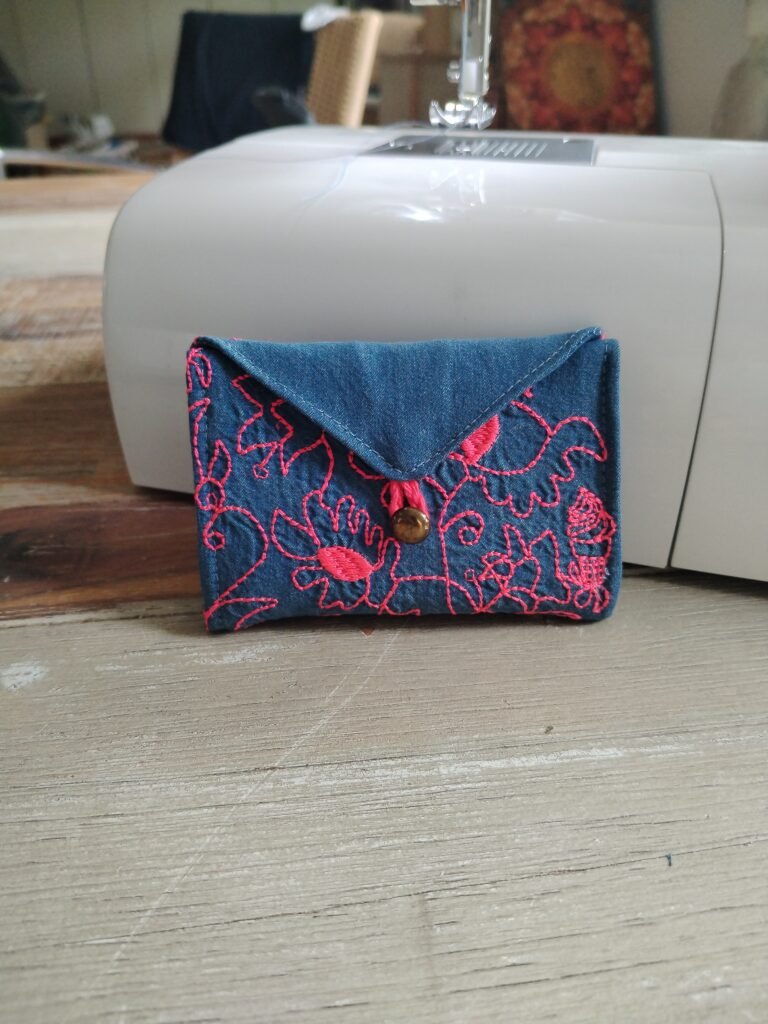
A quilted bag works well because piecing it together naturally means handling lots of small pieces of fabric, one after another, which is a lot of repetition without it feeling repetitive. The word group is shapes and sizes as you cut and arrange the pieces, plus every color in your fabric stash as you choose and match. It’s also a project the girls actually get to use afterward, which gives the vocabulary a reason to come up again later.
A Needle-Felted Project: Weather and Seasons
Needle-felting is great fun and super easy. The kids have to concentrate so they don’t stap themselves but other than that its a great way to create a sun or rain, autumn leaves are a beautiful option for crazy colour schemes.
Adapting Crafts for Different Language Levels
I always think of a language a bit like a jigsaw. The words are the puzzle pieces, and before you can do anything with them, you have to recognize what each one is. Only once that’s done does it get easier to find the right spot for it.
That’s really what adapting a craft for different language levels comes down to: how many pieces you’re handing a child at once, and how much you expect them to do with those pieces beyond just naming them.
For a true beginner, stick to recognizing the pieces. Three or four nouns tied directly to the craft, said and heard over and over, is plenty. You’re not asking them to build anything with the words yet, just to know what each one is when they see it or hear it.
Once a child has a decent handful of pieces to work with, you can start asking them to put two together. Simple phrases: “red circle,” “big fish,” “cut it,” instead of single words on their own. This is where the jigsaw starts to take shape, even if the picture’s still a bit rough around the edges.
For a more advanced child, the craft becomes less about the vocabulary and more about what they can do with it. Ask them to describe what they’re making, compare it to something else, or tell you what they’ll do with it once it’s finished. The words aren’t new anymore, so the challenge shifts to using them more freely.
What stays the same at every level is the craft itself. You’re not swapping the activity, just how much language you layer on top of it and how much you ask back.
Mistakes to Avoid When Correcting Children
One of the easiest ways to take the fun out of learning a new language is to correct a child every time they make a mistake. There are times when you do need to model the right word or pronunciation, but it doesn’t have to become a constant interruption.
If a child says a word incorrectly, I’ll usually just repeat it back naturally, the correct way, and carry on with the activity. They get another chance to hear it right, without ever feeling like they’ve done something wrong.
The same goes for grammar. In the beginning, I cared far more about getting the girls comfortable with the words than making sure every sentence came out grammatically perfect. The craft gave us plenty of repetition, and repetition gave them plenty of chances to improve on their own.
There’s also no need to introduce twenty new words just because you can. I’d rather choose a small word group that fits the craft and use those same words again and again throughout the activity.
The goal isn’t to see how much vocabulary you can cram into one sitting. It’s to give children enough meaningful exposure to a manageable group of words that they eventually start reaching for them on their own.
How to Put This Into Practice: The Felt Frog Puppet
Let me walk you through exactly how I’d plan this, using the frog finger puppet as the example. You’ll find the full step-by-step tutorial for this one linked below, but here’s the thinking behind it, broken down into six simple steps.
Choose One Craft
I picked the felt finger puppet, since it’s small, achievable in one sitting, and gives us something to actually play with once it’s done.
Choose 5-10 Words
Before I even got the felt out, I sat down and thought about the words I wanted to teach. What would the girls already know about a frog? What colors would we need? How does a frog actually move?
From there, I wrote myself a short list: Frosch, grün, hellgrün, dunkelgrün, hüpfen, lange Zunge, Teich, Kaulquappe. Frog, green, light green, dark green, to hop, long tongue, pond, tadpole. I decided these, and only these, would be said in German during the whole session.
Make
As we cut, glued, and stitched, those eight words kept coming up naturally, tied directly to what our hands were doing.
Talk
Hüpfen was the one I knew would take a bit more work, since it’s a verb, not just a label. So as we worked, I ran through the conjugation with them naturally, as part of the conversation rather than a grammar lesson: ich hüpfe, du hüpfst, er hüpft. They didn’t notice they were doing grammar. They just noticed the frog kept hopping.
Throughout the whole project, I kept steering the conversation back to those same eight words, again and again, rather than letting new ones sneak in. Repetition was the whole point.
Play
Once the puppets were finished, the real fun started. We built a little story: our frogs lived together in a pond, and they were the best of friends. One day, they got terribly bored, so they decided to hold their very own frog Olympia. Who had the longest tongue? Who could jump the furthest? Who could swim the fastest?
Review
That one little story doubled as our review, without ever feeling like one. Every word from our list got used again, Zunge, hüpfen, Teich, all wrapped up in as much imagination and giggling as we could manage. By the end, the girls weren’t remembering vocabulary. They were just playing with their frogs, in German.
Final Thoughts
Teaching a new language through arts and crafts doesn’t need a vocabulary list, a textbook, or a strict lesson plan. It just needs a craft your child wants to make, and a handful of words you’re willing to repeat until they stop feeling new.
Start small. One craft, five to ten words, and a bit of patience while the pieces of that jigsaw slowly find their place. I’ll be honest, I think I could taste blood about halfway through from all the tongue-biting I did, resisting the urge to correct every little thing. Faye had real trouble with Kaulquappe, so instead of drilling it, I had her say it five times fast, as quickly as she could. It sounds completely ridiculous at speed, and she cracked up laughing. By the end, she had it down cold.
That’s really the whole point. The words stick best when there’s a story, a game, or a good laugh attached to them, not a correction.
Make it your own. Pick a craft that suits your child, your language, and the time you’ve actually got, not the time you wish you had. And go easy on the mistakes, both theirs and yours. They’re part of how the language, and the craft, comes together.
I’d love to hear how it goes. What craft have you tried, and which word ended up being the one that finally stuck? Tell me in the comments. And if you’d like a head start, grab the free felt frog pattern below and give it a go this weekend.