There’s something healing and downright magical about standing at your windowsill, running your fingers through the soft leaves of your herb garden. Those sweet little plants we started with in “A Little Green Sanctuary: The Art of the Windowsill Apothecary” have transformed your space into a tiny slice of nature. And if you’ve mastered the advanced growing techniques from “A Little Green Sanctuary: Expanding Your Windowsill Apothecary“, your windowsill must be absolutely thriving by now! Today, we’re taking that green magic one step further.
Now, before we dive into the wonderful world of herbal preparations, let’s get something important out of the way (because I care about you!): while herbs can be powerful allies in our wellness journey, they deserve our respect and careful attention. Always research each herb thoroughly, start with small batches, and remember that natural doesn’t always mean completely safe. If you’re taking any medications or have health conditions, have a chat with your healthcare provider before experimenting with herbal remedies.
For those of you just joining our Little Green Sanctuary series, welcome! If you’ve been following along, your chamomile flowers are probably nodding their sunny heads, and that mint might be trying to stage a friendly takeover (they’re sneaky like that!). Perfect timing! We’ll be learning how to transform these garden friends into teas that soothe, tinctures that support, and salves that heal.
Some of the links in this post are affiliate links, including links to products on Amazon. This means if you click and make a purchase, I may earn a small commission at no extra cost to you. I only recommend items I genuinely love and believe could add value to your life. Thank you for supporting this blog—it helps keep the content free and full of ideas just for you!
Basic Principles
The art of herbal medicine-making is a bit like being a kitchen scientist (but way more fun than chemistry class ever was!). Every herb has its own personality and preferred extraction method. Remember that peppermint and chamomile we started with in our first guide? They’re perfect for gentle water-based extractions like teas. Meanwhile, that robust thyme and sage you’ve been growing make fantastic oil infusions.
Understanding potency is your first step in herbal alchemy. Think of it like making the perfect cup of coffee – timing, temperature, and proportions matter! Fresh herbs generally need different treatment than dried ones (and bonus: they make your kitchen smell amazing while you’re working). The general rule is: fresh herbs need a bit more time to release their goodness, while dried herbs are more concentrated.
For example, that lemon balm you’ve been growing (isn’t it the happiest little plant?) makes a wonderful calming tea when fresh, but you’ll need about twice as much as you would of dried leaves. It’s all about learning to listen to what your plants are telling you!
Essential Equipment
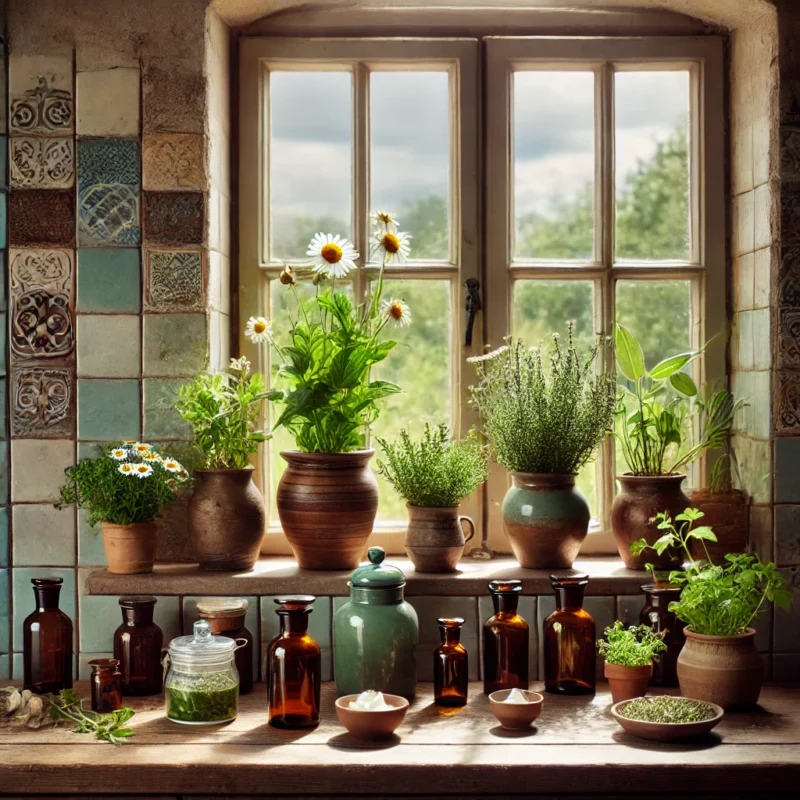
Getting your herbal workspace set up is half the fun! While our ancestors made do with whatever they had on hand (and you totally can too!), having a few dedicated tools makes the whole process feel a bit more special. Think of it as setting up your own little apothecary studio!
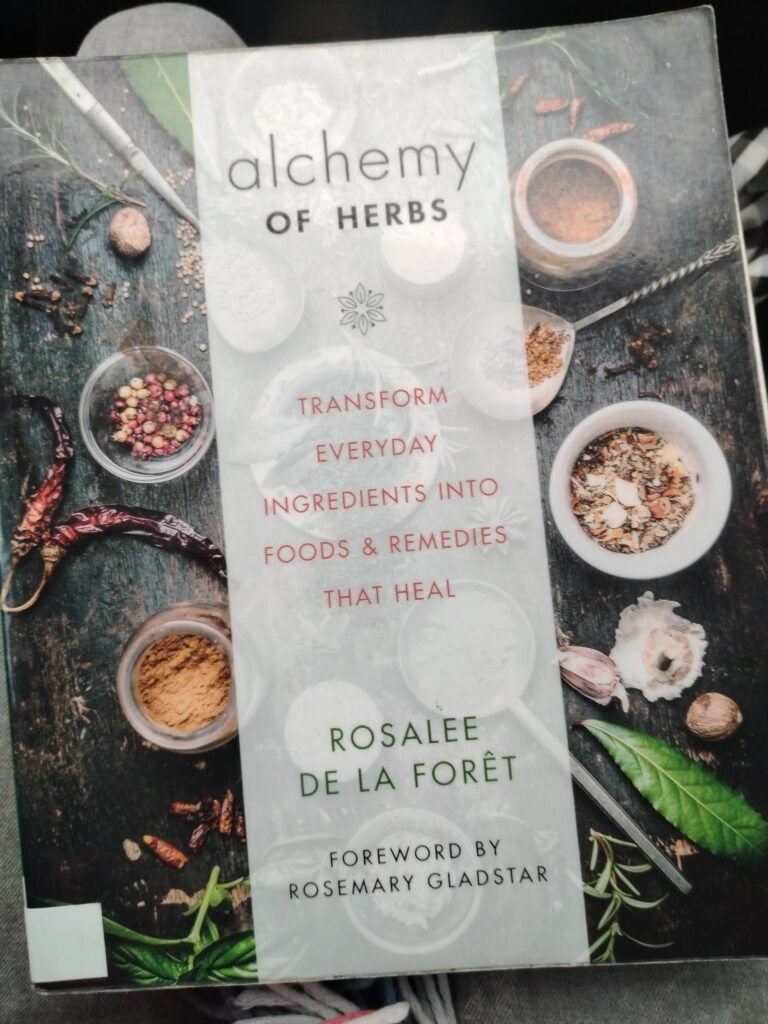
First up – your basic supplies. You’ll want some good quality measuring tools (precision matters when we’re making medicine!), a set of glass jars with tight-fitting lids (mason jars are perfect), and some straining materials. I absolutely love having both a standard mesh strainer and some good quality cheesecloth on hand. For the serious herbal enthusiast, I can’t recommend “Alchemy of herbs” enough – it’s been my go-to guide for proper measurements and ratios.
Optional tools (but oh so worth it!): A good mortar and pestle is basically your magic wand in herb-craft. There’s something deeply satisfying about grinding your own herbs, plus it makes your kitchen look absolutely enchanted! If you’re planning to make a lot of tinctures, a small digital scale will become your best friend. My personal favorite is “Rosemary Gladstar’s Medicinal Herbs: A Beginner’s Guide” – it has the most beautiful photographs of all these tools in action.
For storage, dark glass bottles are your herbal preparations’ best friends. Blue or amber glass protects those precious concoctions from light damage. Pro tip: Label everything! Trust me, you might think you’ll remember what’s in that jar, but three months from now… (speaking from experience here! 😅)
Record keeping might sound boring, but it’s actually super fun when you treat it like a spell book! A dedicated notebook for your herbal adventures helps you track what works best. “The Green Witch” has some beautiful templates you can use as inspiration for your own herbal journal.
Safety equipment is non-negotiable (because we want to keep the magic flowing safely!). Good gloves, measuring spoons used only for herbs, and clear labels are must-haves. Having “The Herbal Medicine-Maker’s Handbook” nearby is also super helpful for safety guidelines – it’s like having a wise mentor in book form!
Making Herbal Preparations
Magical Tea Making
Let’s start with the easiest (and arguably most delightful) way to use your herbs! Remember those chamomile flowers we grew from our first guide? They’re about to become your favorite bedtime ritual.
Hot Infusion Method
- Boil fresh water (not too hot for delicate herbs – let it cool for 1-2 minutes)
- Use 1-2 teaspoons of dried herbs (or 2-3 teaspoons fresh) per cup
- Cover your cup (this keeps all the good stuff from floating away!)
- Steep for 5-15 minutes depending on the herb
Cold Infusion Method
Perfect for those heat-sensitive herbs like our friend lemon balm!
- Place herbs in a jar (same measurements as above)
- Fill with room temperature water
- Let sit for 4-8 hours (I love setting this up before bed!)
- Strain and enjoy
Pro tip: Try combining that peppermint from your windowsill with some of your chamomile flowers. It’s like a spa day in a cup!
Tincture Time
Now we’re getting into the fun stuff! Tinctures are like little bottles of concentrated plant magic.
Alcohol-Based Tinctures
- Fill a clean jar 1/2 way with chopped fresh herbs (or 1/3 with dried)
- Cover completely with vodka (at least 80 proof)
- Cap tightly and shake (give it a little dance!)
- Store in a dark place for 4-6 weeks
- Strain through cheesecloth
Glycerin-Based Tinctures
Perfect if you prefer alcohol-free options:
- Use the same herb ratios as above
- Cover with vegetable glycerin instead of alcohol
- Place jar in a slow cooker with water halfway up the sides
- Let it do its thing for 24-48 hours
- Strain and bottle
For the serious tincture enthusiast, “Making Plant Medicine” by Richo Cech is absolutely worth having on your shelf!
Salves & Balms
This is where you get to play kitchen witch (my favorite part)!
Basic Salve Method
- Infuse herbs in oil (olive or sweet almond work great)
- Fill jar 1/3 with dried herbs
- Cover with oil
- Let sit 4-6 weeks OR use slow cooker method (3-4 hours)
- Strain through cheesecloth
- Add beeswax (general ratio: 1 oz wax to 8 oz oil)
- Pour into containers
- Let cool completely before using
Pro tip: That thyme we grew makes an amazing base for chest rubs, and calendula (if you added it to your garden from our second guide) makes the most gorgeous skin-loving salve!
Safety & Best Practices
Let’s chat about keeping our herbal adventures both magical AND safe (because nobody wants their kitchen alchemy to go sideways)!
Know Your Plant Allies
Remember how we talked about getting to know each herb’s personality in our first guide? Well, some herbs play better with others than some, and a few need extra special attention:
- Avoid using St. John’s Wort if you’re taking prescription medications (it’s a bit of an overachiever and likes to interfere!)
- That gorgeous chamomile? Some folks are allergic, especially if they’re sensitive to ragweed
- Pregnant? Some herbs need to stay on the windowsill and out of your tea cup
Pro tip: Keep a little notebook (I call mine my “Garden Grimoire” 😉) to track how different herbs make you feel. Your body’s wisdom is just as important as any book!
Quality Control Magic
Just like baking a cake, quality ingredients make all the difference. Here’s how to ensure your herbal creations are top-notch:
- Harvest your herbs on dry mornings (after the dew but before the afternoon heat)
- Check for any discolored leaves or unwanted garden visitors
- Clean your equipment like you’re preparing for a royal inspection
- Use filtered water for teas and tinctures (tap water can be a bit… dramatic with herbs)
For the super serious herbalists out there, “The Herbalist’s Way” has an amazing chapter on quality control that’ll take your practice to the next level!
Shelf Life Secrets
Different preparations have different lifespans (kind of like how that one aunt’s fruitcake seems to last forever, but fresh berries… not so much).
- Teas: Use fresh within 24-48 hours
- Tinctures: Can last years (alcohol is magical that way!)
- Salves: Generally good for 6-12 months
- Dried herbs: About a year if stored properly
When to Call in the Pros
Look, we’re all about kitchen witchery here, but sometimes you need to wave the white flag and consult an expert. If you’re:
- Taking prescription medications
- Dealing with a chronic condition
- Pregnant or nursing
- Having any unusual reactions
…it’s time to chat with a healthcare provider. No shame in the safety game!
Record Keeping (The Fun Way!)
Turn your herbal journey into a magical story! Create a beautiful journal (I love “The Green Witch’s Journal” for inspiration) and include:
- Harvest dates (moon phases if you’re feeling fancy!)
- Recipe details
- How the preparation worked
- Pressed leaves from your garden
- Sketches of your creations
Common Recipes – healing Kitchen Witchery Made Easy!
Let’s put all those gorgeous windowsill herbs to work! These recipes use the herbs we’ve grown together through this series. Each one is tested and approved by yours truly (and my very patient family who taste-tested everything! 😄)
Sweet Dreams Sleep Support Blend
Remember those chamomile flowers you’ve been growing? Time to pair them with your lemon balm for the perfect bedtime buddy!
Ingredients:
- Fresh chamomile flowers – 15g (about 2 tablespoons)
- Fresh lemon balm leaves – 10g (about a handful)
- Optional: 2-3 fresh lavender sprigs if you added them from guide #2!
Method:
- Place herbs in your favorite teapot (mine’s shaped like a cat! 🐱)
- Add 250ml just-boiled water
- Cover and steep for 10 minutes (perfect time to get into your PJs!)
- Strain and sip about 30 minutes before bedtime
Pro tip: Make a double batch and store half in the fridge – it’s lovely chilled on summer nights!
Super-Powered Immune Boost Tea
This is what I call my “don’t you dare, winter sniffles” blend!
Ingredients:
- Fresh thyme sprigs – 5g (about 2-3 sprigs)
- Fresh sage leaves – 5g (3-4 large leaves)
- Fresh peppermint – 10g (about 6-8 sprigs)
- Raw honey to taste (local if you can get it!)
Method:
- Strip thyme leaves from stems (therapeutic and meditative! 🧘♀️)
- Roughly chop sage
- Add all herbs to 400ml boiling water
- Steep covered for 15 minutes
- Strain and add honey while still warm
Tummy-Love healing Tincture
This blend saved me during holiday feast season!
Ingredients:
- Fresh peppermint – 30g
- Fresh lemon balm – 30g
- Fresh chamomile flowers – 15g
- Vodka (40% alcohol) – 200ml
Method:
- Chop herbs finely (the more surface area, the merrier!)
- Pack into a clean jar
- Pour vodka over herbs (like a little herb spa! 💆♀️)
- Store in dark place for 4 weeks, shaking when you remember
- Strain into amber bottles
Dosage: 1-2ml (about 30 drops) in water when needed
Garden Goddess Skin Healing Salve
Perfect for gardener’s hands (because sometimes our plant friends fight back with thorns! 🌹)
Ingredients:
- Dried calendula flowers – 30g (if you grew them from guide #2)
- Fresh plantain leaves – 20g
- Olive oil – 200ml
- Beeswax – 30g
- Vitamin E oil – 5ml (preservative)
Method:
- Infuse herbs in oil using slow cooker method (3-4 hours on low)
- Strain through cheesecloth (squeeze every last drop!)
- Add beeswax to warm oil
- Stir until melted
- Add vitamin E
- Pour into tins or jars
Want to explore the respiratory support steam blend next? It’s like a spa day for your sinuses! 🌬️
Pro tip: For anyone wanting to dive deeper into measurements and formulations, “The Herbal Medicine Maker’s Handbook” has the most amazing conversion charts and scaling guides. It’s basically the science textbook we wish we had in school!
Breathe-Easy Steam Blend
Time to turn your windowsill harvest into a spa-worthy respiratory treatment! This blend is like a warm hug for your sinuses (and trust me, your nose will thank you! 👃)
Ingredients:
- Fresh thyme sprigs – 15g (about 5-6 sprigs)
- Fresh sage leaves – 10g (6-7 leaves)
- Fresh peppermint – 20g (around 10-12 sprigs)
- Fresh rosemary – 10g (if you added it from guide #2!)
- Water – 1L
- Optional: 2-3 drops eucalyptus essential oil (for when you mean business!)
Method:
- Bring water to a rolling boil in your biggest pot
- Roughly crush herbs between your palms (warning: your hands will smell amazing! 🌿)
- Add herbs to water
- Remove from heat
- Optional but fun: create a tent with a clean towel (hello, personal spa!)
- Breathe deeply for 5-10 minutes
Pro tip: Save the leftover herb-infused water! Once cooled, it makes an amazing hair rinse (and your shower will smell like a fancy salon! 💆♀️)
Storage & Use Tips:
- Make fresh each time (this isn’t like wine – it doesn’t get better with age! 😉)
- If you’re feeling under the weather, do this 2-3 times daily
- Keep your face about 12 inches from the steam (we want to open those airways, not cook your face!)
For those who want to get really fancy (and super-organized), check out “The Complete Book of Essential Oils and Aromatherapy” – it’s got amazing blend recipes and the science behind why they work!
Fun variations:
- Summer allergies? Double the peppermint
- Winter blues? Add extra sage
- Just want to feel fancy? Toss in some dried lavender buds!
The Journey Continues: From Windowsill to Wellness
Well, my herbal adventurers, look how far we’ve come! From those first tiny seedlings (remember when your peppermint was just a wee baby?) to full-fledged kitchen witchery. I’d say we’ve graduated from plant parents to herbal alchemists!
Fun Projects to Try Next
(Because let’s be honest, this hobby is addictive!)
- Start an herbal recipe swap group (I started one at my local library and now we’re like a coven of kitchen herbalists!)
- Create seasonal wellness boxes (they make the BEST gifts – my mother-in-law actually smiled at Christmas! )
- Design your own tea blends (name them after your mood – my “Monday Morning Mayhem” blend is basically rocket fuel!)
Keep Learning & Growing
For those of you who’ve caught the herbal bug (the good kind!), here are my favorite resources:
- “Rosemary Gladstar’s Family Herbal” (basically my herbal bible)
- “The Modern Herbal” (warning: you might need a bigger bookshelf!)
- Your local botanical garden (they often have classes, and yes, I’m that person who takes notes on their phone while walking through the herb garden )
Finding Your Plant People
Because plant people are the best people! 🌱
- Join local herbalism groups (Facebook isn’t just for cat videos anymore!)
- Start an herb-sharing circle (like a book club, but with more tastings and less drama)
- Connect with local herb farms (fresh herbs AND new friends? Yes please!)
What’s Next?
Our little windowsill garden has bloomed into something amazing, hasn’t it? From those first tentative steps in “Getting Started with Your Windowsill Apothecary“, through the advanced growing techniques in our second guide, to now creating your own herbal preparations – you’re basically a plant whisperer!
Remember, every master herbalist started with one plant (and probably killed a few along the way – RIP to my first basil plant! ). Keep experimenting, keep learning, and most importantly, keep growing – both your plants and yourself!
And hey, if your kitchen now looks like a medieval apothecary and your family thinks you’ve gone a bit plant-crazy… welcome to the club! We meet on Thursdays (and bring tea! )
Stay magical, keep growing, and remember – the best kind of medicine grows on your windowsill!