Free Crochet Fish Coin Purse Pattern (Beginner Friendly)
Every useful thing I’ve ever made started with the slightly annoying realisation that it didn’t exist, and this little crochet coin purse is no different.
This one began at a motorway service station.
After a long drive, I desperately needed the toilet. Unfortunately, the toilet insisted on a €1 coin, and I had managed to fill my purse with every denomination except the one I actually needed. So there I was, buying a chocolate bar I didn’t want just to get the right change. By the time I finally made it through the turnstile, I was laughing at the ridiculousness of it all. The long version of the story is on my Substack, check it out for a giggle.
Somewhere on the drive home, I found myself thinking, surely there has to be a better way to keep a few coins handy.
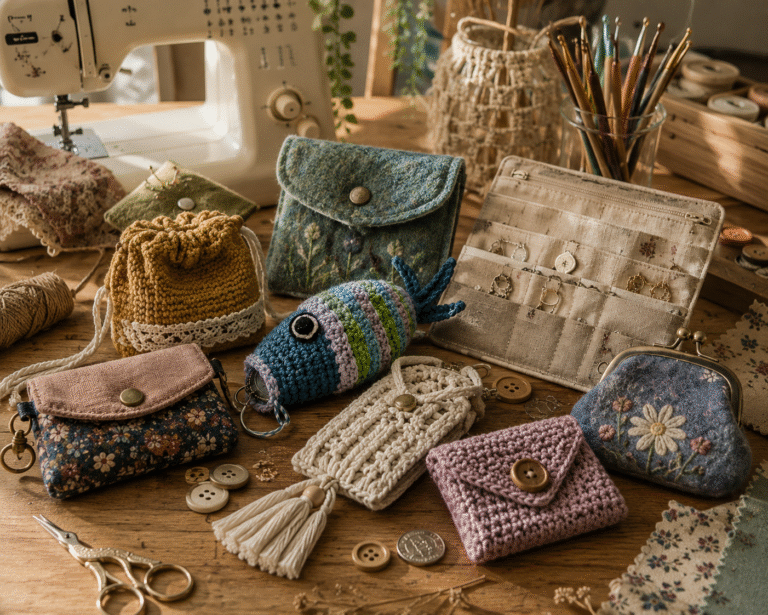
That tiny irritation started a whole chain of ideas. Before long, my handbag had acquired several little handmade organisers, each with its own purpose. But the very first was this crochet coin purse.
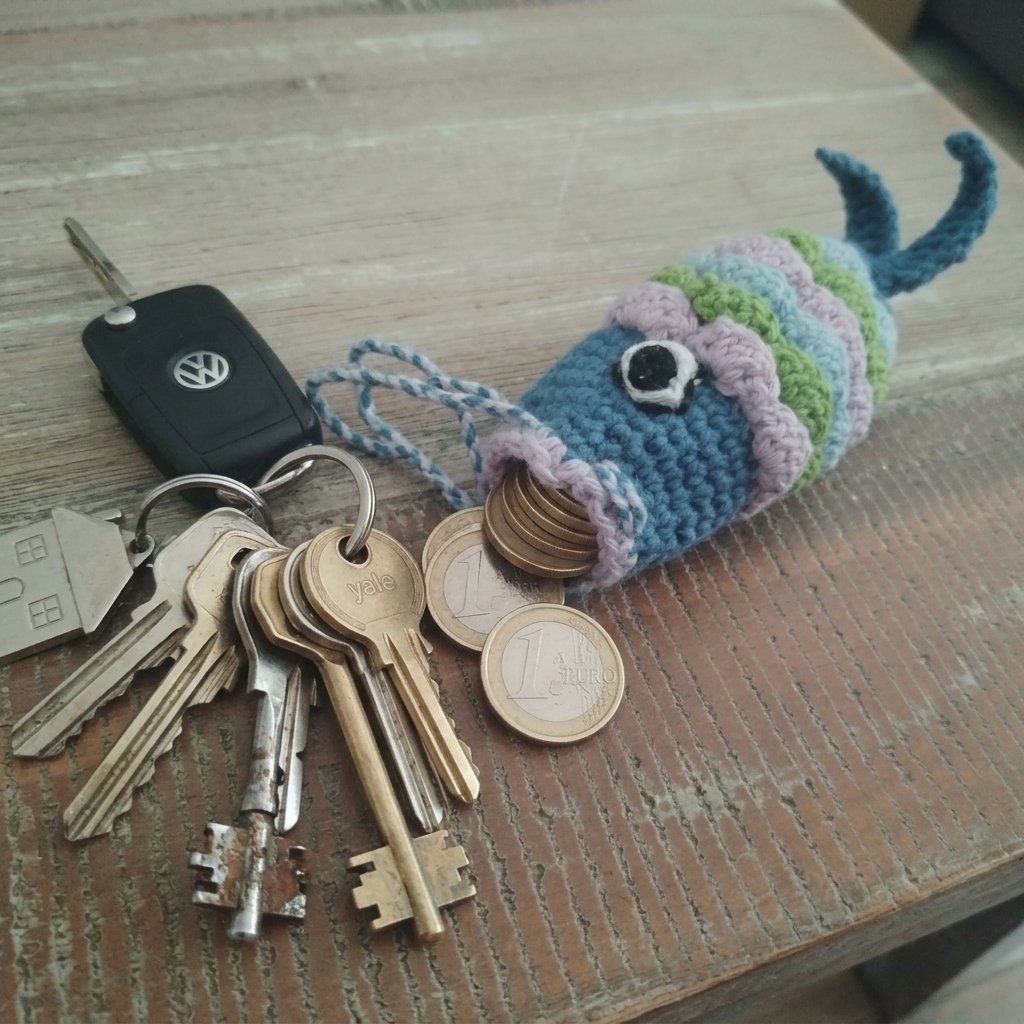
Since its job was to swallow every stray €1 and €2 coin before they disappeared into the depths of my bag, turning it into a fish felt oddly appropriate.
These days, he lives on my car keys, always ready for shopping trolleys, parking meters, or the next unexpectedly expensive public toilet. If you’d like one swimming around in your handbag too, let me show you how to make him.
Let’s get started
Skill level: Beginner Time: About 2–3 hours Finished size: Approx. 10 cm (4 in)
What you’ll need
- DK cotton yarn in multiple colours
- 3.5 mm hook
- tapestry needle
- embroidery thread
- stitch marker
- safety eyes (optional)
- scissors
Crochet abbreviations
ch = chain sc = single crochet inc = 2 sc in one stitch sl st = slip stitch
Step 1 -The body
Work in continuous rounds unless otherwise stated. Use a stitch marker to mark the beginning of each round.
Round 1: Work 6 single crochet (sc) into a magic ring. (6)
Round 2: Increase in each stitch around. (12)
Round 3: (1 sc, increase) repeat around. (18)
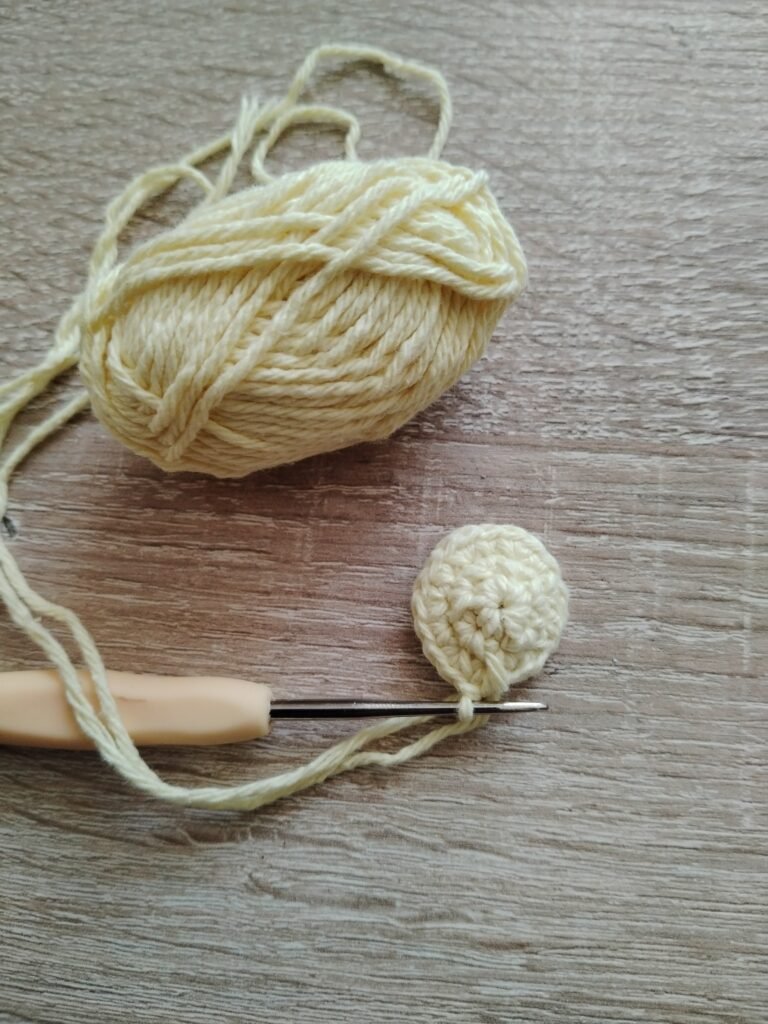
First Scale Round
The scales are worked into the front loops only of the previous round.
Round 4: (Skip 1 stitch, work 5 double crochet (dc) into the front loop of the next stitch, skip 1 stitch, 1 sc) repeat around. You should have 4 scales.
Round 5: Work into the unused back loops from Round 3. Crochet 1 sc into each back loop, working 2 sc into the centre stitch behind each scale. (22)
Round 6: Sc in each stitch around. (22)
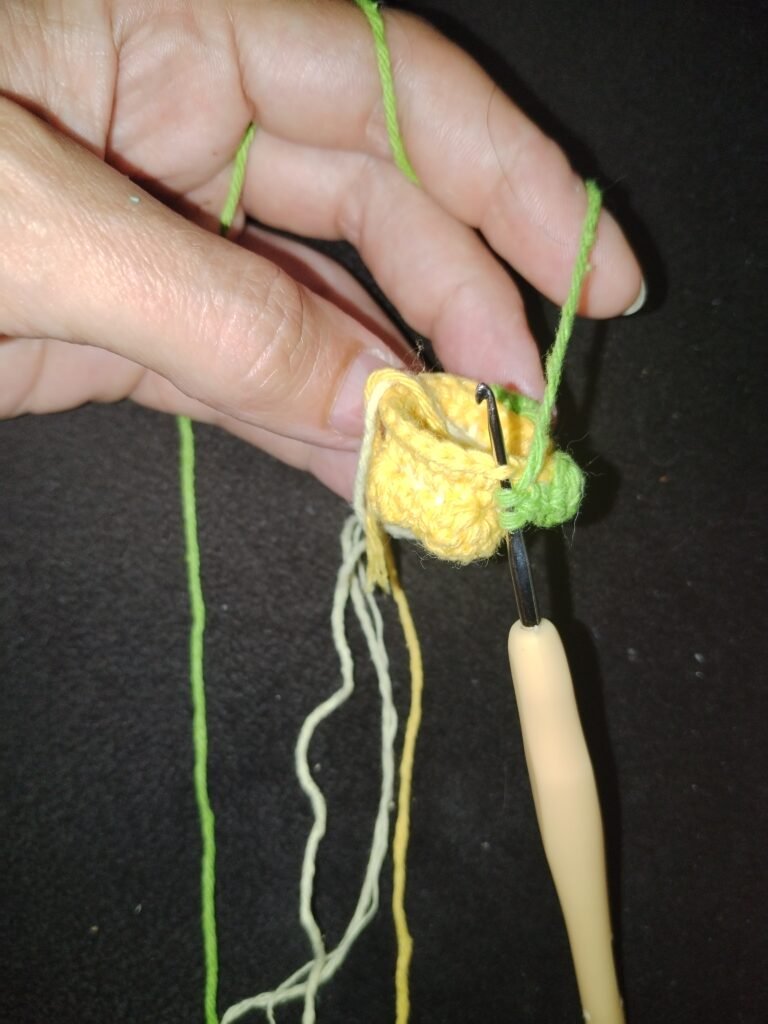
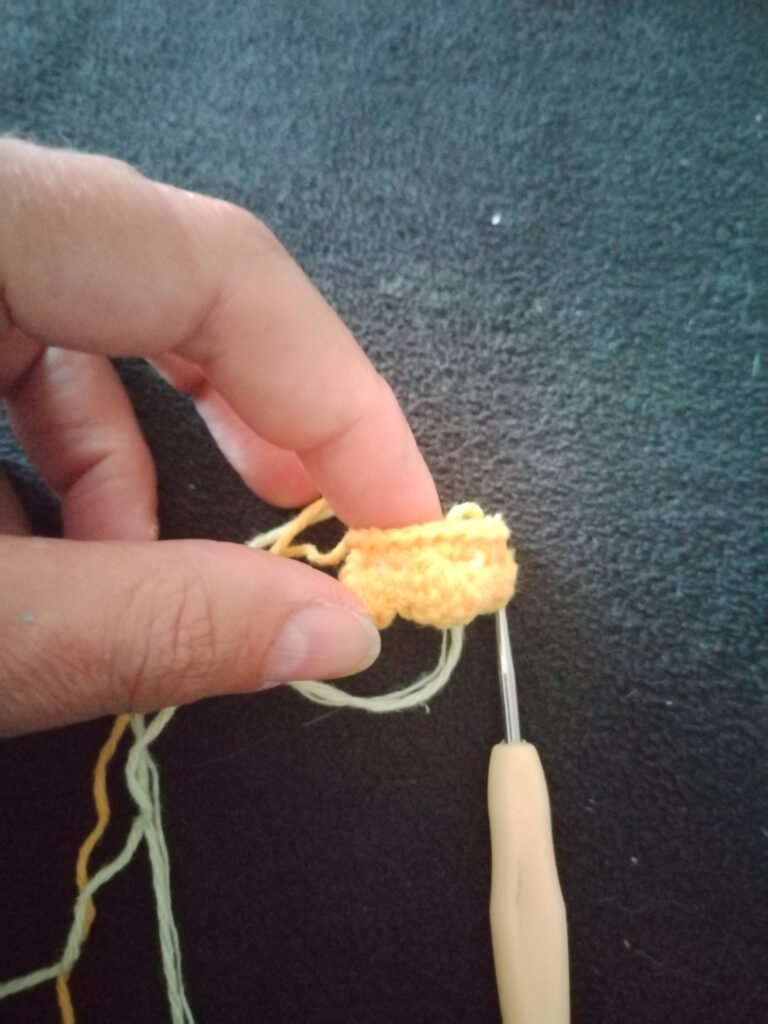
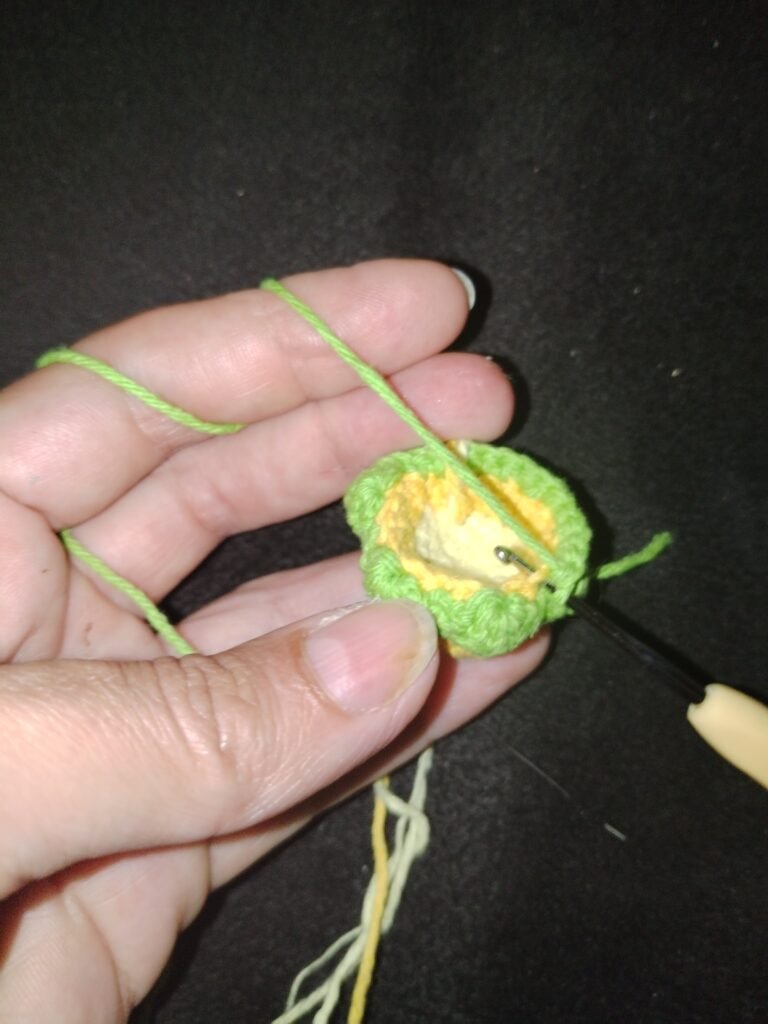
Continue the Body
Repeat Rounds 4–6 another four times.
Each time you work a plain round after the scales, crochet 2 sc into the centre stitch behind each shell to increase the stitch count by four.
On the fifth and final scale round, do not increase. Simply work 1 sc into each back loop behind the shells.
You should now have 34 stitches.
Rounds 20–26: Sc in each stitch around. (34)
Shape the Body
Round 27: Divide the round into four equal sections. Work one decrease at the beginning of each section by crocheting stitches 8 & 9, 17 & 18, 26 & 27, and 34 & 1 together. (30)
Round 28: Repeat the four decreases in the same positions. (26)
Round 29: Crochet one round of single crochet in a contrasting colour.
Step 2 – The tail (make 2)
Foundation: Chain 12.
Row 1: Starting in the second chain from the hook, work:
- Slip stitch in the next stitch,
- 2 single crochet (sc),
- 1 half double crochet (hdc),
- 2 double crochet (dc),
- 1 treble crochet (tr),
- 2 double crochet (dc),
- 1 half double crochet (hdc),
- 1 single crochet (sc),
- 1 slip stitch (sl st).
Fasten off, leaving a long tail for sewing.
Make a second tail fin in the same way.
Place the two tail fins together and sew them together halfway up the centre, leaving the outer halves free to form the forked tail.
Sew the finished tail securely to the bottom of the fish body.
Step 3 – The closure
Cut two lengths of yarn approximately three times the circumference of the opening.
Using a tapestry needle, weave the first cord through every second stitch around three quarters of the opening, leaving both ends emerging on opposite sides of the purse.
Thread the second cord through the same stitches, but begin on the opposite side and weave in the opposite direction. Again, leave both ends emerging on opposite sides.
Tie the ends of each cord together to create two separate loops.
Pull both loops at the same time to close the purse. To open it again, gently pull the loops apart.
Step 4 The eyes
I embroidered the eyes using a few simple satin stitches. First, I stitched a small white oval, then added a smaller black satin stitch over the top for the pupil. I love the soft, handmade look this gives the fish.
If you prefer, you could use pretty buttons, beads or safety eyes instead. (If you’re using safety eyes, remember to attach them before closing the body.) Small beads can also be sewn onto the scales to add a little sparkle or create a unique pattern.
Once you’re happy with your fish, weave in all remaining ends, attach the tail, and enjoy your new little companion.
A Little Fish with a Big Job
Who would have thought a tiny crochet fish could make such a difference?
Mine has been quietly travelling everywhere with me for years, collecting loose change for shopping trolleys, parking meters and the occasional unexpected toilet stop. It’s one of those little handmade things that earns its place every single day.
This little fish may have been the first, but he certainly wasn’t the last. He sparked the idea for a whole collection of small organisers, each with its own purpose, and together they’ve turned my handbag from a jumble into a place where everything has a home.
If you’d like to meet the rest of the gang, you can read Five Little Purses That Live in My Bag. You might just find another project you’d like to make next.
If you crochet your own fish, I’d love to hear how you personalise it. Whether you choose embroidered eyes, colourful scales or a little sparkle with beads, I hope your tiny companion brings you as many smiles—and saves you as much rummaging through your handbag—as mine has.