There’s something a little magical about growing your own food, don’t you think? Especially when it looks as grand and unusual as a globe artichoke. If you’ve ever wondered how to grow globe artichokes, you’re in the right place. They may look fancy, but they’re not as tricky as they seem.
We started growing them a few years ago, just for fun. Gar saw a photo of one in an old gardening book and said, “Let’s try that!” So, we did — and now they’re a regular part of our garden every year. At first, we thought they might not do well in our cool Irish climate, but with a bit of care and a warm spot, they surprised us. Now, their tall, spiky leaves and big, round buds make a bold statement near the compost heap.
What’s even better? Artichokes are perennials, which means they come back year after year — if you treat them right. In this guide, we’ll show you everything you need to know, from planting your very first seed to picking your first delicious bud. We’ll also share a few tips to help them survive winter and keep blooming strong.
So, if you’re dreaming of growing something a little different this year — something both beautiful and tasty — come along. Let’s turn a few humble seeds into something you can be proud of. And maybe, just maybe, you’ll end up with a plate of homegrown artichokes and a garden full of wonder.
Some of the links in this post are affiliate links, including links to products on Amazon. This means if you click and make a purchase, I may earn a small commission at no extra cost to you. I only recommend items I genuinely love and believe could add value to your life.
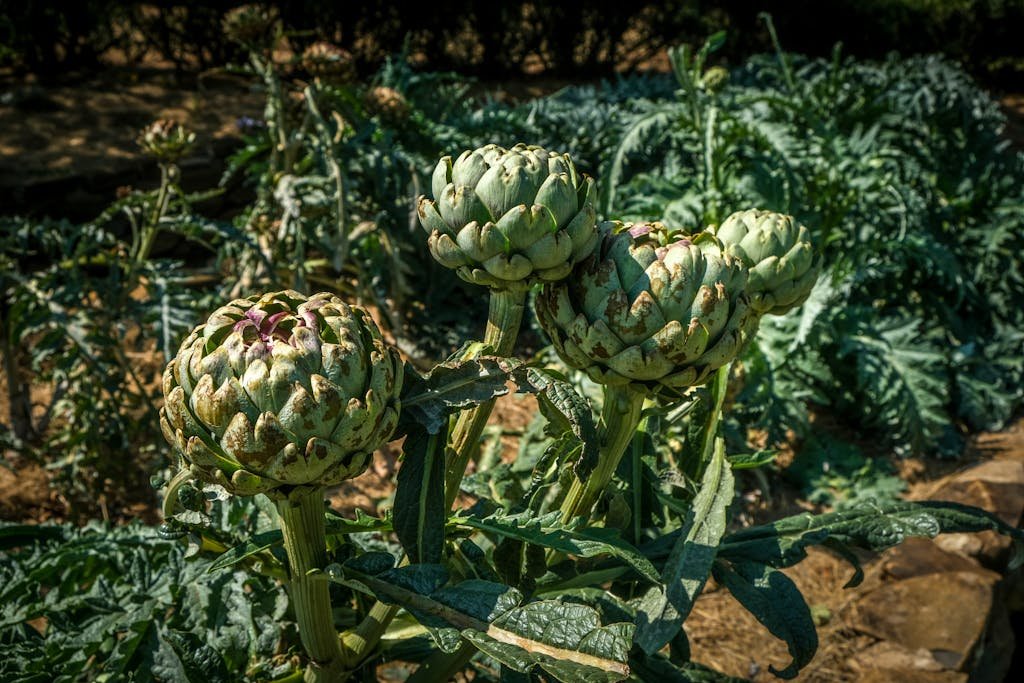
Why Grow Globe Artichokes?
There are lots of good reasons to grow globe artichokes, even if you’ve never tried before. First of all, they look amazing. With tall, silvery-green leaves and big round buds, they make a bold statement in any garden. Even better, if you live somewhere with mild winters, they’ll come back year after year. That means less work for you — and more harvests!
Next, let’s talk about how good they are for you. Artichokes are packed with fiber, vitamins, and antioxidants. That’s just a fancy way of saying they help your body stay strong and healthy. Plus, you can use them in all sorts of meals — roasted, steamed, grilled, or even stuffed with herbs and breadcrumbs. They’re delicious and versatile!
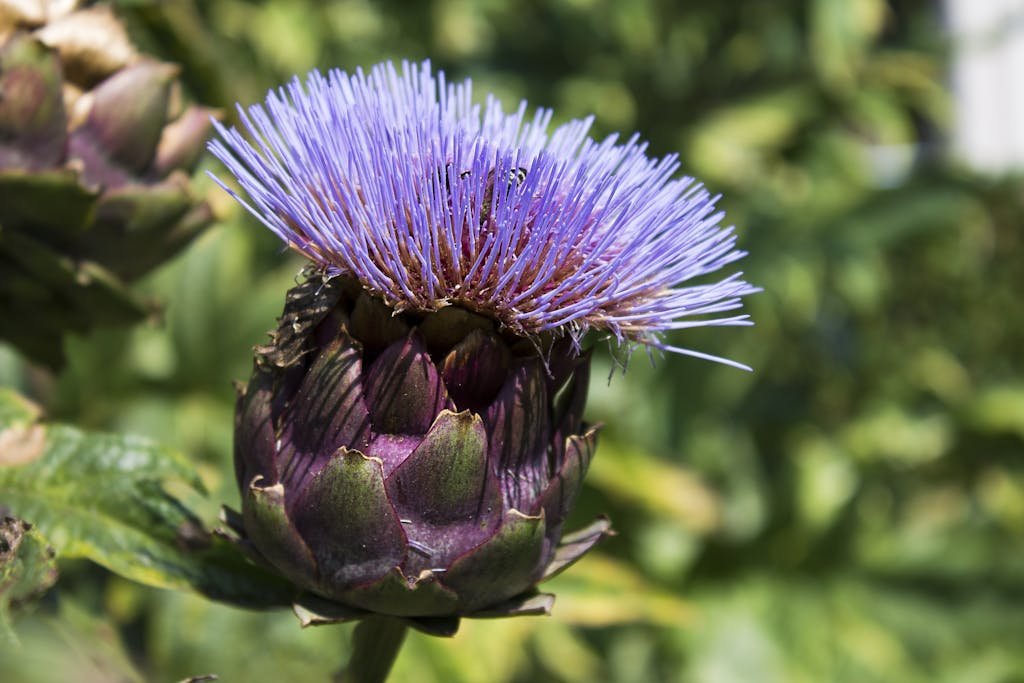
Finally, globe artichokes are tough little plants. Once they’re settled in, they don’t need a lot of water, which makes them perfect for dry spots in the garden. And if you love helping the bees and butterflies, you’ll be glad to know that artichoke flowers are pollinator magnets. Let a few buds bloom, and you’ll see your garden come to life.
So, whether you’re after beauty, food, or friendly bees, globe artichokes are a great choice. They’re more than just a pretty plant — they’re a garden hero.
Choosing the Right Variety
There are over 100 different types of globe artichokes, but don’t worry — you only need to know about a few good ones to get started. The variety you choose can make a big difference, especially when it comes to flavor, size, and how well it grows in your climate. Let’s break it down so you can find the right one for your garden.
Best Varieties for Home Gardeners
If you’re new to growing artichokes, it’s smart to start with varieties that are well-known for being reliable and tasty.
- ‘Green Globe Improved’ is a classic choice. It’s one of the most popular for a reason — big heads, tender hearts, and it grows well in many places.
- ‘Violet de Provence’ adds a splash of color with its beautiful purple heads and has a lovely, slightly nutty flavor.
These two are great for most gardens, especially if you want a mix of beauty and taste.
Good Varieties for Stuffing or Pickling
Some artichokes are better suited for certain recipes.
- ‘Romanesco’ has larger, rounder buds that are just right for stuffing. You can fill them with garlic, herbs, and breadcrumbs for a cozy dish.
- ‘Baby Anzio’ or other small-headed types are perfect for pickling. Their smaller size means they fit nicely in jars and soak up flavor fast.
So if you love cooking, think about how you’ll use them before you choose your variety.
Consider Your Climate
Before you pick a type, check what grows best in your area. Globe artichokes like mild winters and cool summers. If you live in a cold spot, look for varieties that are better at handling frost, or treat them as annuals. In warmer places, you can enjoy them as perennials that come back year after year.
Seeds, Divisions, or Starter Plants?
There’s more than one way to start growing artichokes.
- Seeds are affordable and fun, but they take longer and don’t always grow true to type.
- Divisions come from mature plants and grow faster.
- Starter plants from a garden center are the easiest option if you want a head start.
Each one works — it just depends on how patient you are and what’s available near you.
Starting Globe Artichokes from Seed
Growing globe artichokes from seed might take a little patience, but it’s worth it when those big, beautiful buds start to form. Let’s walk through the steps, nice and easy.
When to Start
First things first — timing matters. You’ll want to start your seeds 8 to 10 weeks before your last frost date. That gives your plants a good head start indoors before moving them outside when it’s warm enough. So if your last frost is in April, aim to plant seeds in January or February.
Light and Temperature
Once your seeds are planted, they’ll need warmth and light to get going. Keep the temperature around 20°C (68°F) during the day if you can. A sunny windowsill might do the trick, but a small grow light can help them stay strong and upright if light is limited. (I use this budget-friendly grow light and it does the job beautifully.)
Without enough light, seedlings can get leggy and weak — like little plants stretching too far for the sun.
Germination Tips
To help your seeds sprout faster, try soaking them in warm water for 8 hours before planting. Then, pop them into trays or small pots filled with moist seed-starting mix. Covering them with a humidity dome (like this one) helps keep moisture in and gives them a cozy greenhouse feel.
If you have a seedling heat mat, use it under the tray — artichokes love bottom heat when germinating. You should see little sprouts in about 10 to 14 days.
Hardening Off Seedlings
Before moving your young plants outside, they need time to adjust. This is called hardening off. Start by putting them outside in a sheltered spot for a couple of hours each day, then slowly increase the time over a week or two. That way, they get used to wind, sun, and cooler temps without shock.
Transplanting & Spacing
Once your globe artichoke seedlings are strong and the last frost has passed, it’s time to get them into the garden. This part feels like sending your little plant babies off into the world — exciting, but a bit nerve-wracking too! Don’t worry, they’re tougher than they look.
When to Transplant Outdoors
Wait until the danger of frost is gone and the soil has warmed up a bit. In most places, that’s about 2 weeks after your last frost date. If you’re not sure when that is, there are plenty of online tools to help you find your local frost dates.
Preparing the Soil
Artichokes love rich, well-drained soil with a pH between 6.5 and 7.5. If your soil is heavy or sandy, mix in some compost or well-rotted manure before planting. They like a bit of luxury, these plants — so give them a good start! A raised bed can help with drainage too.
Proper Plant Spacing
These plants need room to breathe. Space each one about 3 to 4 feet apart. They grow wide, like leafy thrones, and crowding them can lead to poor airflow and more pests. If you’re planting more than one row, give each row 4 to 6 feet of space.
Mulching & Watering
After planting, tuck them in with a nice layer of mulch to hold moisture and keep weeds down. Water well, and keep the soil evenly moist — not soggy, but not bone dry either. A soaker hose or gentle watering wand works great for this.
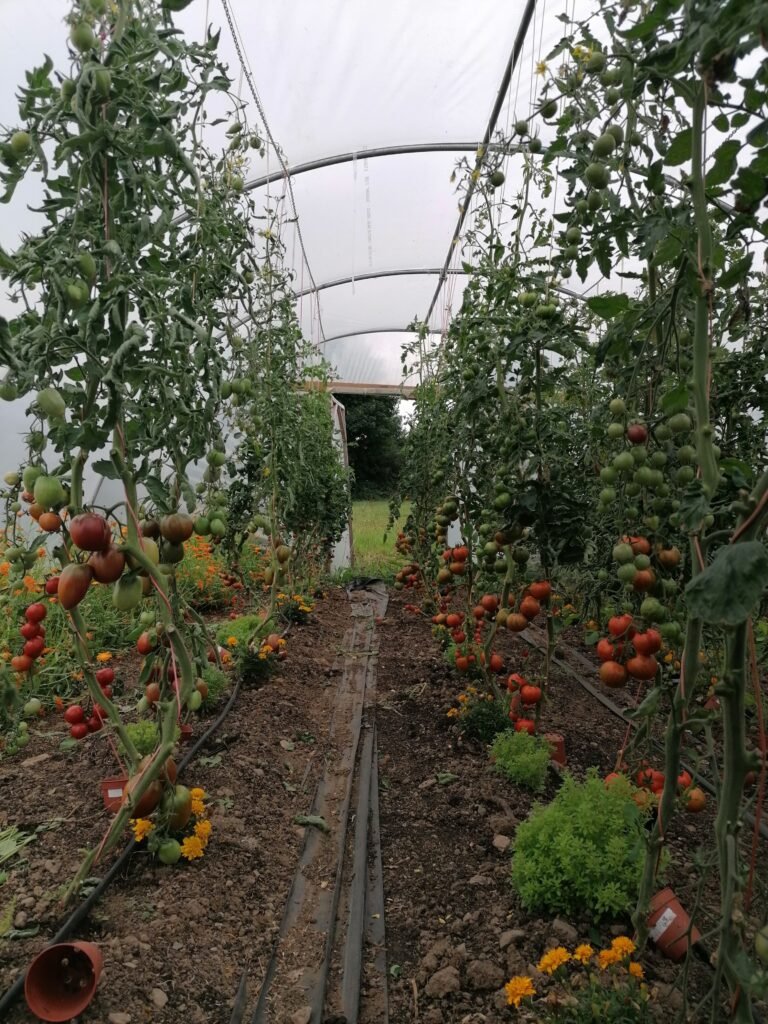
How to Care for Globe Artichoke Plants
Now that your globe artichokes are tucked into the garden, it’s time to keep them happy and healthy. Don’t worry — once they’re settled, they’re pretty easy to look after. Like most good things in the garden, they just need a bit of attention, some patience, and a whole lot of love.
Watering Schedule
Artichokes have deep roots, so they prefer deep, infrequent watering. This means giving them a good soak once or twice a week, depending on the weather. Hot, dry spells might call for more. Let the soil dry a bit between waterings, but don’t let it turn to dust. Mulching helps a lot with this!
Feeding the Plants
In the early growing stage, give your artichokes a boost with something high in nitrogen — like fish emulsion or a rich compost tea. This helps them grow strong and leafy. Later, when they start forming buds, switch to potassium-rich fertilizer or just top up with homemade compost. That change helps them focus energy on the flowers (which is the part we eat).
Pruning & Support
As the plants grow, they can get quite big and top-heavy. Trim away any dead or damaged leaves at the bottom. If they start to lean, use a simple bamboo stake or garden support to keep them upright. It helps them stay tidy and happy.
Natural Pest Control
Watch for aphids, slugs, and earwigs — they love hiding in the folds of the leaves. A gentle spray of soapy water works well for aphids. For slugs and earwigs, try beer traps or go out with a torch in the evening and do a quick check. Companion planting with herbs like dill and cilantro can help, too!
Overwintering Globe Artichokes
Globe artichokes may look tough, but when winter rolls in, they need a little help — especially in cooler climates. Don’t worry, though. With a bit of care in the fall, your plants can survive the cold and come back strong next spring.
How to Protect in Zones 6–7
If you live in Zones 6 or 7, your artichokes might survive the winter outdoors — but they’ll need a cozy blanket. After the first light frost, pile a thick layer of straw or shredded leaves around the base of each plant. You can also pop a garden cloche or overturned bucket on top to protect from cold winds and snow. Just remember to uncover them when it warms up in early spring.
Cutting Back in Fall
As the growing season ends, your artichoke will start to slow down. That’s your cue to cut back the leaves, leaving about 8–10 inches of the stalk above the soil. This helps the plant rest over winter and makes mulching easier too.
Lifting Crowns in Colder Zones
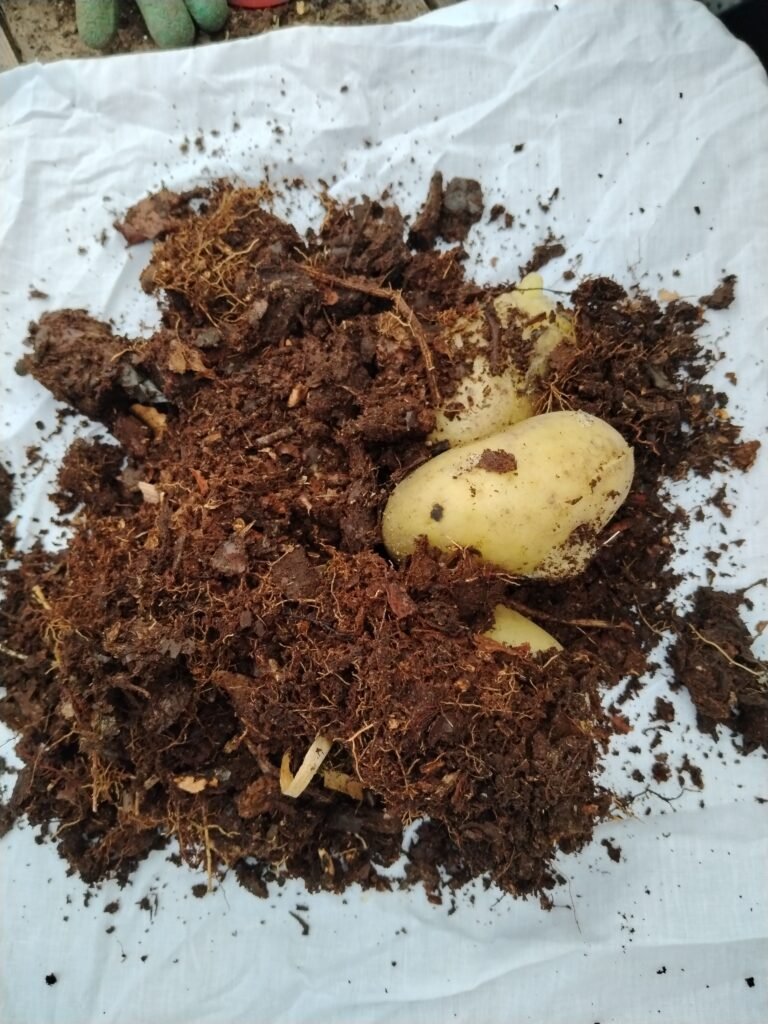
In Zones 5 and colder, winters are too harsh for globe artichokes to survive outside. Instead, carefully dig up the crown before the ground freezes. Shake off the soil and let it dry for a day or two. Then store the crown in a cool, dark, and dry place — like a garage or basement — in a box filled with slightly damp peat moss or sand. In spring, replant it once the danger of frost has passed.
With just a little care now, your globe artichokes will be ready to rise again come springtime — stronger and more beautiful than ever.
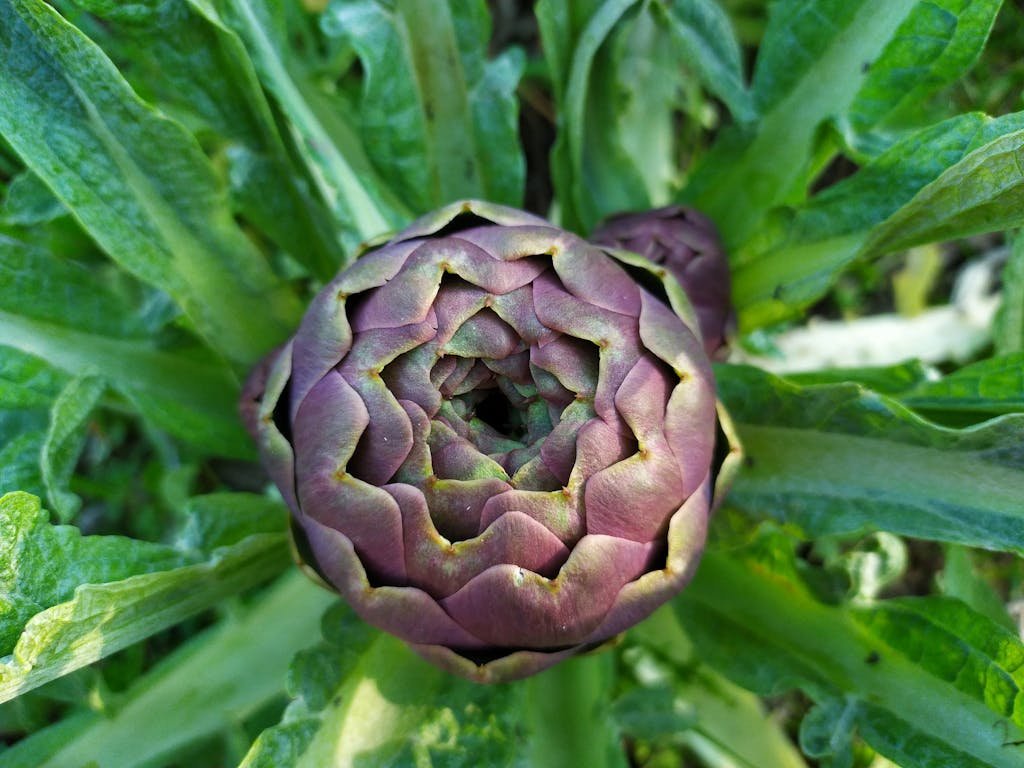
Harvesting Globe Artichokes
After months of watching your artichokes grow tall and proud, it’s finally time for the best part — harvest! Picking them at just the right time means you’ll get the most flavor, the best texture, and even more buds later on.
When to Harvest
You’ll know your globe artichokes are ready when the buds are tight, round, and firm. Don’t wait too long! If the outer leaves start to open, the bud is past its prime and may turn tough. Pick in the morning, when the plant is cool and holding the most moisture.
How to Cut
Using a sharp garden knife or pruners, slice the bud off with about 1–2 inches of stem still attached. This makes them easier to handle — and adds a bit of tenderness to the stem, too.
Keep the Harvest Coming
Here’s a trick for a longer harvest: once you cut the main bud, you’ll often see smaller side shoots forming. These “babies” might not be as big, but they’re just as tasty. Keep harvesting, and your plant will reward you with more.
How to Store Fresh Artichokes
If you’re not cooking them right away, pop your artichokes into the fridge — unwashed — in a loose produce bag or container. They’ll stay fresh for about a week, though the sooner you use them, the better they’ll taste.
And there you have it — the joy of homegrown artichokes, ready for the kitchen or a proud photo moment on the patio table!
Bonus — Cooking Your First Homegrown Artichoke
You’ve done it — you grew a globe artichoke from seed to harvest, and now it’s time to eat the fruits (well, buds!) of your labor. If you’ve never cooked one before, don’t worry. It’s easier than it looks, and once you taste that soft, nutty heart dipped in garlic butter, you’ll be hooked.
Start Simple: Steamed Artichoke with Garlic Butter
One of the easiest—and most delicious—ways to enjoy your first homegrown artichoke is to steam it. All you need is water, a pinch of salt, and about 30–40 minutes. While it’s steaming, melt some butter and stir in minced garlic or a little lemon juice. Dip each petal and scrape the soft part with your teeth. It’s slow food at its finest.
How to Trim and Prep
Before you cook it, you’ll want to give your artichoke a quick tidy-up. Cut off the top inch with a sharp knife. Snip the pointy tips from the petals with scissors. Then trim the stem to about an inch long. That’s it! Give it a rinse and it’s ready for the pot.
FAQs About Growing Globe Artichokes
Do they flower in the first year?
That depends! Globe artichokes usually flower in their second year. But if you start them early indoors—about 8 to 10 weeks before your last frost—and give them a bit of a chill when you transplant them, they might bloom their first summer. Some gardeners call this trick “vernalization,” but don’t worry—your plants just think they’ve had a winter nap.
Can I grow them in containers?
Yes, you can—but make sure the pot is big enough! Each plant needs at least a 15-gallon container, with good drainage and rich soil. They’ll also need lots of sun and regular water. If you’re short on garden space, this is a great way to try growing a few without giving up your veggie beds.
Are they safe for pets?
The good news is that globe artichokes are not considered toxic to dogs or cats. Still, we don’t recommend letting your pets snack on them. The leaves can be tough and fibrous, and some pets might get a tummy ache. It’s best to keep curious noses out of your garden beds just to be safe.
Wrapping It All Up
Growing globe artichokes might seem like a big job at first, but once you get the hang of it, they’re actually pretty easygoing. With a little planning, some rich soil, and a sunny spot, you can enjoy these bold, beautiful plants right in your own garden. Whether you start from seed or pick up a starter plant at your local nursery, watching them grow from tiny seedlings into tall, silver-leafed giants is such a treat.
Even better? They don’t just look good. Globe artichokes are full of fiber, vitamins, and flavor. Once you’ve harvested your first one, you’ll wonder why you didn’t grow them sooner. And don’t worry if your first try isn’t perfect—each season is a chance to learn, adjust, and grow better than before.
So if you’re standing there with your very first artichoke in hand, wondering what to do next, I’ve got you covered. One of our favorite ways to enjoy them is stuffed—soft, tender leaves, garlicky breadcrumbs, and just the right drizzle of olive oil. It’s simple, cozy, and makes all your growing efforts feel worth it. You can find the full recipe right here: Stuffed Artichoke Recipe.
Happy growing—and even happier eating!