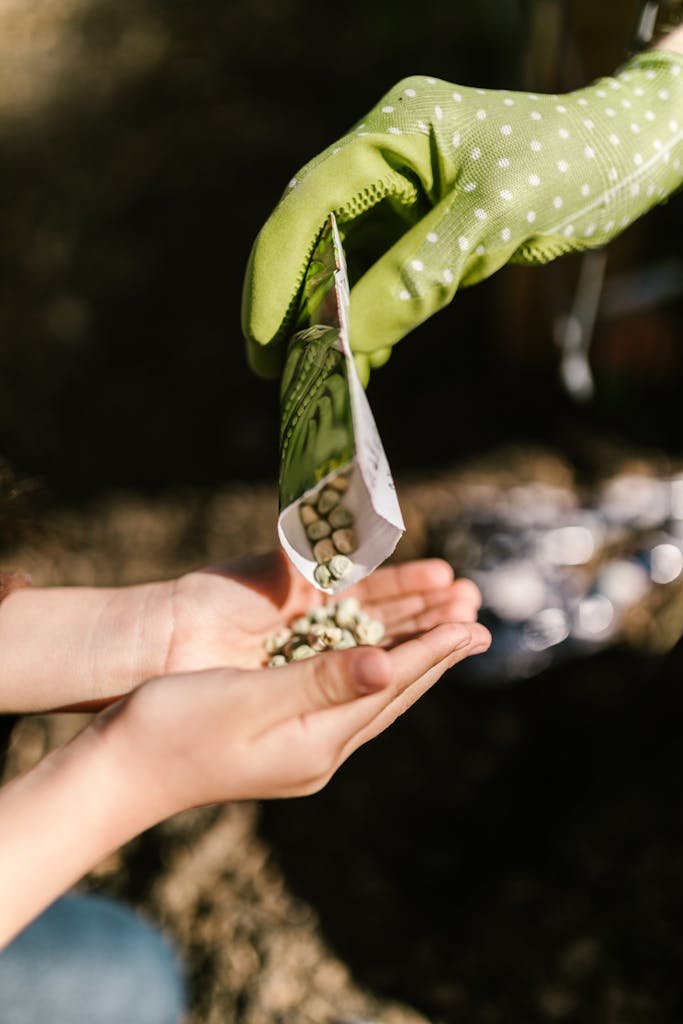
Have you ever eagerly planted seeds, only to find yourself staring at bare soil for weeks, wondering if you’ve been ghosted by your own garden? It’s a humbling moment. You water, whisper words of encouragement, maybe even play them a little Mozart—but nothing. Not a single sprout. Meanwhile, that rogue tomato seed from last summer’s sandwich has happily germinated between the patio stones without so much as a formal invitation. Where’s the justice?
Before you start questioning your green thumb, let me reassure you: sometimes, it’s not you—it’s the seeds. Their ability to sprout depends on a mix of age, storage conditions, and the type of seed itself. Some, like lettuce and onions, have the lifespan of a mayfly, while others, like tomatoes or beans, can lie in wait for years, biding their time like a secret treasure.
So how do you know which seeds are still good? And more importantly, how can you store them to give them the longest, happiest life possible? That’s exactly what we’re diving into today. Whether you’re saving heirloom varieties from your garden or sorting through that box of half-used seed packets (yes, we all have one), this guide will help you navigate seed viability like a pro.
Grab your gardening gloves and maybe a cup of chamomile tea—we’re about to unravel the mystery of sprouting success.
What Affects Seed Longevity?
The Secret Lives of Sleeping Seeds
If seeds could talk, they’d have some stories to tell. Some would whisper of long, restful slumbers before bursting into life, while others would sigh dramatically, claiming their time was always meant to be short. That’s because not all seeds are created equal when it comes to longevity. Whether a seed sprouts into your next bumper crop or stays stubbornly dormant depends on a few key factors.
Seed Type: Some Seeds Are Just Short-Lived
Some seeds are sprinters, meant to hit the ground running (or rather, sprouting) before their vigor fades. Parsnip, onion, and celery seeds, for example, have a fleeting lifespan—often just one year. Meanwhile, tomato, bean, and squash seeds are more marathon runners, staying viable for up to five years if stored properly. Knowing which seeds to prioritize each season prevents disappointment and ensures a thriving garden.
Storage Conditions: The “Goldilocks” Zone
Much like a loaf of bread left on the counter too long, seeds can lose their freshness when exposed to heat, moisture, and air. Ideally, they should be stored somewhere cool, dark, and dry—think of it as tucking them into a cozy, stable environment where they can rest undisturbed. A dedicated seed storage system can make all the difference, and if you’re serious about keeping seeds viable for years, The Seed Saving Bible by Molly Prestley is a must-read. It dives into how to store seeds properly and even covers old-world techniques for keeping heirloom varieties alive for generations.
Seed Maturity: Timing Is Everything
Not all seeds mature at the same rate. Fully ripe, well-dried seeds have a far better chance of longevity than those harvested too early. A little patience at the seed-saving stage goes a long way toward ensuring a successful garden in seasons to come.
By understanding these factors, you’ll be well on your way to keeping your seeds—and your garden—flourishing year after year!
How to Store Seeds for Maximum Viability: Keeping Nature’s Tiny Miracles Fresh
Seeds are like little time capsules, holding the potential for lush gardens and bountiful harvests—if you store them correctly. Treat them well, and they’ll reward you with strong, vibrant sprouts. Neglect them, and, well… you might find yourself staring at lifeless soil, wondering where you went wrong. To keep your seeds in tip-top shape for seasons to come, here’s how to store them like a pro.
Keep It Cool: A Cozy Chill Zone for Seeds
Think of seeds as tiny hibernating creatures—too much warmth wakes them up before their time. The ideal storage temperature is between 32°F and 41°F (0°C to 5°C), making a refrigerator or cool basement a great option. The key here is consistency. Temperature swings create condensation, and moisture is a seed’s worst enemy.
Moisture Control: Dry Seeds Are Happy Seeds
A damp seed is a doomed seed. Before storage, make sure your seeds are thoroughly dried. If you live in a humid climate, adding a silica gel packet to your storage container can help absorb excess moisture. This tiny step can mean the difference between a flourishing spring garden and a handful of lifeless husks.
Best Storage Containers: Keep Air and Pests Out
Your storage container matters more than you think. Here are a few tried-and-true options:
- Photo Storage Boxes – These come with handy compartments for organizing different seed types.
- Glass Jars with Sealed Lids – Mason jars (or any recycled glass jar with a tight-fitting lid) keep out moisture while looking charming on a shelf.
- Specialized Seed Storage Boxes – I got one for my granddad one year as a Christmas present and he thought it was the best thing ever!
Light Is Not Your Friend
Seeds prefer the dark—light exposure can reduce their viability over time. Store them in opaque containers or a dark drawer to keep them dormant until planting season.
Label Like a Pro
Nothing is more frustrating than a mystery seed stash. Always label your seeds with the variety and the date of collection or purchase so you know what you’re working with next season.
Want to become a true seed-saving master? “Seed to Seed” by Suzanne Ashworth is a fantastic deep dive into storing, saving, and growing seeds successfully. It’s a must-read for gardeners who want to keep their favorite plant varieties thriving for years.
By following these simple steps, you’ll be giving your seeds the best possible start—before they even hit the soil!
How Long Do Seeds Last? The Great Seed Timekeepers
If you’ve ever stumbled across an old packet of seeds in the back of a drawer and wondered, Can I still plant these?—you’re not alone. Seed viability is a bit like keeping a sourdough starter alive: some last for years with minimal effort, while others give up the ghost in no time.
Understanding how long seeds stay viable can save you from the heartbreak of sowing duds. While proper storage gives seeds their best shot at longevity, each variety has its own natural expiration date. Some, like parsnips and onions, are fleeting, barely lasting a year. Others, like tomatoes and cucumbers, can lie in wait for five years or more, just biding their time until they meet the perfect soil conditions.
Below, you’ll find two handy charts—one for vegetables and fruits, the other for flowers—so you’ll know exactly which seeds to prioritize and which ones might still have some life left in them.
📌 Vegetable & Fruit Seed Viability Chart
| Vegetable/Fruit | Average Viability |
|---|---|
| Parsnips | 1 year |
| Onions | 1 year |
| Corn | 1-2 years |
| Spinach | 1-2 years |
| Beans | 2-3 years |
| Carrots | 2-3 years |
| Lettuce | 2-3 years |
| Peppers | 2-3 years |
| Tomatoes | 4-5 years |
| Broccoli | 4-5 years |
| Cabbage | 4-5 years |
| Kale | 4-5 years |
| Squash | 4-5 years |
| Cucumbers | 5+ years |
| Melons | 5+ years |
🌸 Flower Seed Viability Chart
| Flower | Average Viability |
|---|---|
| Ageratum | 1 year |
| Alyssum | 2 years |
| Columbine | 2 years |
| Marigold | 2-3 years |
| Zinnia | 3-4 years |
| Sunflower | 5+ years |
These numbers aren’t set in stone—many gardeners have had success with older seeds, especially when stored in ideal conditions. But if you’re unsure, a simple germination test can tell you whether your seeds are still worth planting.
By keeping track of seed viability, you can plan your garden more effectively, avoid wasted space, and ensure every seed you plant has the best possible chance to grow into something wonderful!
Testing Seed Viability: A Quick and Easy Way to Check If Your Seeds Still Have Life
Before you toss that packet of forgotten seeds into the compost bin, stop right there! Just because they’re past their “best by” date doesn’t mean they’re completely useless. Seeds are stubborn little things, and with a simple viability test, you can see if they still have the spark of life left in them.
The paper towel test is a tried-and-true method for checking seed viability. It’s quick, easy, and requires nothing fancy—just a few household items and a little patience.
How to Do a Paper Towel Germination Test
1️⃣ Moisten a Paper Towel – Take a clean paper towel and dampen it with water. It should be moist but not soaking wet—think of a lightly wrung-out sponge.
2️⃣ Place a Few Seeds on the Towel – Choose about 10 seeds from the batch you want to test and spread them out on one side of the towel.
3️⃣ Fold and Seal – Fold the towel over the seeds to keep them covered, then place the whole thing inside a plastic bag or a loosely closed container. This helps retain moisture while creating a mini greenhouse effect.
4️⃣ Keep It Warm – Find a cozy spot with a consistent temperature between 70°F and 80°F (21°C to 27°C)—on top of the fridge, near a sunny window, or even inside a seedling heat mat if you have one.
5️⃣ Wait and Watch – Check the seeds after about a week. If most of them have sprouted, congratulations! Your seeds are still viable and ready for planting. If only a few or none germinate, it might be time to bid them farewell.
How to Use the Results
- 80-100% germination? Your seeds are in great shape! Plant them with confidence.
- 50-70% germination? They’re still usable, but sow a little extra to compensate for weaker ones.
- Less than 50%? Consider replacing them, especially if they’re slow-growing crops like onions or carrots.
This simple test not only prevents unnecessary seed waste but also helps you plan ahead for your garden. Plus, there’s something incredibly satisfying about seeing those tiny roots emerge—it’s like a sneak peek at your future harvest!
When to Declutter Your Seed Collection: A Gardener’s Guide to Letting Go
Much like that overflowing kitchen drawer filled with mystery keys, rubber bands, and takeout menus from restaurants that no longer exist, your seed collection can get out of hand before you know it. If you’ve ever dug through your stash only to find packets from who-knows-when, it’s time for a little decluttering.
Keeping an organized, viable seed collection isn’t just about tidiness—it ensures you’re planting seeds with the highest chances of success. No one wants to spend weeks nurturing a tray of seedlings only to realize they were doomed from the start!
1️⃣ The Annual Review: A Gardener’s Spring Cleaning
At the start of each growing season, take a moment to go through your seed box. Check expiration dates (if they have them), look for signs of moisture damage, and take note of anything that’s been sitting around for years. Seeds don’t improve with age—unlike a fine wine, they eventually lose their vigor.
2️⃣ Germination Tests: Trust, but Verify
For seeds older than a year—especially finicky ones like onions, parsnips, and carrots—it’s worth running a quick germination test (see the Testing Seed Viability section above). A simple paper towel test can save you from wasting valuable garden space on seeds that have lost their will to sprout.
3️⃣ Proper Disposal: Saying Goodbye the Green Way
So, what do you do with seeds that fail the test? Compost them! If they aren’t treated or coated, they’ll break down naturally. Alternatively, you can scatter them in an unused corner of your yard—who knows, nature might surprise you with a few unexpected volunteers.
By keeping your seed collection fresh and organized, you’re setting yourself up for a smoother, more successful gardening season. Plus, let’s be honest—there’s something deeply satisfying about a neatly labeled seed box, ready for a season of abundance!
Conclusion: A Little Seed Wisdom Goes a Long Way
A well-tended seed collection is like a gardener’s treasure chest—full of potential, waiting for just the right conditions to spring to life. But just like any treasure, its value depends on care, organization, and a little bit of wisdom about what lasts and what doesn’t. Understanding seed viability, using proper storage techniques, and knowing when to let go of expired seeds ensures that every season starts off strong, with the best possible chances for a lush and abundant garden.
Taking the time to store seeds correctly—keeping them cool, dry, and protected from light—can mean the difference between a flourishing garden and a disappointing planting season. Regularly testing older seeds and decluttering your collection saves time, effort, and the heartbreak of empty garden beds. Plus, there’s a deep satisfaction in knowing that each little seed you plant is primed and ready to grow.
By making smart choices about which seeds to keep and how to store them, you set yourself up for years of gardening success—and maybe even a future where you’re saving your own seeds, creating a cycle of abundance season after season. So here’s to fresh starts, strong sprouts, and the simple joy of growing something from seed. Happy planting!

