Knowing how to prepare soil for garlic is the secret to growing big, flavorful bulbs bursting with health benefits. And trust us—we’ve been growing garlic for years, and we’re downright passionate about it. This isn’t just another vegetable; it’s an ancient superfood packed with immune-boosting allicin, heart-loving antioxidants, and a depth of flavor that transforms every dish it touches. But if you want garlic that’s rich in both taste and nutrition, it all starts with the soil.
We’ve tested, amended, and fine-tuned our beds over the seasons, and one thing is clear: healthy soil means healthy garlic. Loose, well-draining earth? That’s the key to plump, easy-to-peel cloves. Neglect the soil, and you’ll end up with stunted, lackluster bulbs that make you wonder why you even bothered.
So, whether you’re planting your first crop or looking to level up your garlic-growing game, this guide will walk you through the essential steps of soil preparation. From adjusting pH levels to adding the right organic amendments, we’re sharing everything we’ve learned to help you grow the most robust, flavorful garlic possible. Get your hands in the dirt—it’s time to give your garlic the foundation it deserves!

Some of the links in this post are affiliate links, including links to products on Amazon. This means if you click and make a purchase, I may earn a small commission at no extra cost to you. I only recommend items I genuinely love and believe could add value to your life. Thank you for supporting this blog—it helps keep the content free and full of ideas just for you!
Understanding the Best Soil for Garlic Growth
Garlic may be tough, but when it comes to soil, it has standards. If you want plump, flavorful bulbs, the foundation has to be right—loose, well-draining, and packed with nutrients. Heavy, compacted soil? That’s a surefire way to stunt growth and leave you with puny, underwhelming cloves.
The Ideal Soil for Garlic
Garlic thrives in light, loamy soil with plenty of organic matter. The key is drainage—if water sits too long around the roots, garlic will sulk (or worse, rot). Raised beds or aerated garden beds work wonders, especially if your native soil leans toward the heavy side.
Why Soil Structure Matters
Good soil isn’t just about what’s in it—it’s about how it holds together. Loose, well-aerated soil gives garlic roots the space they need to grow deep and strong. If you’re dealing with clay-heavy or compacted soil, grab a garden fork and work in some compost, sand, or aged manure to lighten things up.
Check Your Soil’s pH
One often-overlooked factor? Soil pH. Garlic prefers slightly acidic to neutral conditions (6.0-7.0), and if your soil is too far off, your plants won’t absorb nutrients properly. Before planting, it’s worth testing your soil with a simple pH tester to see if you need to adjust it with amendments like lime or sulfur.
With the right soil foundation, your garlic will have everything it needs to thrive—setting you up for a harvest that’s big, bold, and bursting with flavor.
Building Fertile Soil: The Secret to Healthy Garlic
There’s an old saying: “Feed the soil, and the soil will feed you.” A great book to start with is Improving Your Soil: A Practical Guide to Soil Management For the Serious Home Gardener by Keith Reid. Nowhere is that more true than with garlic. This allium may be hardy, but it’s a heavy feeder—meaning the richer your soil, the bigger and more flavorful your bulbs will be.
I remember our first garlic harvest years ago. We planted in a patch that, in hindsight, was more “hopeful” than “prepared.” The soil was decent but lacking the deep nutrition garlic craves. That season? Small, unimpressive bulbs. The next year, we got serious—adding compost, aged manure, and worm castings. The difference? Night and day. The bulbs were plumper, the cloves juicier, and the flavor? Absolute magic.
The Best Natural Fertilizers for Garlic
- Worm Castings – If you live in Kerry, we’ve got you covered with our locally produced, nutrient-packed worm castings! They improve soil structure and boost microbial life, giving your garlic an unbeatable start. (For those outside Kerry, you can grab some [here]).
- Compost & Aged Manure – Garlic loves organic matter. Work in a generous helping of well-rotted manure or organic compost before planting.
- Bone Meal or Blood Meal – A great source of slow-release nitrogen, helping garlic develop strong green shoots. Find bone meal here.
- Fish Emulsion – A liquid fertilizer that gives garlic a quick nutrient boost. Perfect for feeding during early growth. Grab a fish emulsion fertilizer.
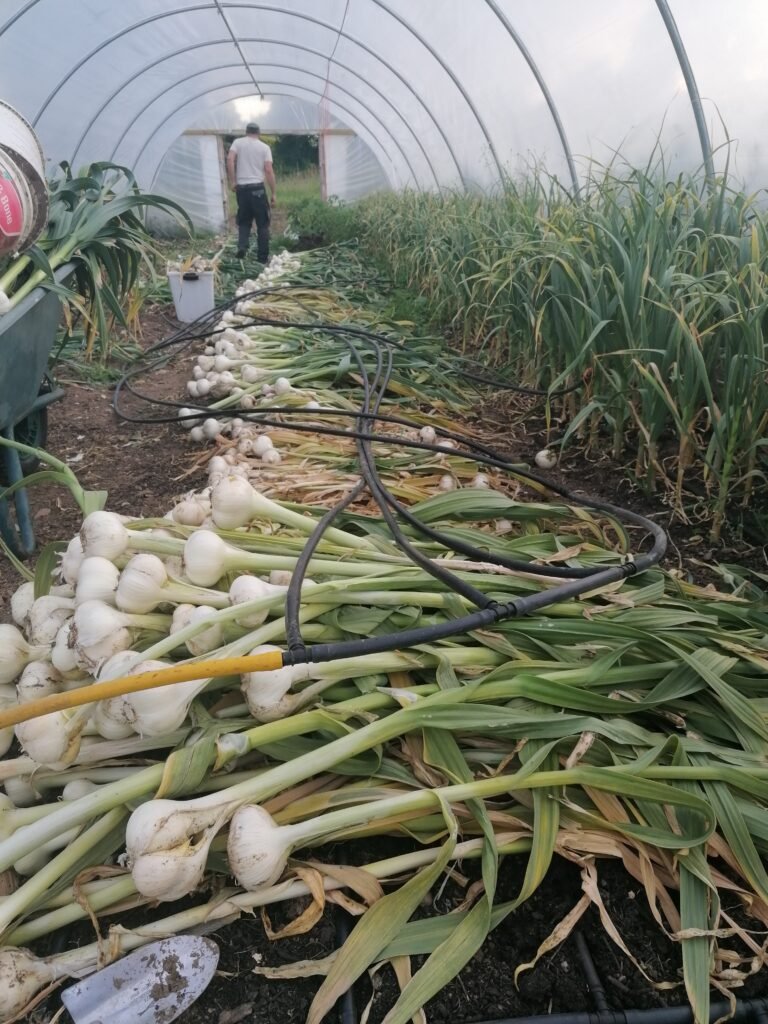
By giving your garlic soil the nutrients it needs, you’re setting yourself up for a harvest that’s not just good—but legendary. Trust me, your future self will thank you when you’re pulling up those massive, fragrant bulbs!
Preparing Garden Beds or Containers for Garlic Planting
Garlic isn’t the fussy type, but like any good guest, it appreciates a well-prepared home. Whether you’re planting in raised beds, in-ground rows, or containers, setting up your soil weeks ahead of time makes all the difference.
I used to be one of those last-minute planters, shoving garlic into the soil and hoping for the best. Spoiler: hope is not a gardening strategy. The bulbs struggled, the soil compacted over winter, and come spring, my garlic looked more like scallions. Now? We prep at least 3-4 weeks before planting, and the results speak for themselves.
Best Time to Prepare Your Soil
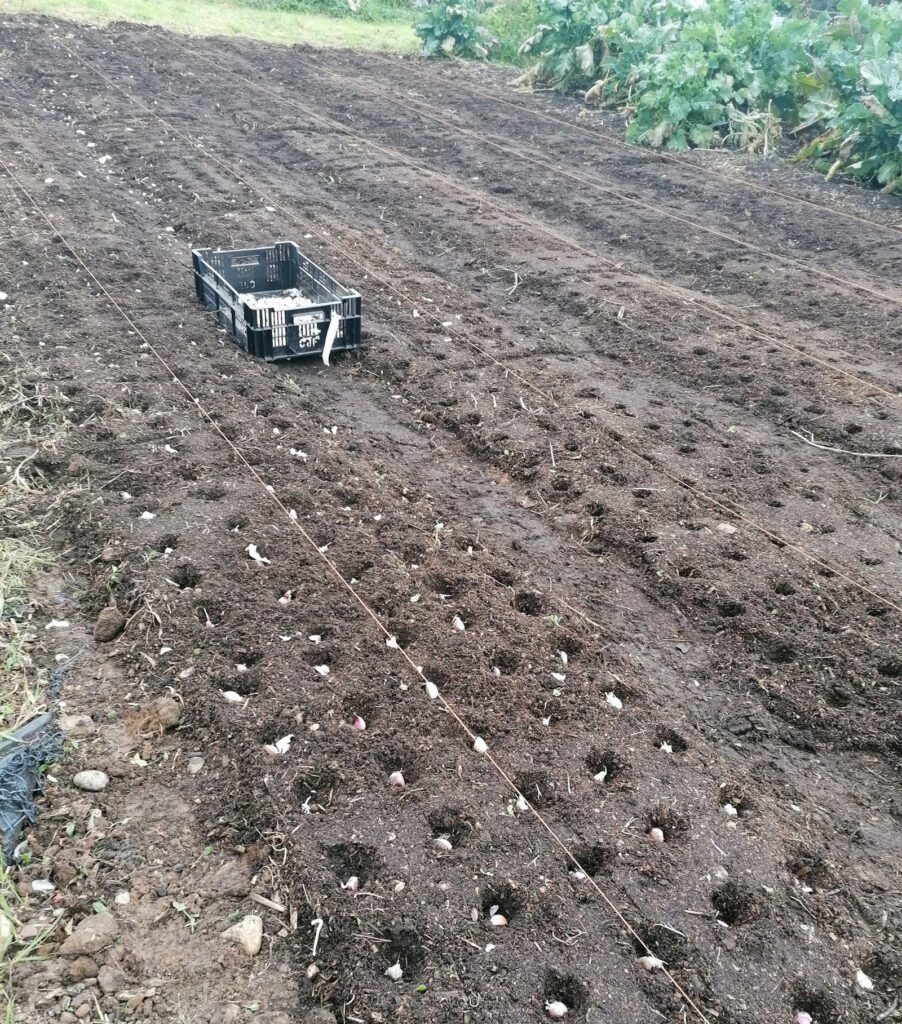
- Ideally, start prepping your garlic beds at least a month before planting (mid to late summer for fall planting).
- Remove weeds, break up compacted soil, and amend with compost, worm castings, or aged manure.
Tilling vs. No-Till: What Works Best?
- No-Till Method – Encourages healthy soil life and reduces erosion. Simply layer compost, mulch, and amendments on top—worms will do the rest!
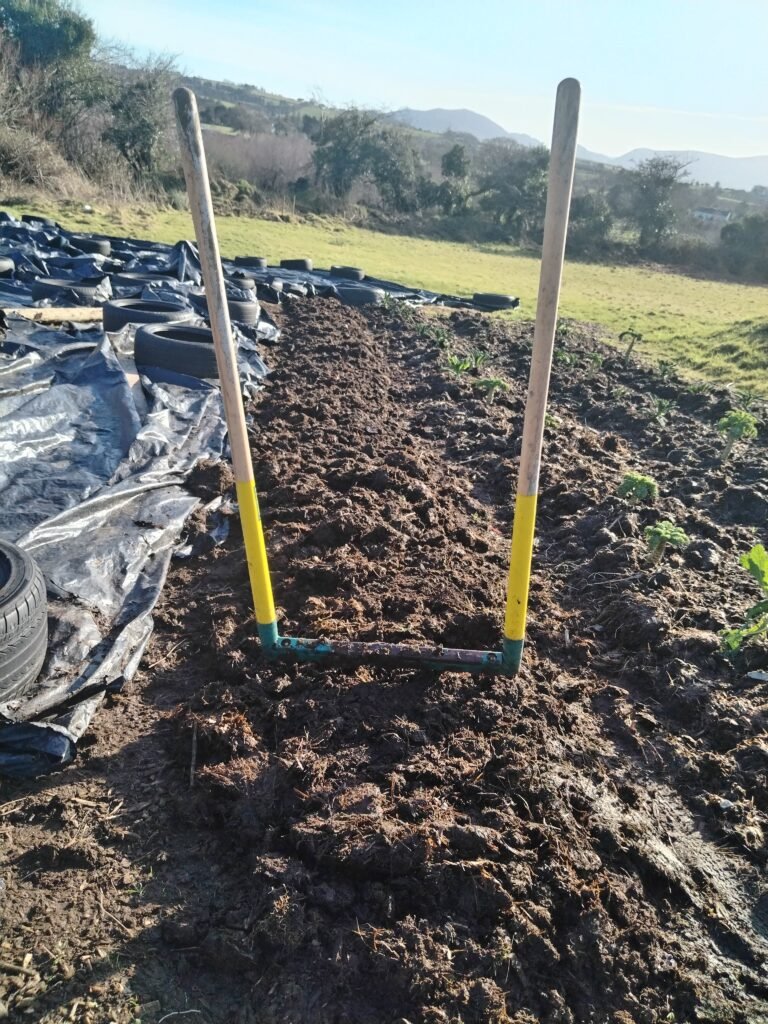
- Tilling Method – Useful for compacted soil, but over-tilling destroys soil structure. If needed, use a broad fork instead to loosen the soil.
Raised Beds vs. In-Ground Planting: Pros & Cons
- Raised Beds
- Pros: Warms up faster in spring, better drainage, easy to control soil quality.
- Cons: Requires more setup, may dry out quicker.
- In-Ground Planting
- Pros: More natural soil structure, retains moisture better.
- Cons: Can become compacted, harder to amend once planted.
For small-space gardeners, containers are also a great option! Just make sure they’re at least 12 inches deep and use a high-quality potting mix [affiliate link] with added compost or worm castings for a nutrient boost.
Garlic rewards the gardeners who take the time to set up their beds right—so put in the effort now, and you’ll be harvesting plump, fragrant bulbs come summer!
The Role of Mulching in Garlic Soil Preparation
If there’s one secret weapon in garlic growing, it’s mulch. Lay it down right after planting, and you’ll thank yourself later—when your garlic is thriving and you’re not out there pulling weeds in the dead of winter.
I used to skip mulching, thinking it was an optional extra, like fancy garden gloves or those adorable plant markers I always lose. But then I watched our unmulched garlic battle frost heaves, dry spells, and an army of weeds. Lesson learned: mulch isn’t a luxury—it’s a lifeline.
Best Mulch Materials for Garlic
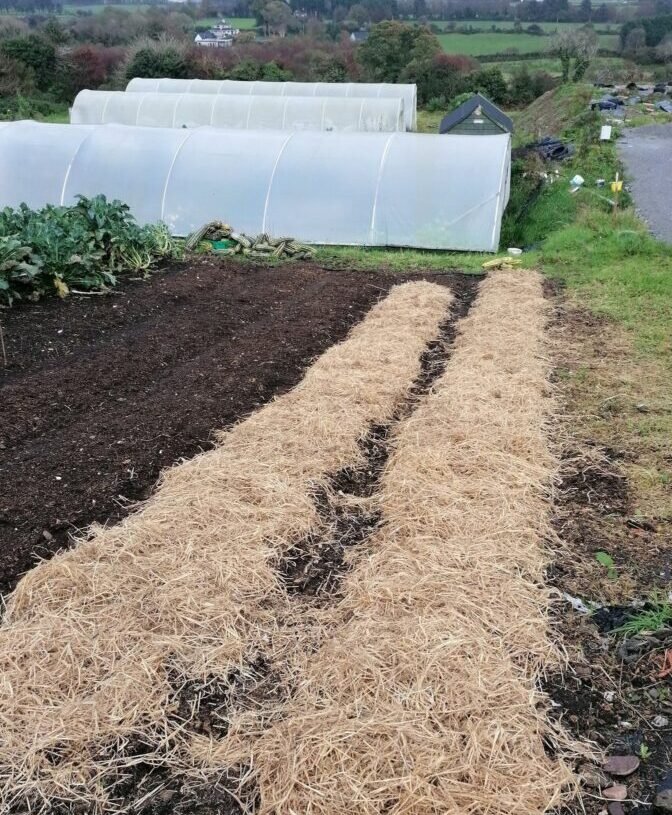
- Straw – The gold standard. Light, airy, and insulating.
- Shredded Leaves – Free and full of nutrients, but best if slightly composted first.
- Grass Clippings – Great if dried out first; fresh clippings can mat down too much.
For the best results, apply 3-4 inches of mulch after planting. Too little, and it won’t protect your garlic. Too much, and it can hold in too much moisture, leading to rot.
How Mulch Helps Garlic Thrive
- Regulates soil temperature – Keeps bulbs cozy in winter and cool in summer.
- Retains moisture – Prevents soil from drying out, especially in raised beds.
- Prevents weeds – Garlic hates competition, and a good mulch layer keeps unwanted plants at bay.
If you’re in a windy area, a mulch netting can help keep straw from flying off. And come spring, when the ground starts warming up, just pull back some of the mulch to give your garlic a little sunshine boost.
Garlic is one of the easiest crops to grow—but only if you set it up for success. And trust me, a thick, cozy mulch blanket is the closest thing to a gardener’s insurance policy.
Common Soil Mistakes to Avoid When Growing Garlic
Garlic is a tough little crop, but even the strongest bulbs can struggle if the soil isn’t right. I’ve learned—sometimes the hard way—that a few soil missteps can mean the difference between plump, fragrant cloves and sad, shriveled bulbs. Here are the biggest mistakes to avoid:
Over-Fertilizing: Why Too Much Nitrogen Leads to Weak Bulbs
It’s tempting to spoil your garlic with extra fertilizer, but too much nitrogen is a fast track to disappointment. Instead of forming big, beautiful bulbs, overfed garlic puts all its energy into lush, leafy tops—only for you to dig up puny cloves come harvest time. Stick with a balanced organic fertilizer [affiliate link] or aged compost for steady, slow-release nutrients.
Using Fresh Manure: The Risk of Burning Garlic Roots
If you’ve ever seen garlic with yellow, scorched-looking tips, fresh manure could be the culprit. Manure that hasn’t aged properly is too “hot” and can burn delicate roots. If you want to feed your soil naturally, use well-composted manure [affiliate link] or, better yet, worm castings (which we sell locally in Kerry!). They provide nutrients without the risk of damage.
Poor Drainage: How to Fix Soggy Soil and Prevent Rot
Garlic hates wet feet. If your soil stays soggy after rain, you’ll likely end up with rotting bulbs instead of a bountiful harvest. The fix?
- Add organic matter – Compost and worm castings improve drainage while feeding the soil.
- Use a broad fork – Loosens compacted soil without disturbing its structure.
- Plant in raised beds – The easiest way to control moisture levels in heavy soil.
Garlic is forgiving, but its soil isn’t something you can wing. Get it right, and you’ll be rewarded with robust bulbs, bursting with flavor—and no sad, stunted disappointments.
Final Soil Preparation Checklist Before Planting Garlic
You’ve put in the work—building rich, well-draining soil, feeding it with compost, and making sure it’s the perfect home for your garlic cloves. Now, before you get those beauties in the ground, let’s run through a final checklist to set them up for success.
1. Ensuring Proper Soil Moisture Before Planting
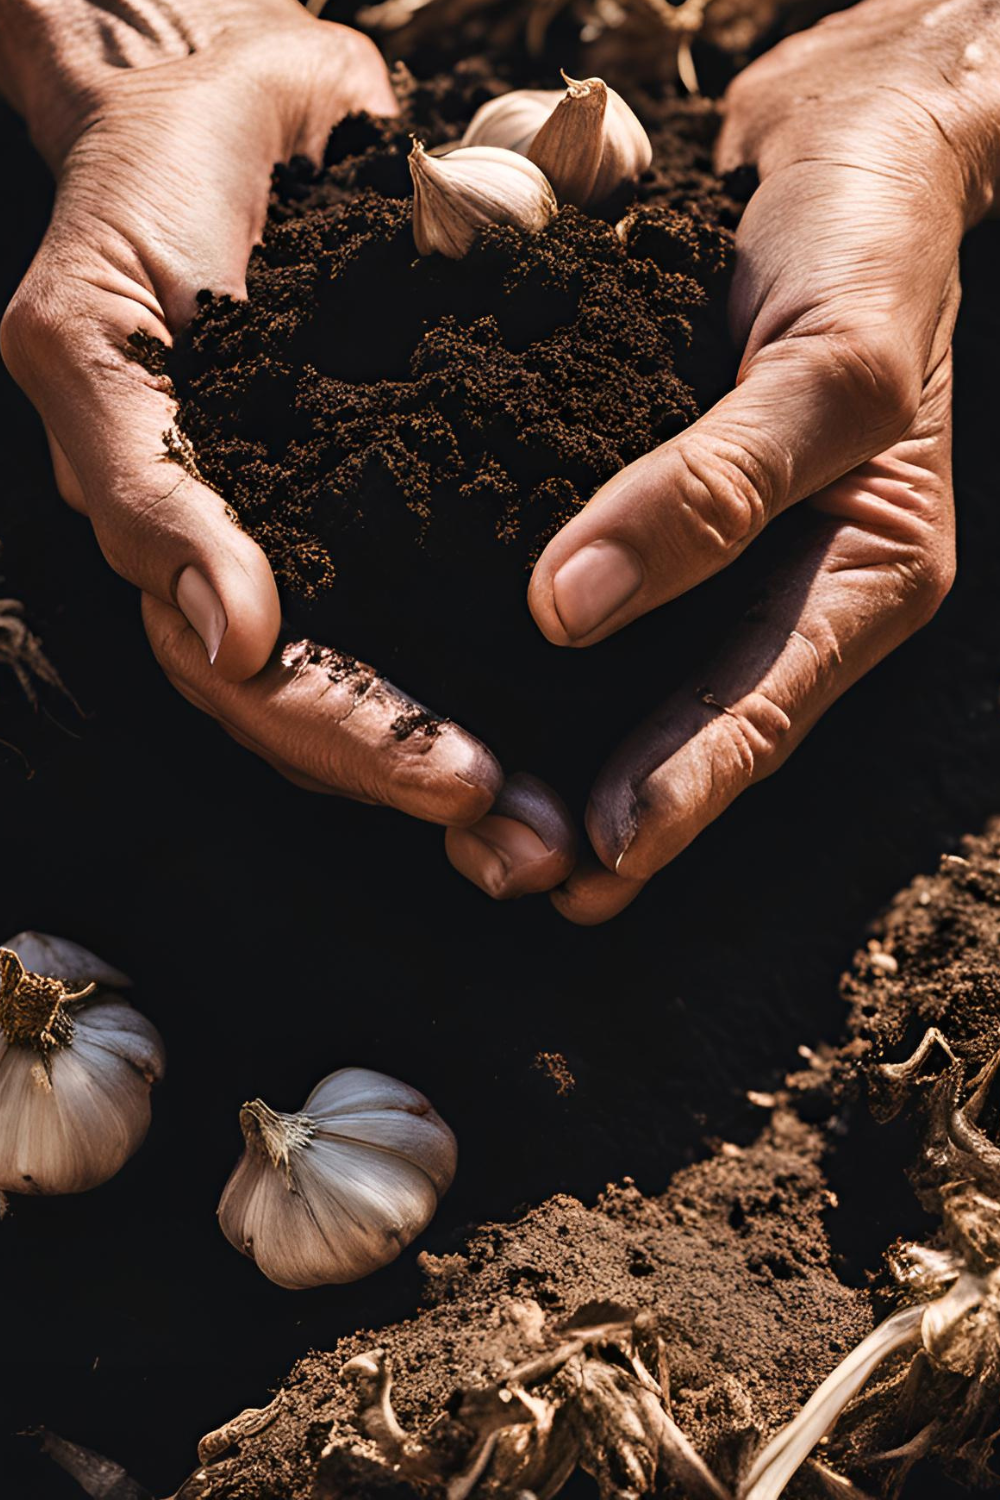
Garlic likes evenly moist, but not soggy soil at planting time. Too dry? Your cloves will struggle to establish roots. Too wet? You’re inviting rot before they even get started. A simple test—grab a handful of soil and squeeze. It should hold together slightly but crumble apart easily. If it’s dripping wet, hold off planting and let it dry out a bit.
2. Double-Checking Amendments and pH Levels
A last-minute soil test can save a lot of heartache later. Garlic thrives in slightly acidic to neutral soil (6.0–7.0 pH). If your soil leans too acidic, a sprinkle of garden lime can help. If it’s too alkaline, elemental sulfur can bring the pH down. And don’t forget those all-important worm castings (if you’re in Kerry, we’ve got you covered!).
3. Loosening and Aerating Soil for Easy Root Development
Compacted soil can make it hard for garlic roots to take hold. Give your planting area a final fluff-up with a broad fork —it loosens deep down without disturbing soil structure. If you’re growing in raised beds, a gentle rake is usually enough to refresh the surface before planting.
Now, take a step back, breathe in that rich, earthy scent, and admire your work—your garlic is about to have the perfect start.
Conclusion:
And just like that, your soil is primed and ready—the perfect cradle for those little cloves that will, with time and care, transform into plump, flavorful bulbs. There’s something deeply satisfying about this moment, standing at the edge of your well-prepared garden bed, garlic in hand, knowing that in a few months, you’ll be pulling up something truly special.
Every year, we get just a little more obsessed with growing garlic. Maybe it’s the crisp autumn air as we tuck each clove into the soil, or the thrill of unearthing those fat, fragrant bulbs in summer. Or maybe it’s just knowing that we’ve given our garlic the best possible start—because when it comes to growing the best garlic, it all begins with the soil.
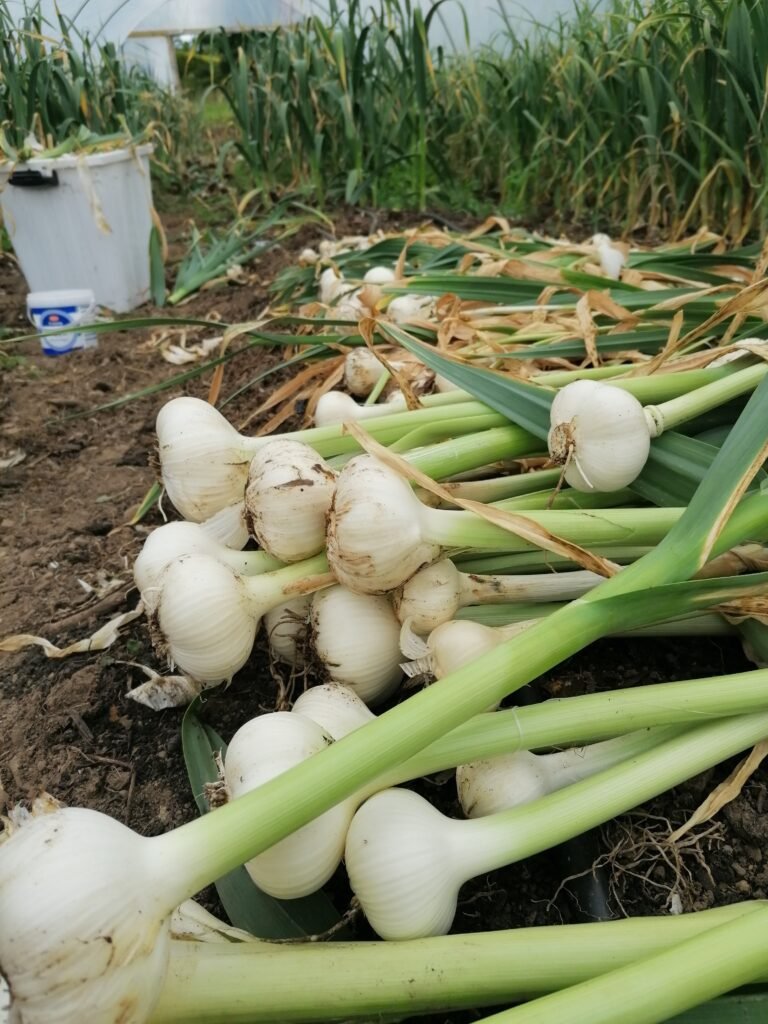
If you’re as hooked on garlic as we are, you might want to try growing Elephant Garlic—the gentle giant of the allium world. It’s technically not a true garlic, but with its mild, buttery flavor and massive bulbs, it’s a must-have for any garlic lover. We’ve been growing it for years, and let me tell you, nothing beats the feeling of pulling up a bulb the size of your fist. If you’re curious, check out our guide to growing Elephant Garlic and grab some Elephant Garlic cloves to start your own crop.
For now, though, enjoy this moment—because planting garlic is more than just gardening. It’s a promise to your future self that something wonderful is on its way.