Understanding Garlic Varieties
Garlic, a versatile culinary ingredient, comes in several distinct varieties, each with unique characteristics, flavors, and optimal growing conditions. The main types of garlic include hardneck, softneck, and elephant garlic. Understanding these differences is crucial for both culinary use and successful growing.
Hardneck garlic
is known for its robust flavor and is typically favored by gourmet chefs. This variety produces a flower stalk, or scape, which can be harvested and used in cooking. Hardneck garlic bulbs have fewer, larger cloves, making them easier to peel. They generally thrive in regions with colder winters, making them ideal for growth in northern climates. Varieties such as ‘Rocambole’ and ‘Porcelain’ fall under this category and are prized for their rich, complex flavors.
Softneck garlic
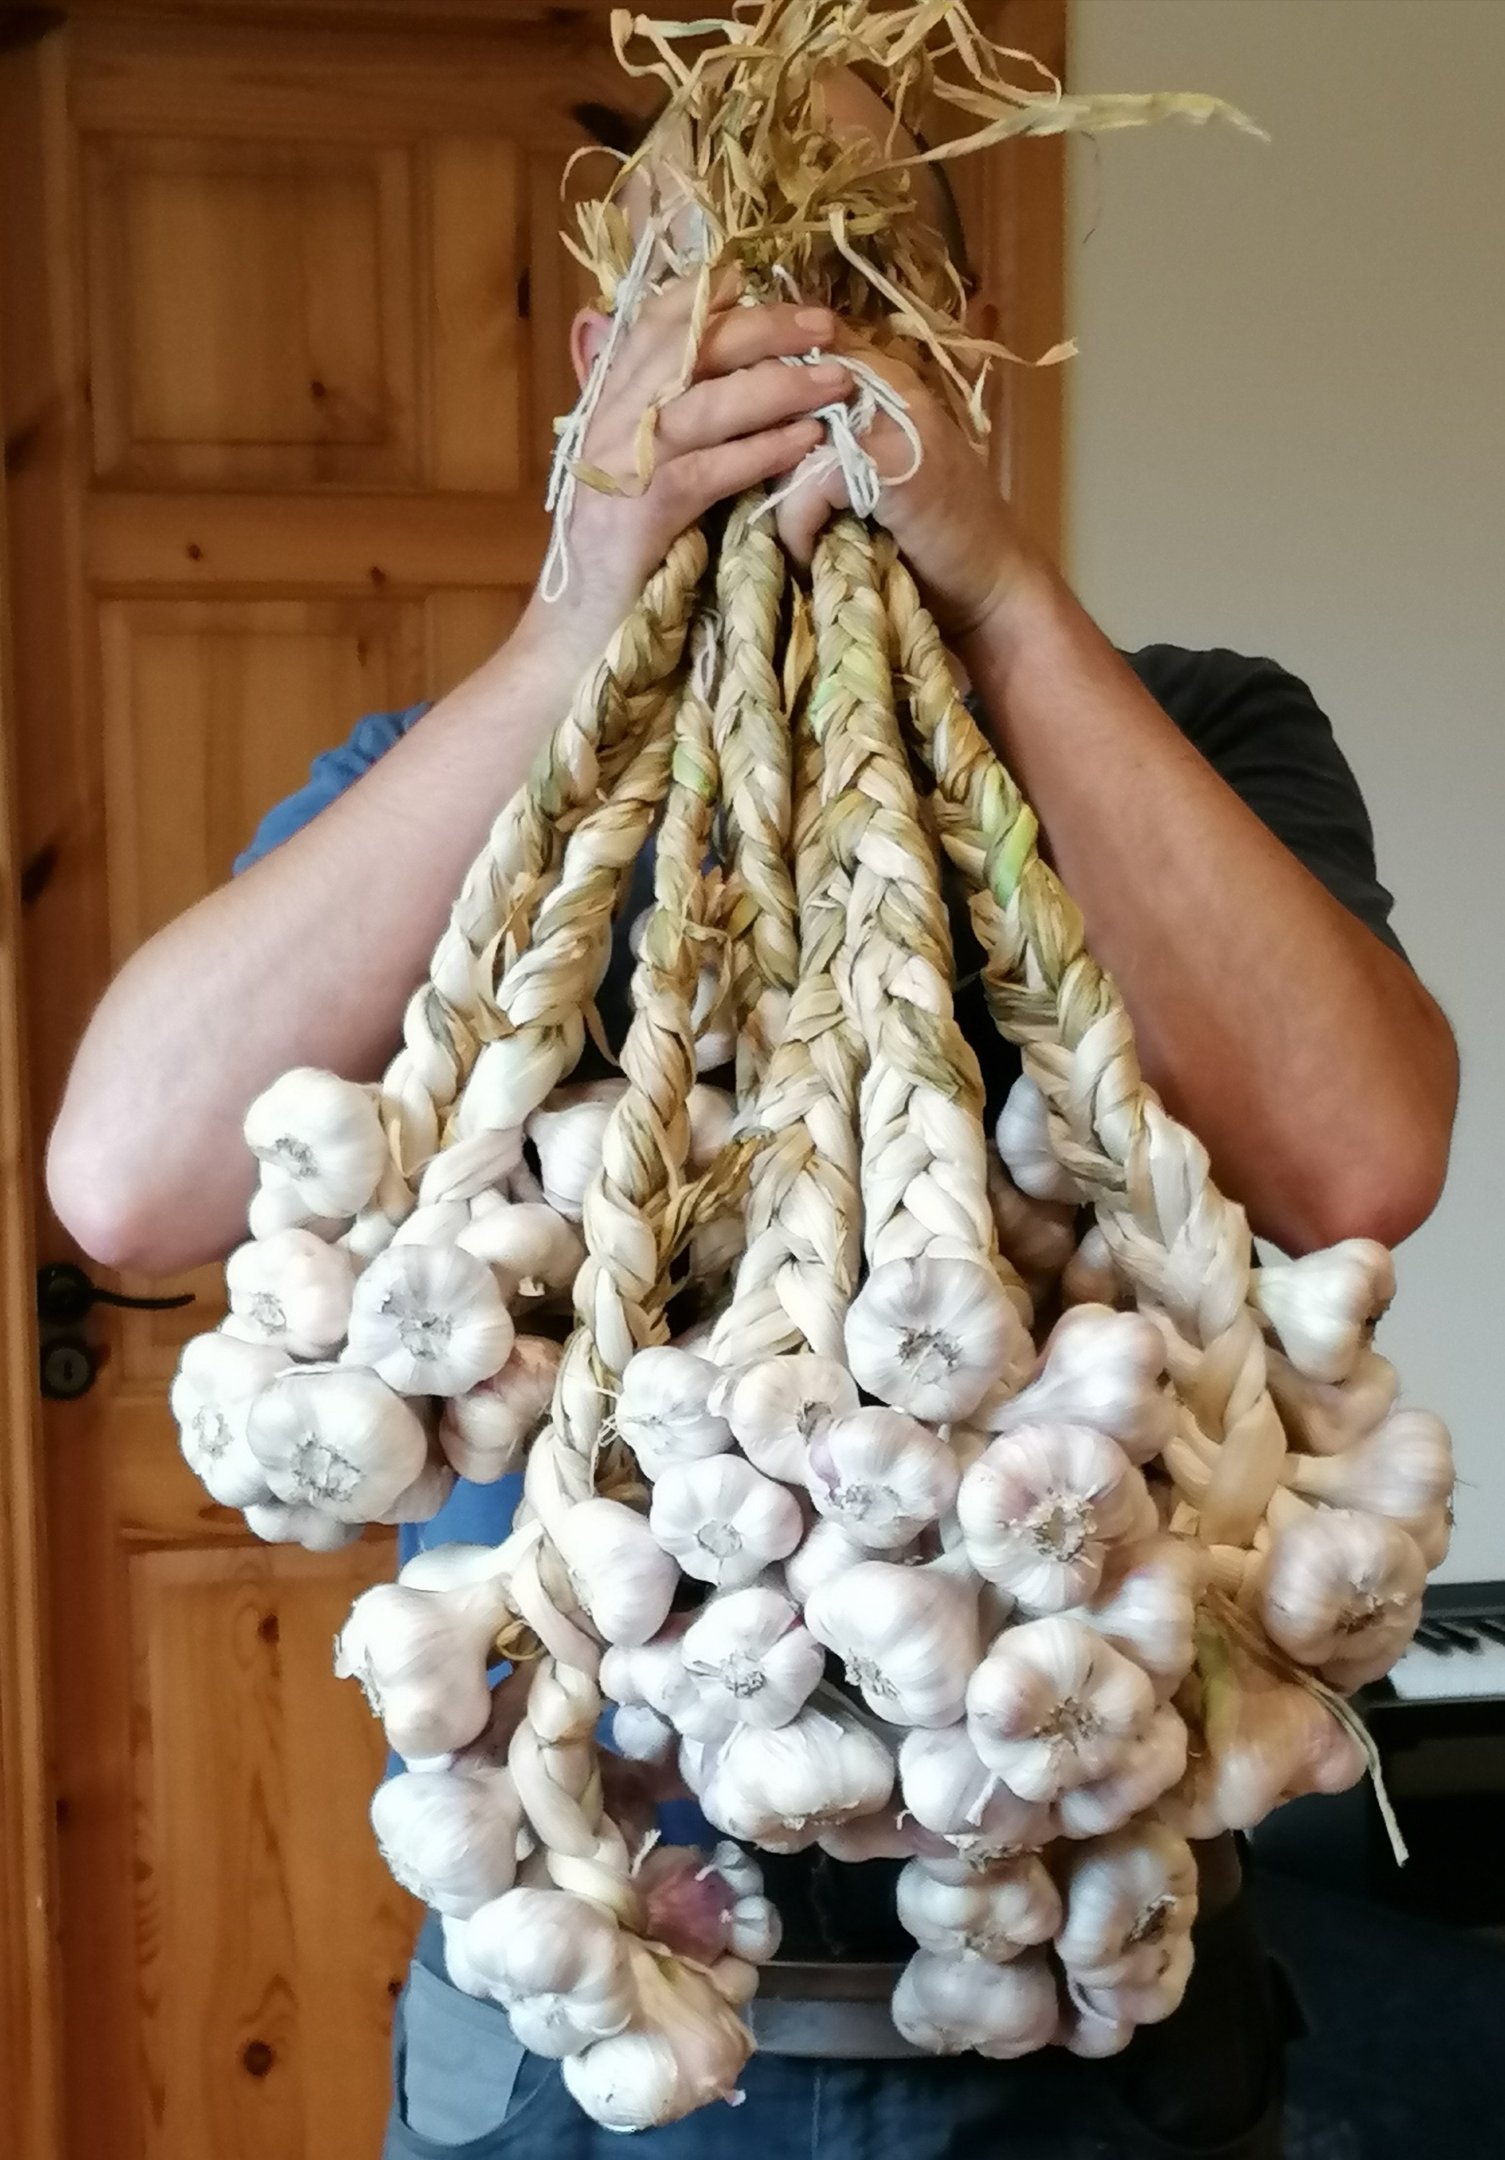
in contrast, is the most commonly produced variety and is typically found in grocery stores. It has a milder flavor that suits a wide range of dishes. Softneck garlic lacks the rigid scape of hardneck garlic, allowing it to be braided, which extends its storage life. This garlic thrives in warmer climates, making it popular in southern regions. Varieties such as ‘California Softneck’ and ‘Artichoke’ are known for their long shelf life and mild flavor profile.
Elephant garlic
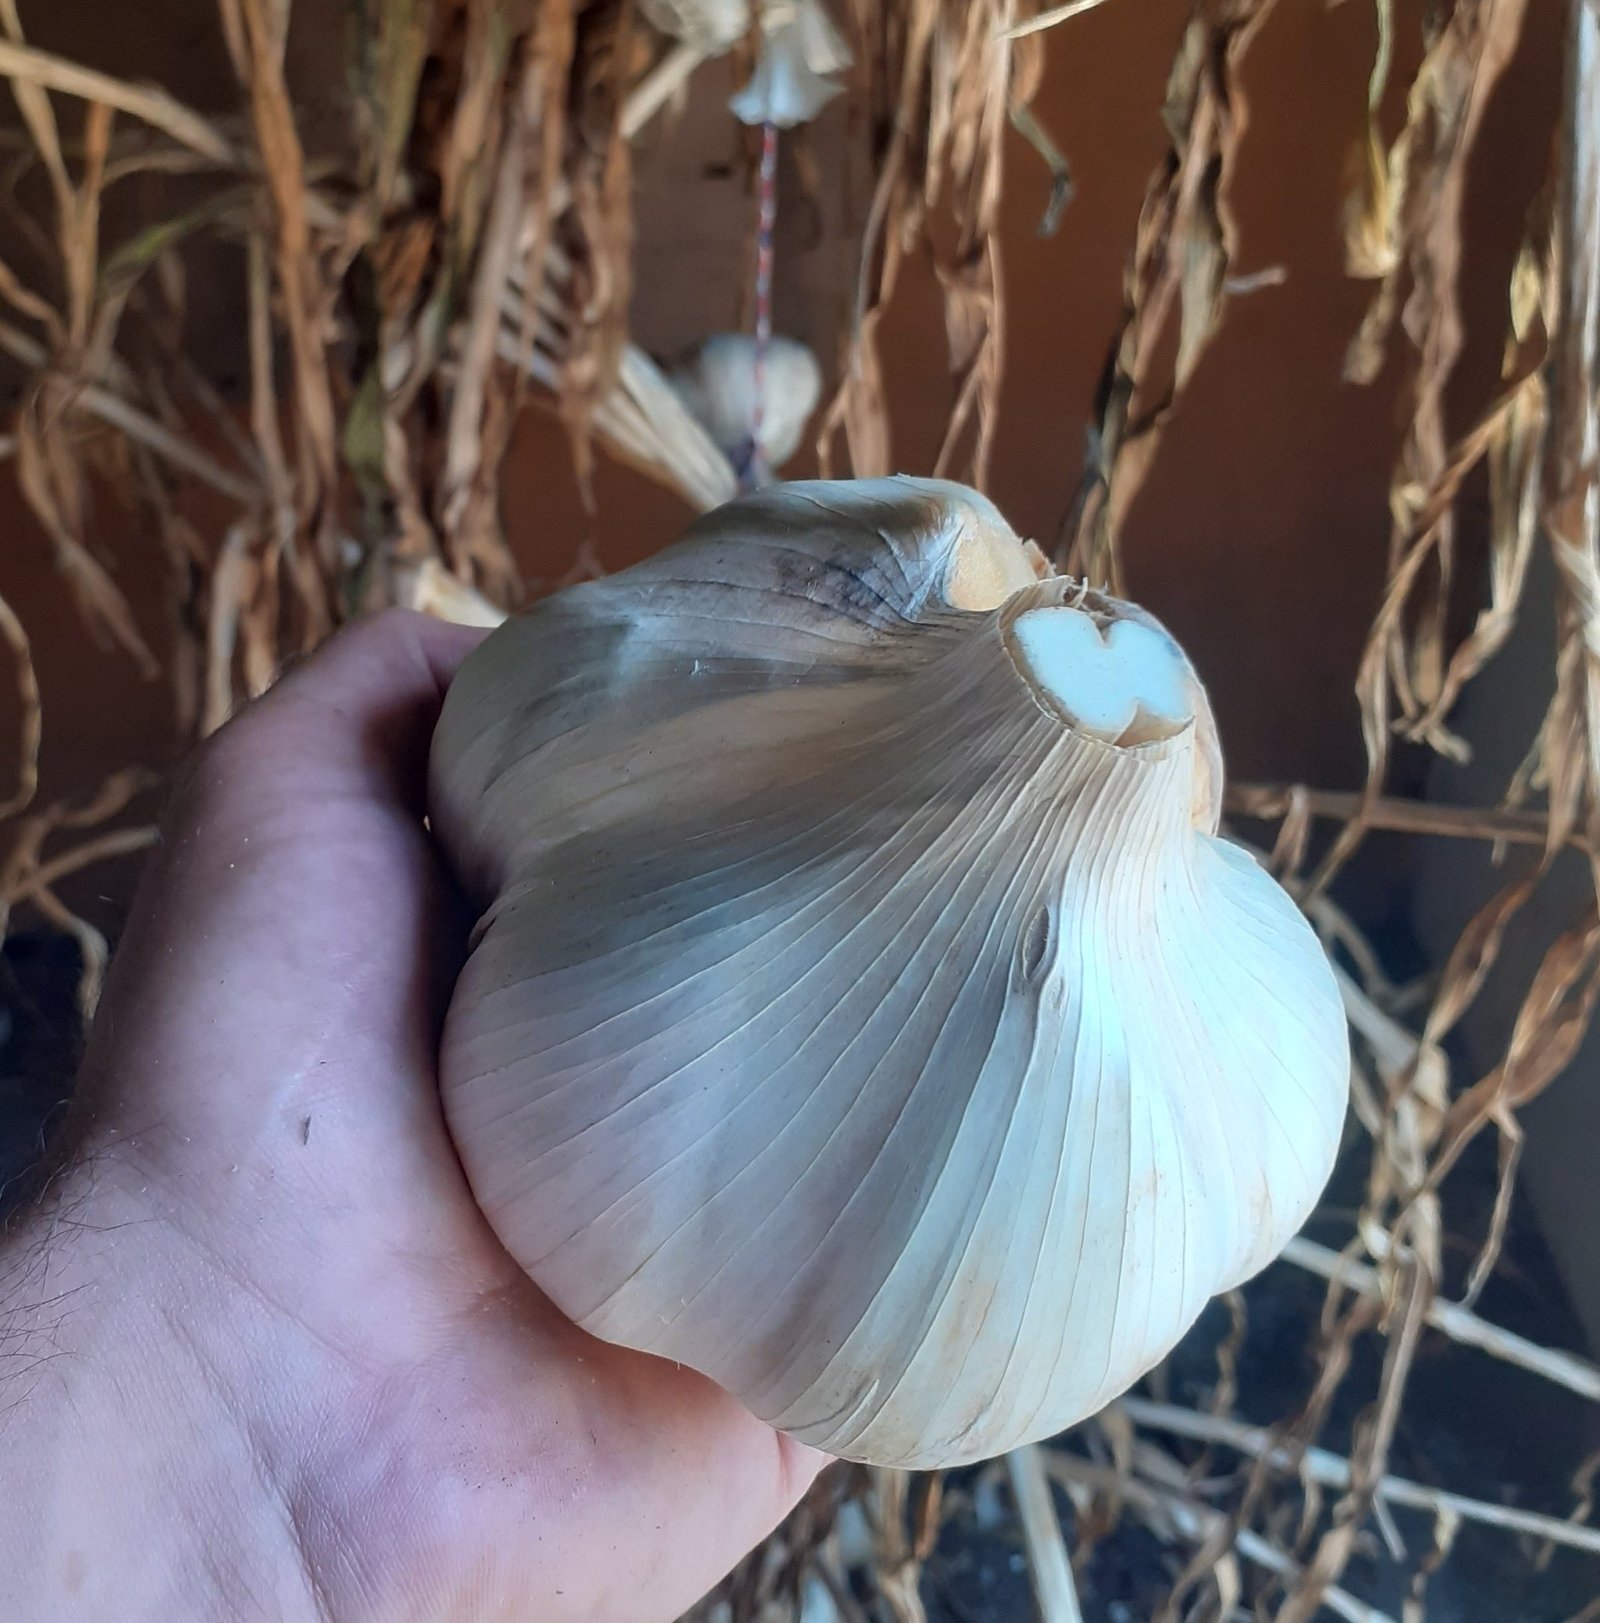
while not a true garlic variety, is often included in discussions about garlic types. It is botanically classified as a leek and is much larger than standard garlic bulbs. Its flavor is mild, making it suitable for those who prefer a subtler garlic taste. Elephant garlic can grow in various climates but benefits from ample sunlight and well-drained soil. When selecting a garlic variety, consider your climate, culinary preferences, and desired flavor intensity to ensure a successful harvest.
Choosing Quality Garlic for Planting
When selecting garlic for planting, it is essential to identify high-quality bulbs that will lead to a productive harvest. One of the first signs of a healthy bulb is its firmness. A quality one should feel solid with no soft spots or signs of rot. Look for garlic bulbs that have a plump, intact skin, indicating that it is fresh and has been properly stored.
It is important to mention that supermarket garlic is not seed garlic! Whilst it seems very convenient to buy them in the local shop, it often does not provide the best results for planting. Store-bought garlic is sprayed with a chemical to prevent it sprouting, which can hinder the growth when planted. In contrast, seed garlic is specifically cultivated for planting purposes, offering varieties that are more suited for local growing conditions. These bulbs are less likely to carry diseases and are generally more robust than their supermarket counterparts.
Moreover, opting for organic and locally sourced garlic bulbs can significantly enhance your gardening experience. Organic garlic has been grown without synthetic pesticides or fertilizers, promoting a healthier soil ecosystem. Additionally, locally sourced garlic is often adapted to the local climate and soil, making it more likely to thrive. When purchasing garlic, trust reputable vendors or local farmers to ensure you receive high-quality bulbs.
Essential Tips for Garlic Cultivation
Successful garlic cultivation begins with proper soil preparation. Garlic thrives in well-drained, loamy soil rich in organic matter. Before planting, it is advisable to amend the soil by incorporating well-rotted compost or aged manure. This not only enhances fertility but also improves soil structure, allowing for better drainage and root development. A soil pH between 6.0 and 7.0 is ideal for optimal garlic growth. Regular testing can ensure the pH is maintained within this range.
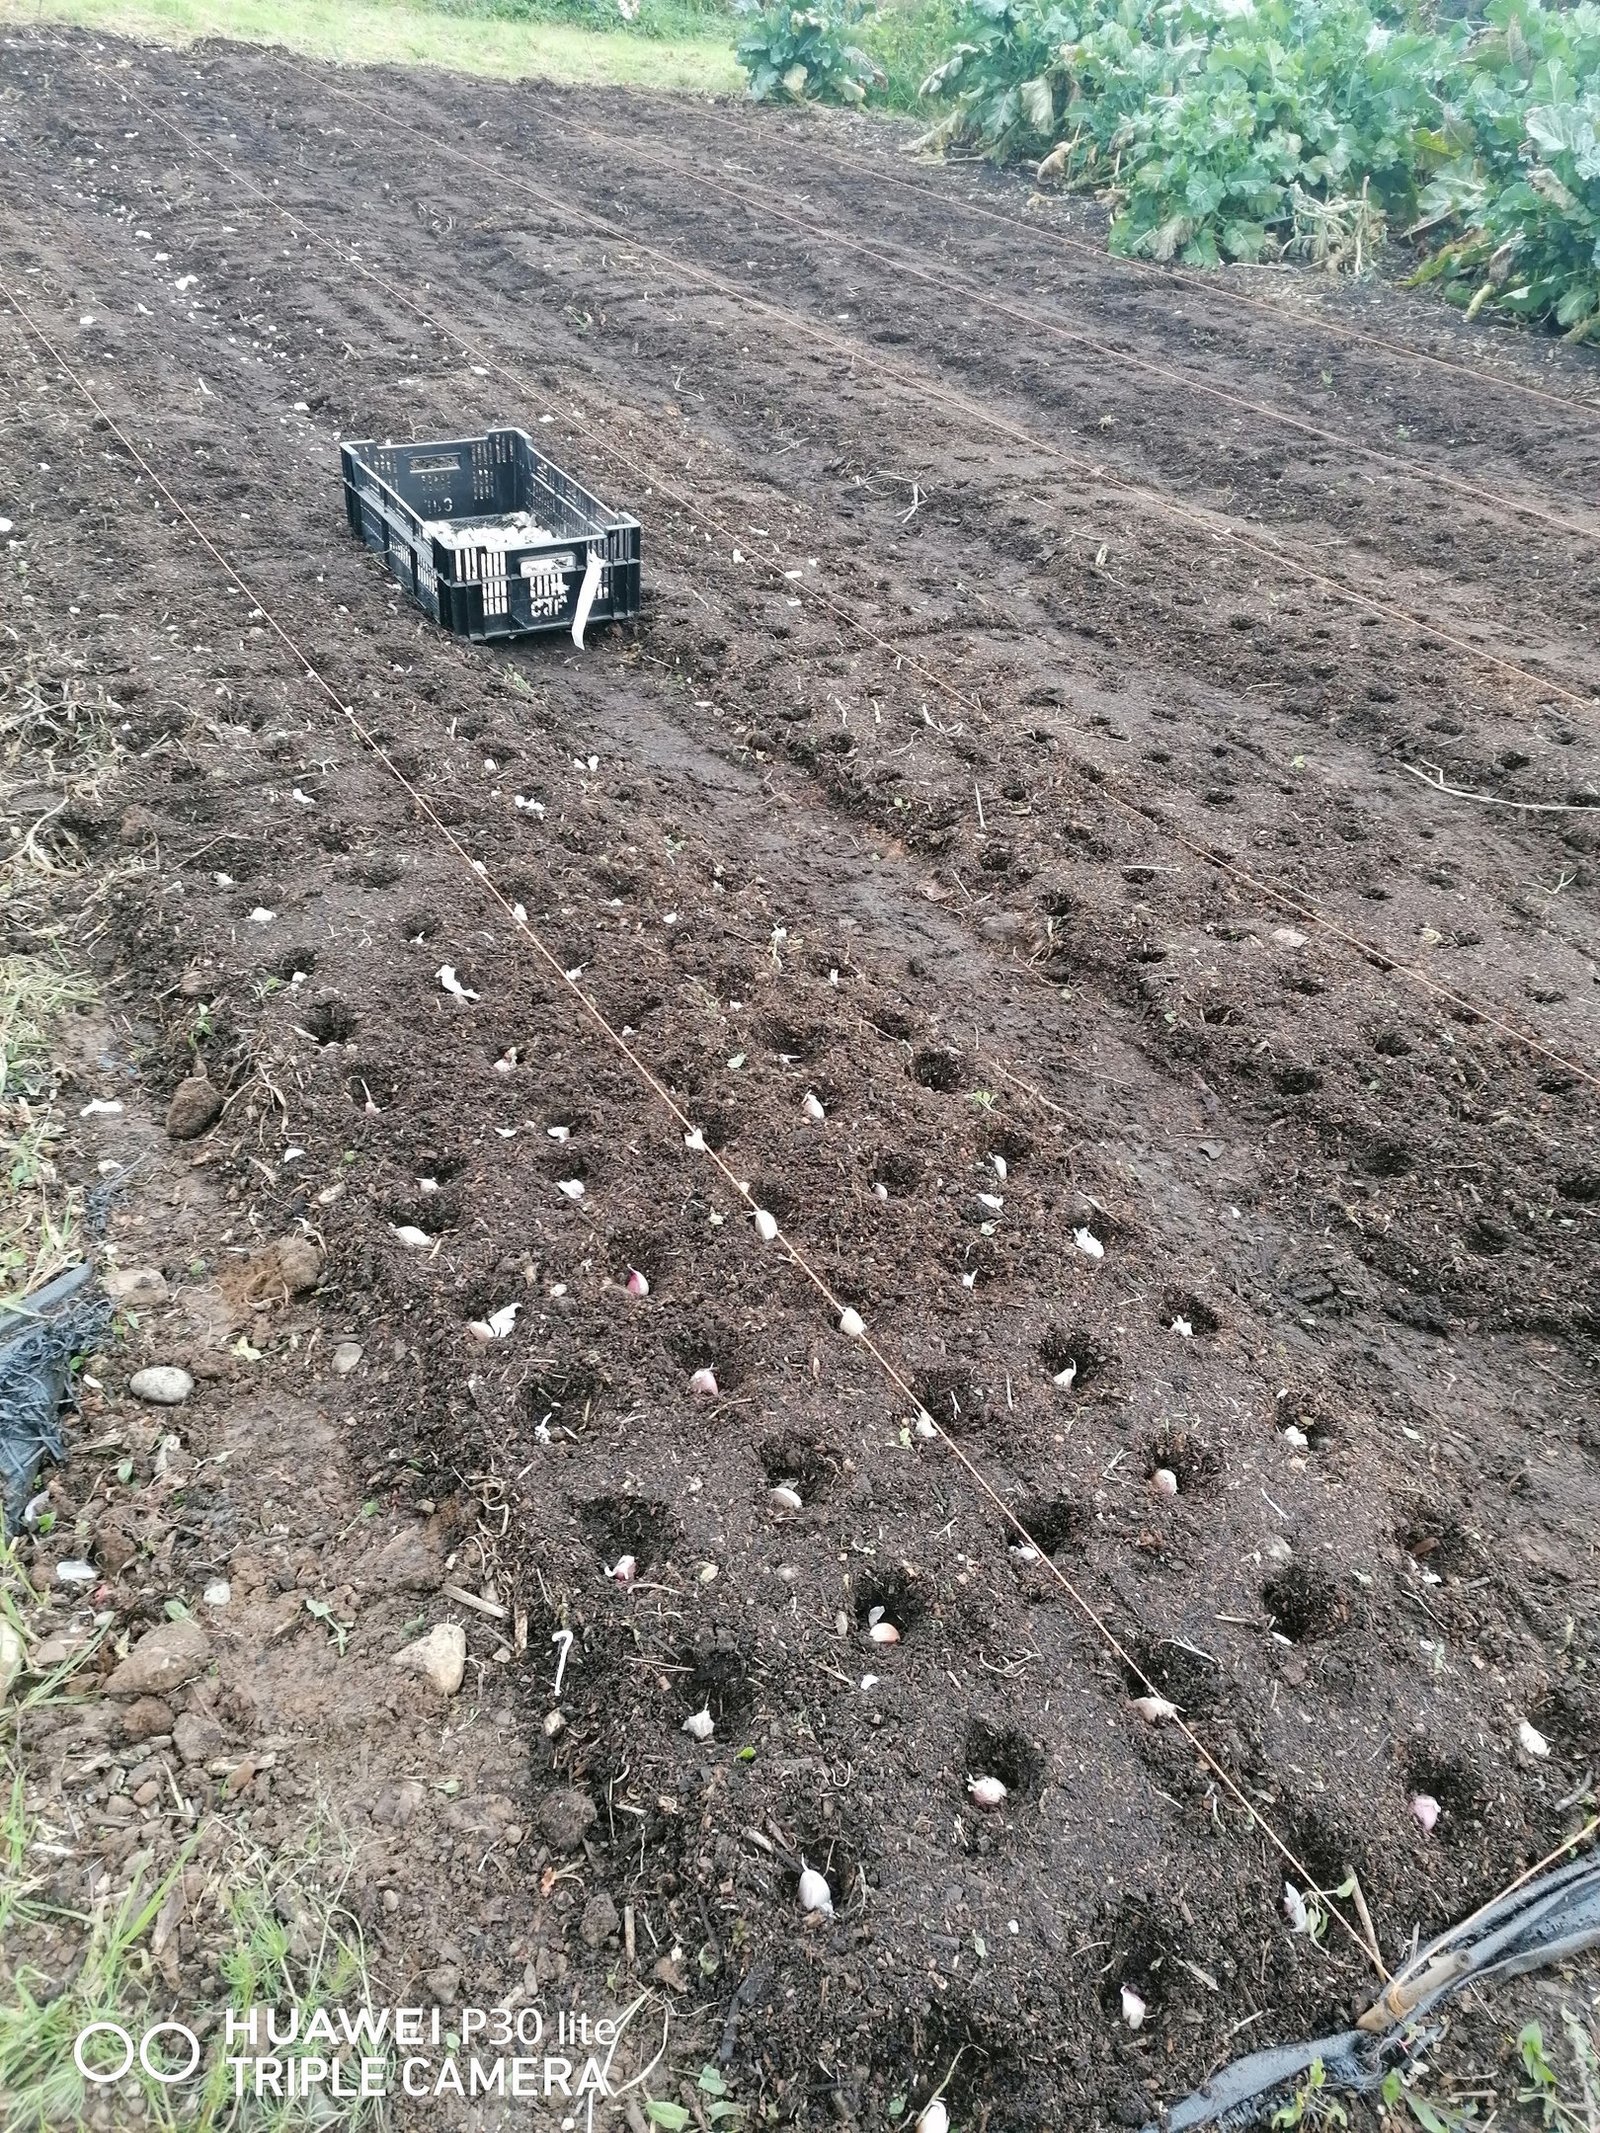
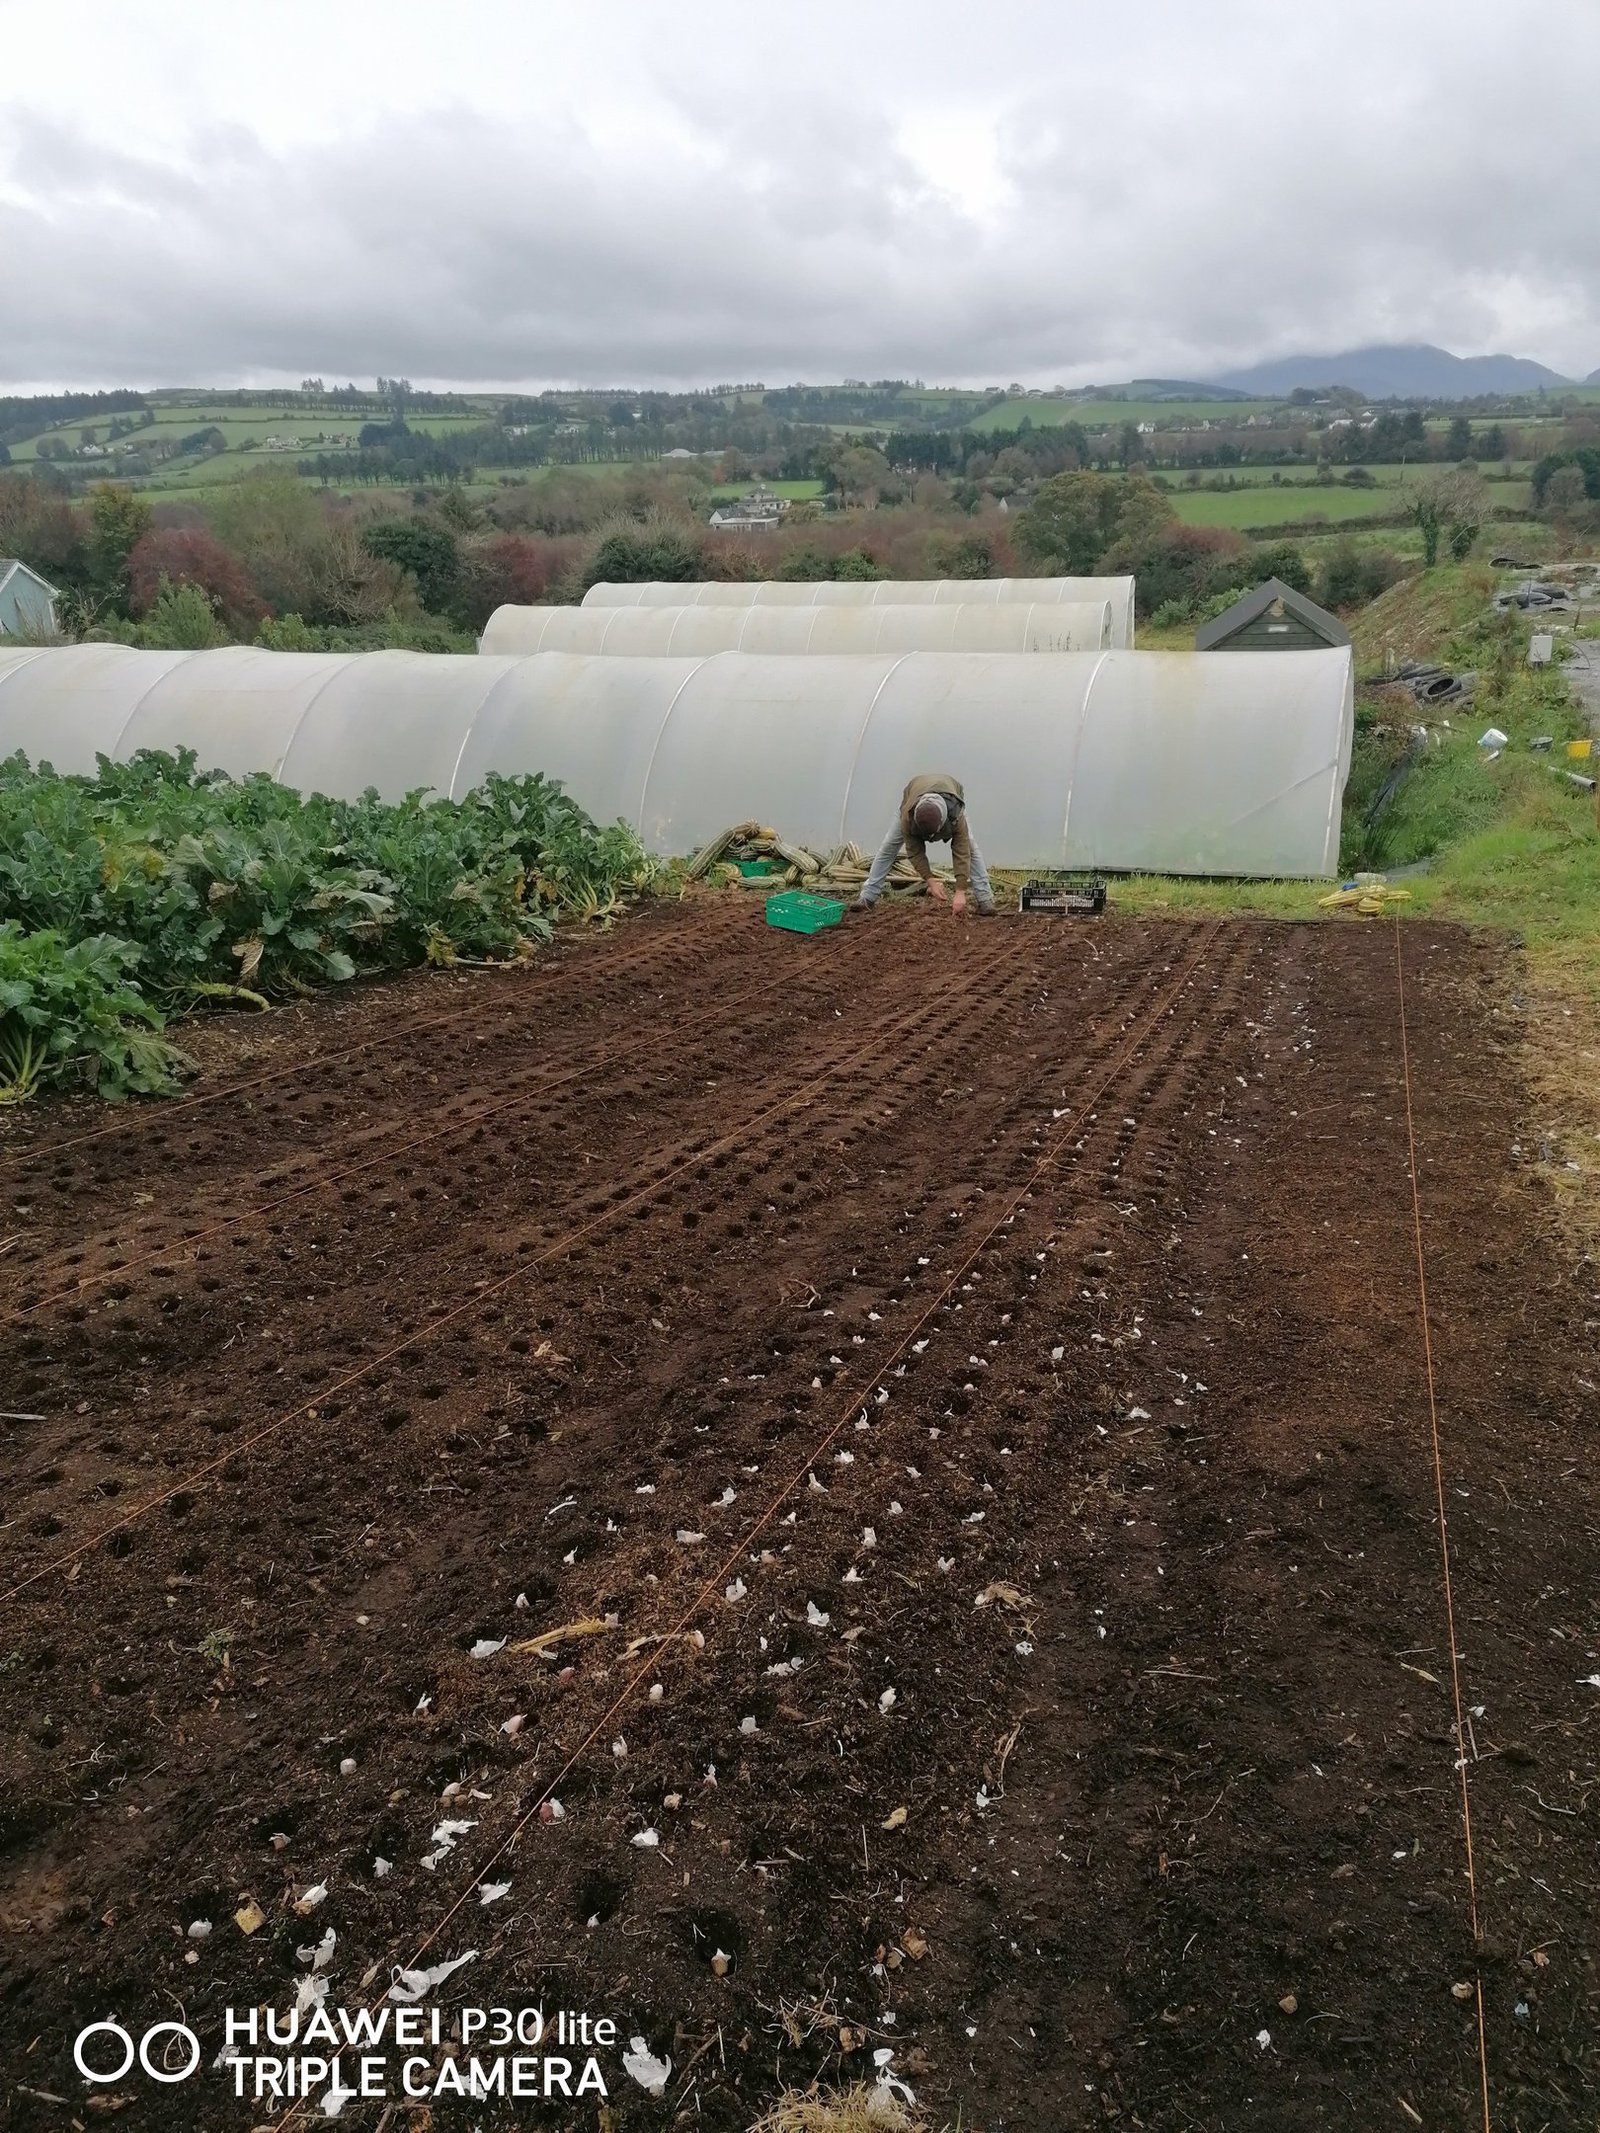
Timing is very important in garlic planting. In most regions, garlic is best planted in the fall, about four to six weeks before the ground freezes. We, here in the West of Ireland, plant ours around Halloween every year. This allows the cloves to establish roots before winter dormancy. In warmer climates, garlic can also be planted in early spring.
When planting, space the cloves approximately six inches apart in rows that are twelve to sixteen inches apart. Proper spacing not only promotes good air circulation but also minimizes competition for nutrients.
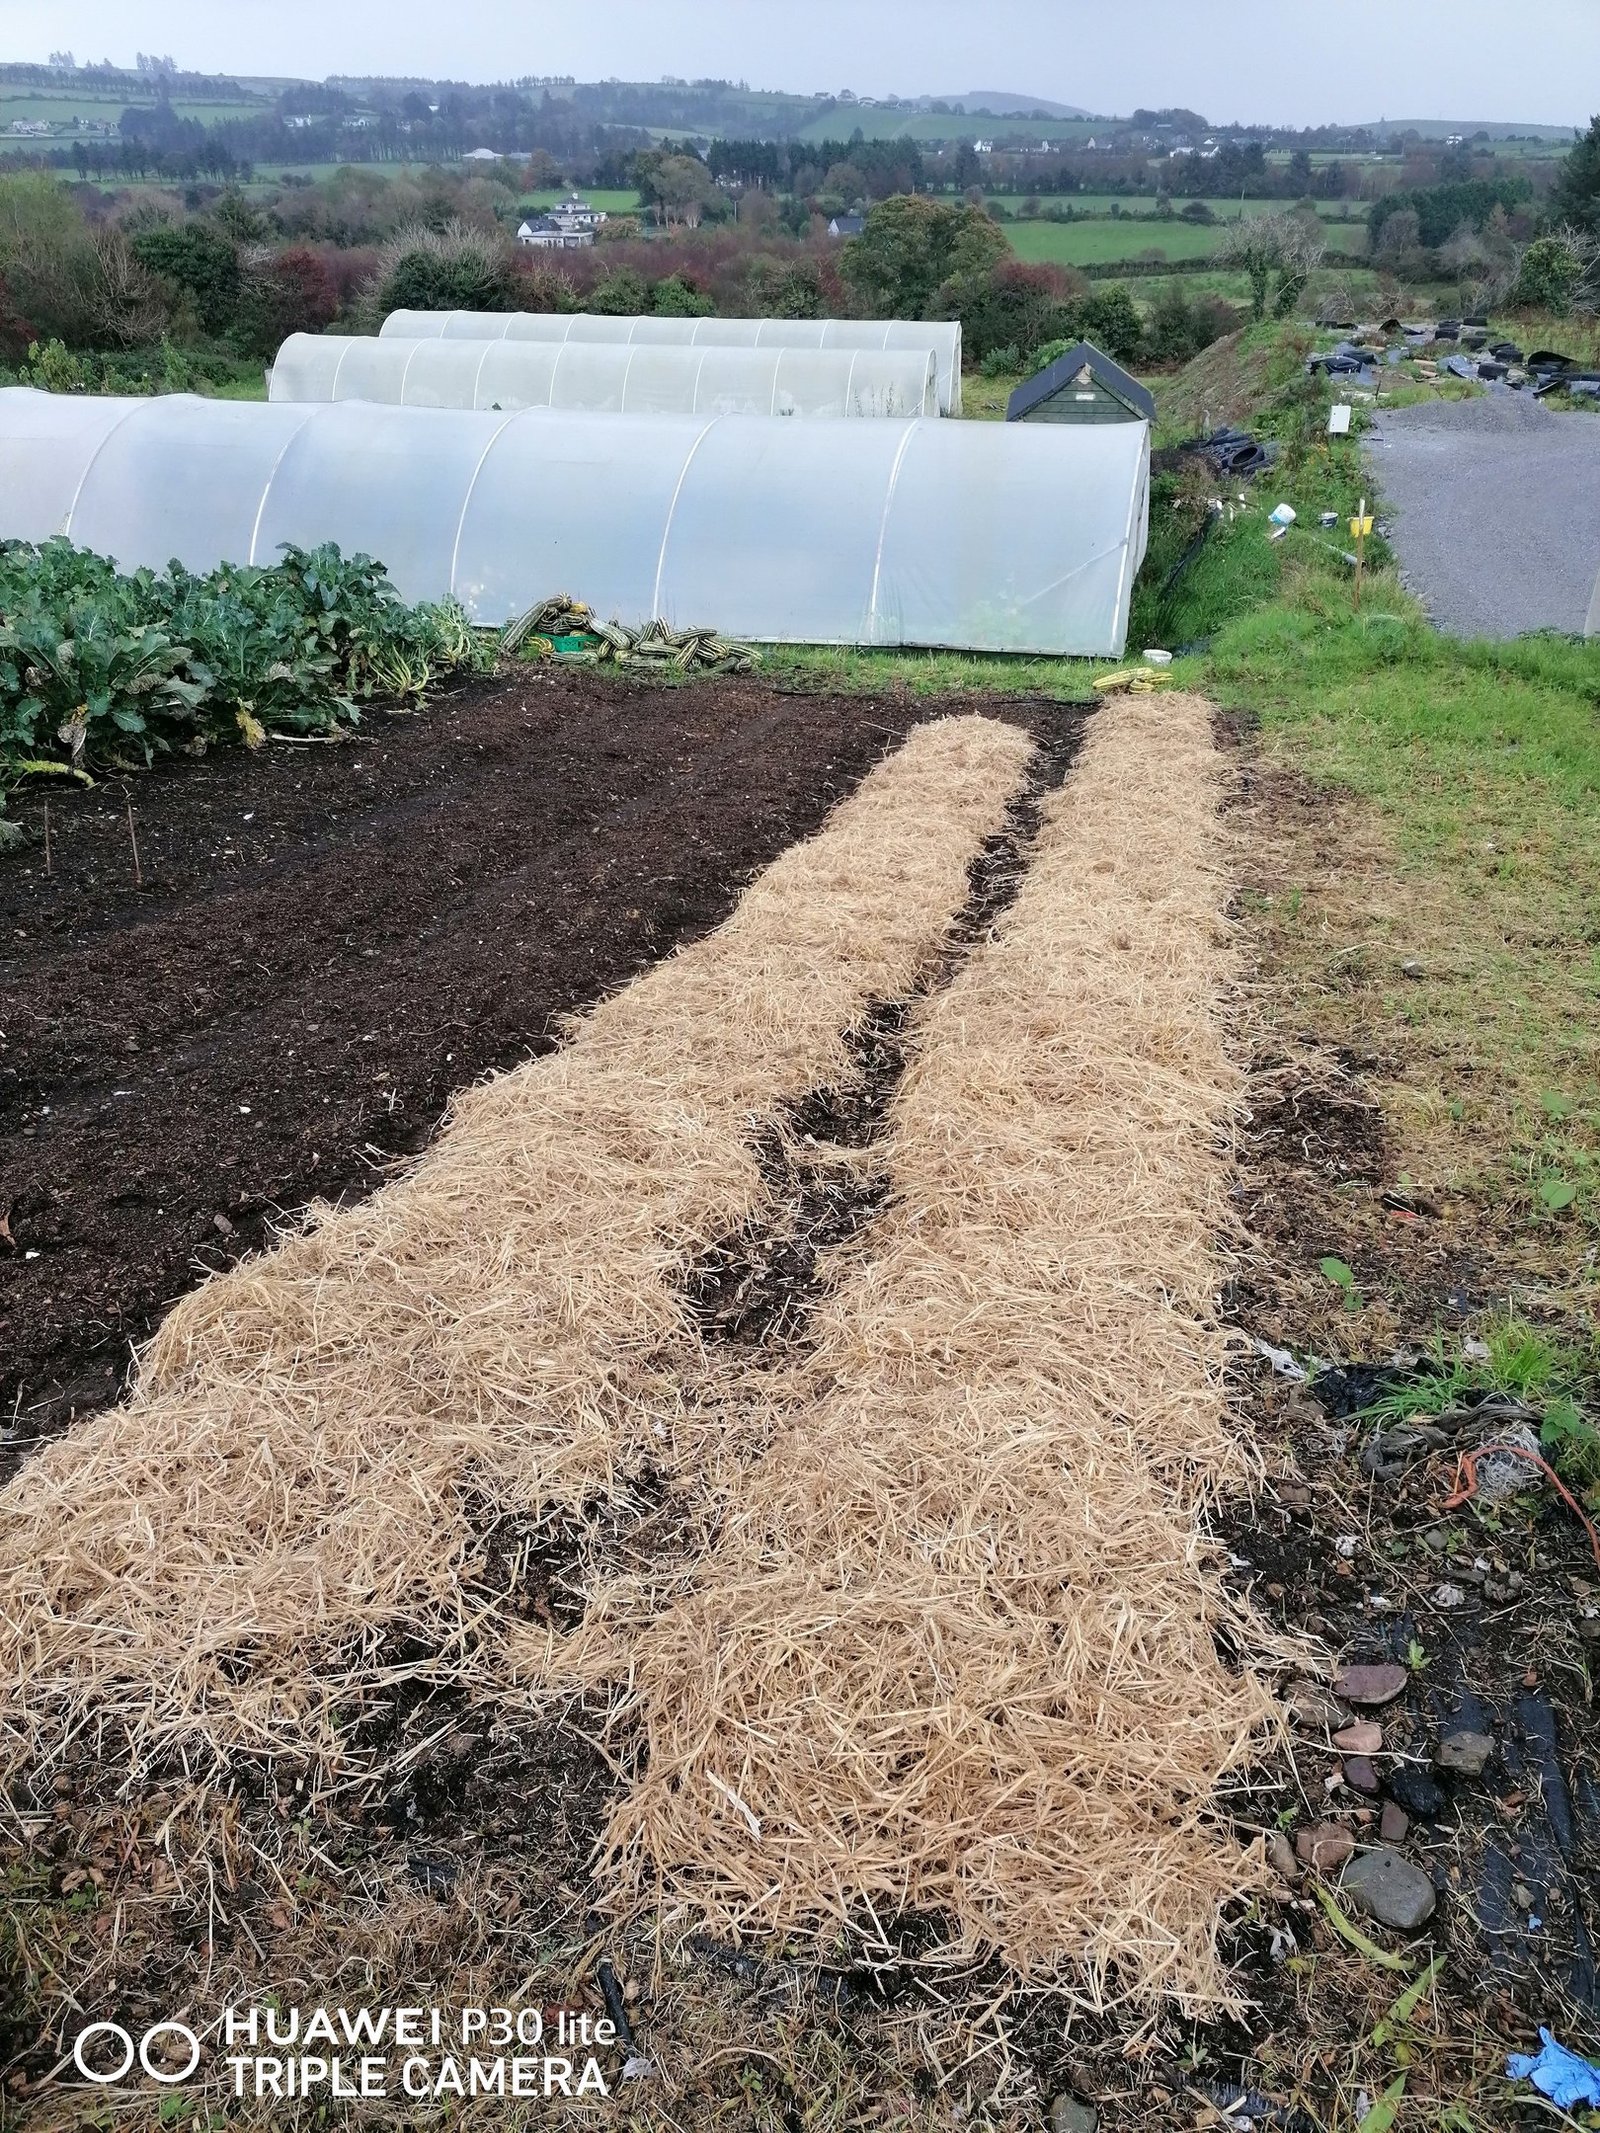
Watering is vital for garlic health, particularly during the first six weeks after planting. The general rule of thumb is to keep the soil consistently moist but not waterlogged. A task and a half around here as November tends to be very wet. We are lucky though as our beds are on a slope, which solves the drainage issue. Once the garlic begins to mature, usually evident by yellowing leaves, reduce watering to encourage bulb formation. Additionally, mulching can assist in retaining soil moisture, suppressing weeds, and maintaining a stable soil temperature. Organic materials like straw or wood chips can serve as effective mulch options.
Common pests and diseases
Pest control and disease management are critical components of garlic cultivation. Common pests include onion thrips and nematodes, which can affect garlic yields. Implementing crop rotation and practicing good sanitation can help mitigate pest issues.
Furthermore, trimming yellow or infected leaves promotes airflow and reduces the risk of diseases such as garlic rust and white rot. Regular monitoring and prompt action are essential for maintaining healthy garlic plants and ensuring a bountiful harvest.
Harvesting and Storing Your Garlic
To achieve the best flavor and longevity from your homegrown garlic, proper harvesting practices are essential. Generally, garlic is ready for harvest when the lower leaves start to yellow and dry out, while the upper leaves remain green. This typically occurs about eight to ten months after planting. To determine readiness more precisely, gently dig around the bulbs with a garden fork or a shovel, being careful not to damage them. When the bulb’s outer skins are still intact and the cloves appear well-formed, it’s time to harvest.
Once harvested, curing your garlic helps to enhance its flavor and extends storage life. Start by gently brushing off any soil without washing the bulbs, as moisture can lead to rot. Hang the garlic in small bundles or lay it flat in a single layer in a cool, dark, and well-ventilated area. Ideal conditions for curing include a temperature range of 60 to 70 degrees Fahrenheit (15 to 21 degrees Celsius) with humidity levels around 60 to 70 percent. The curing process generally takes two to three weeks; you’ll know your garlic is fully cured when the outer skins are dry and papery, and the necks feel firm and tight.
After curing, it’s crucial to store garlic properly to maintain its freshness and prevent spoilage. The best method involves placing cured garlic in a breathable container, such as a mesh bag or an open basket, in a cool, dark, and dry place. Ideal storage temperatures range from 60 to 65 degrees Fahrenheit (15 to 18 degrees Celsius). Avoid refrigerating garlic, as exposure to cold and moisture can lead to sprouting. With these simple steps, you can enjoy your flavorful garlic harvest for several months, enhancing your culinary creations long after you’ve pulled it from the ground.


