Getting Started:
How to Set Up Your Windowsill Herb Garden
Have you ever dreamed of having your own little healing garden right in your home? Well, your sunny windowsill is about to become your new favorite spot for growing medicinal herbs!
I remember when I first started my windowsill apothecary – it was just two small pots of chamomile and mint, but it quickly grew into something amazing. These days, more people than ever are discovering the joy of growing their own healing herbs, and the best part is that you only need about two square feet of sunny space to get started.
Starting out isn’t just about growing plants – it’s about connecting with ancient healing traditions right in your modern home. The wonderful thing about medicinal herbs is that they’re not just beautiful to look at; they can help with everything from stress to upset stomachs. Trust me, there’s something magical about sipping tea made from chamomile you grew yourself!
Whether you’re a complete beginner or you’ve killed a few plants in your day (haven’t we all?), this guide will help you create your very own indoor healing garden. In fact, growing herbs indoors can actually be easier than outdoor gardening since you have more control over the environment.
Plus, having fresh herbs at your fingertips means you’ll always have natural remedies on hand when you need them. Most importantly, you don’t need a green thumb or fancy equipment to get started – just some basic supplies and a willingness to learn. Ready to transform your windowsill into a thriving herbal apothecary? I’ve found “The Windowsill Herb Garden” by Mary Preus to be an incredible companion on my journey, and I’ll be sharing some of my favorite tips from it throughout this guide.
Let’s dig in and discover everything you need to know!

Essential Supplies Section
Setting up your windowsill apothecary starts with gathering the right supplies, but don’t worry – you won’t need to spend a fortune! Recently, I’ve been diving into “The Complete Guide to Growing Healing and Medicinal Herbs” by Wendy Vincent, and it’s revolutionized how I think about herb garden setup.
First, let’s talk about containers – I always recommend starting with 6-inch terracotta pots because they’re affordable and provide excellent drainage for most medicinal herbs. Good drainage is super important, which is why you’ll also need some small pebbles or broken pottery pieces to put at the bottom of your pots.
Next up is soil – and this is where you really don’t want to cut corners; a high-quality organic potting mix will give your herbs the best start possible.
While you’re shopping, grab some plant markers (or make your own from popsicle sticks) because trust me, all those tiny seedlings look alike at first!
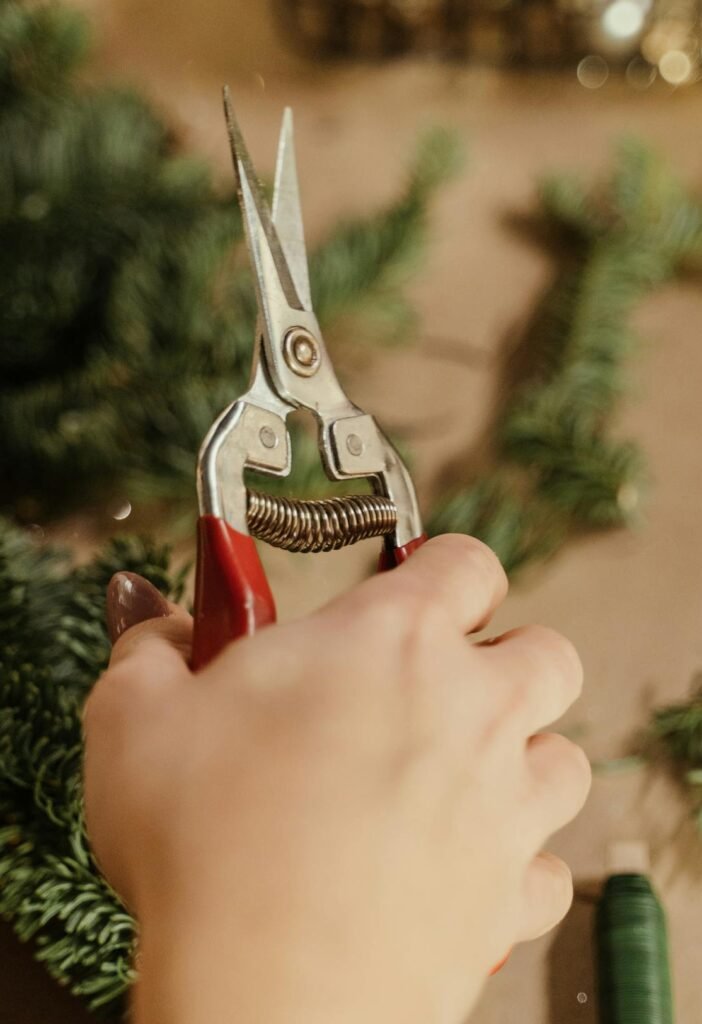
You’ll also need some basic tools like pruning scissors and a spray bottle for misting your plants. If your windowsill doesn’t get at least 6 hours of direct sunlight, consider adding a small LED grow light – they’re way more affordable than they used to be.
Don’t forget about some small jars or containers for storing your dried herbs later on. A basic moisture meter can be super helpful when you’re first learning how much water your herbs need.
Moreover, a simple notebook for tracking your plants’ progress can make a huge difference in your success rate. Finally, consider getting some trays to catch water drainage and protect your windowsill from moisture damage. The great thing about creating a windowsill apothecary is that you can start small and add tools as you go. Most importantly, remember that your setup doesn’t have to be perfect – many successful herb gardens start with just the basics.


Choosing Your Location
Let’s talk about finding the perfect spot for your windowsill apothecary – it’s not just about picking any old window! South-facing windows usually offer the best light for most medicinal herbs. But don’t worry if you don’t have the perfect sunny window – there are lots of ways to work with what you’ve got!
Temperature is super important too; most herbs are happiest between 65-70°F, so you’ll want to keep them away from drafty windows or heating vents. I’ve found that placing a simple thermometer near your growing space helps track conditions perfectly.
Here’s a cool trick: hold your hand about 6 inches from your chosen windowpane – if it feels noticeably cooler than room temperature in winter, you might want to add a layer of bubble wrap between your plants and the glass.
Humidity is another big factor, especially during those dry winter months when our heating systems are running full blast. You can easily boost humidity by grouping plants together or placing them on pebble trays filled with water. Some herbs, like mint and lemon balm, actually love a bit of extra moisture in the air.
If you’re working with limited space, don’t be afraid to think vertically – small shelves or tiered plant stands can double or triple your growing area! Just remember that light decreases dramatically as you move away from the window.
Sometimes the perfect spot isn’t just about the window itself – consider things like easy access for watering and whether you’ll be able to reach your plants easily for harvesting. Most importantly, choose a location where you’ll actually see and interact with your plants daily – out of sight often means out of mind when it comes to plant care!
First-Time Grower’s Top 5
As I was reading through “How to Grow Your Own Herbs: A Guide to Growing and Cooking Your Own Herb Garden” by Jake Ragen , I discovered these five herbs are perfect for starting your windowsill apothecary. Here’s everything you need to know about each one:
- Peppermint
- Growing Difficulty: Easy – almost too easy! (Known to take over if not contained)
- Space Requirements: 6-8 inch pot with room for spreading
- Basic Care Needs:
- Water when top inch of soil feels dry
- Partial to full sun
- Regular pruning to prevent overgrowth
- Monthly feeding with all-purpose organic fertilizer
- Common Uses:
- Digestive aid
- Freshens breath
- Cooling tea for summer
- Natural pest deterrent
- Thyme
- Growing Difficulty: Easy to Moderate
- Space Requirements: 4-6 inch pot, compact growth
- Basic Care Needs:
- Well-draining soil
- Full sun
- Let soil dry between waterings
- Trim after flowering
- Common Uses:
- Respiratory support
- Antimicrobial properties
- Immune system boost
- Soothing throat gargle
- Chamomile
- Growing Difficulty: Moderate
- Space Requirements: 8-10 inch pot for multiple plants
- Basic Care Needs:
- Moderate watering
- Full sun to partial shade
- Good air circulation
- Light, sandy soil
- Common Uses:
- Sleep aid
- Stress relief
- Gentle digestive support
- Skin-soothing compress
- Sage
- Growing Difficulty: Easy
- Space Requirements: 6-8 inch pot
- Basic Care Needs:
- Drought tolerant
- Full sun
- Well-draining soil
- Good air circulation
- Common Uses:
- Sore throat relief
- Memory enhancement
- Antibacterial properties
- Kitchen medicine staple
- Lemon Balm
- Growing Difficulty: Easy
- Space Requirements: 8-10 inch pot
- Basic Care Needs:
- Regular watering
- Partial to full sun
- Rich, well-draining soil
- Regular pruning to prevent legginess
- Common Uses:
- Anxiety relief
- Sleep support
- Digestive aid
- Cold sore treatment
Pro Tips for Your Starter Herbs:
- Start with just 2-3 plants until you get the hang of their care requirements
- Place stronger-scented herbs like peppermint and sage at the ends of your arrangement
- Group herbs with similar water needs together
- Consider getting two plants of your favorites so you can harvest more often
- Label everything! Even experienced gardeners mix up young herbs
Basic Care Guidelines
You know what makes your windowsill apothecary different from a regular herb garden? It’s all about that perfect balance of care to maximize medicinal properties. I’ve learned so much from “The Art of Growing Healing Herbs” by Rachel Woods, especially about nurturing herbs for their therapeutic benefits.
- Watering: Let’s talk about everyone’s biggest worry – watering! Here’s the thing: most medicinal herbs actually prefer to be a little on the dry side rather than swimming in water. I always tell my friends to use the knuckle test – stick your finger up to the first knuckle in the soil, and if it’s dry at that depth, it’s watering time. One super helpful tip I’ve discovered is watering from the bottom – just place your pots in a tray of water for about 15 minutes, and they’ll drink up exactly what they need.
- Light and Temperature: Your windowsill apothecary needs good light to produce those precious medicinal compounds – that’s what makes the herbs actually effective! Most healing herbs want at least 6 hours of sunlight daily. If your windowsill seems a bit dark (especially in winter), don’t stress too much – a small grow light can work wonders. As for temperature, most herbs are pretty chill (pun intended!) with normal room temperatures, but try to keep them away from cold drafts or heating vents.
- Feeding Schedule: Think of fertilizer as a multivitamin for your herbs – they’ll survive without it, but they’ll thrive with it! I’ve found that a gentle organic fertilizer once a month during the growing season is perfect. Just remember to dial it back in winter when growth naturally slows down. Here’s a neat trick: used coffee grounds make an amazing free fertilizer for most herbs!
- Pruning Guidelines: Regular pruning isn’t just about keeping your herbs looking neat – it actually encourages them to produce more of those valuable medicinal compounds. Don’t be shy about pinching back your herbs regularly; most of them actually grow better when harvested often. Always trim just above a set of leaves, and your plant will branch out with new growth from that spot.
- Pest Prevention: The good news about having an indoor apothecary is that you’ll deal with fewer pests than outdoor gardens. Still, keep an eye out for common indoor plant pests like spider mites or aphids. I’ve found that a simple solution of neem oil and water works wonders as a preventive spray. Plus, many medicinal herbs naturally repel pests – that’s part of their charm!
- Troubleshooting Common Issues: Yellow leaves? Probably too much water. Leggy growth? Your herbs need more light. Brown leaf tips? Could be too much fertilizer or low humidity. The key is not to panic – herbs are pretty forgiving, and most problems can be fixed once you identify the cause. I keep a small journal noting any changes I see, which helps me track what works and what doesn’t.
What’s really cool about maintaining a windowsill apothecary is that these care guidelines aren’t just about keeping plants alive – they’re about creating the most potent and effective healing herbs possible. Remember, a stressed herb might survive, but it won’t have the same therapeutic properties as one that’s well-cared for.
Conclusion
Starting your own windowsill apothecary might seem like a big step, but trust me – you’ve already got what it takes! After diving into “Healing Herbs: From Windowsill to Wellness” by Sarah Chen (which has become my go-to reference), I’m more convinced than ever that anyone can create their own healing herb garden, no matter how small their space might be.
Remember how we started this journey talking about those first two little pots of herbs? Well, that’s exactly how your windowsill apothecary can begin. Start small, maybe with that easy-going peppermint or resilient thyme we discussed earlier. Before you know it, you’ll be reaching for your own home-grown chamomile to make a calming evening tea, or harvesting fresh sage leaves for a sore throat gargle.
The beautiful thing about creating a windowsill apothecary is that it connects us to something ancient while fitting perfectly into our modern lives. You’re not just growing plants – you’re becoming part of a tradition that spans generations of healers and herbalists. Plus, there’s something incredibly satisfying about pointing to a thriving herb garden and saying, “I grew that!”
Don’t worry if you make some mistakes along the way – every brown leaf and droopy plant is just a lesson in disguise. I still remember accidentally drowning my first sage plant (who knew they hated wet feet so much?), but now I have a thriving collection that provides healing herbs year-round.
Ready to take the next step? Here’s your simple action plan:
- Choose your sunniest windowsill
- Pick up just basic supplies we discussed
- Start with 2-3 beginner-friendly herbs
Next week, we’ll dive into specific growing tips for each medicinal herb in your garden. Until then, remember that every expert herbalist started exactly where you are now – with a sunny windowsill and a desire to grow something healing.
Oh, and don’t forget to grab your free printable “Windowsill Apothecary Starter Guide” below. It includes care charts for all the herbs we’ve discussed and a monthly maintenance checklist to keep you on track!


