Every year, we plant more garlic than the year before — it’s officially become the crowned king of our garden! But here’s the secret: growing garlic is only half the fun. Knowing how to cure garlic properly is the other half — and trust me, it’s where the magic happens.
Freshly dug-up garlic is like a wild child: a little rough around the edges and not quite ready for prime time. Curing it is like sending it to garlic finishing school — drying, softening, and mellowing until it’s ready to hang out in your pantry for months, tasting richer and more delicious than you ever imagined.
At first, curing garlic can seem like some mysterious, fancy gardening ritual. But really? It’s as simple as hanging up your laundry, just with a lot more garlic smell. And once you nail it, you’ll feel like a garlic whisperer — knowing exactly when those bulbs are perfectly cured and ready to savor.
We’ve had our fair share of “oops” moments (like that one year when half the bulbs sprouted in storage—yikes!). But after some experimenting, we’ve nailed the best way to cure garlic so it lasts long, tastes great, and keeps us dreaming about next year’s even bigger crop.
Stick with me, and I’ll show you all the tricks to turn your garlic harvest into a long-lasting pantry treasure. Ready? Let’s dive in!
What Does It Mean to Cure Garlic?
Think of curing garlic as sending your fresh-from-the-garden garlic bulbs on a little spa retreat after all that hard growing work. It’s not just about drying them out — it’s about gently coaxing the garlic to finish maturing so it lasts longer and tastes better. When garlic is cured, its outer skin tightens up, the stems dry out, and the cloves get that perfect firm-but-juicy texture we all love.
Why bother curing? Well, without this step, garlic is like a party guest who overstays their welcome — it quickly starts to sprout, rot, or lose that punchy flavor that makes it so magical in your cooking. Proper curing locks in that garlic goodness for months, so you can keep enjoying your harvest long after the last bulb was pulled from the ground.
Now, not all garlic is created equal when it comes to curing. Hardneck garlics — the fancy kind with a stiff central stalk — tend to cure beautifully and develop complex flavors that garlic geeks adore. Softneck garlic, which is what you usually find in grocery stores, cures well too and stores even longer, making it perfect for those who love to keep their garlic stash for ages.
So, whether you’re team hardneck or softneck, curing garlic is your ticket to a tasty, long-lasting harvest — no matter how much you’ve grown this year!
When and How to Harvest Garlic for Curing
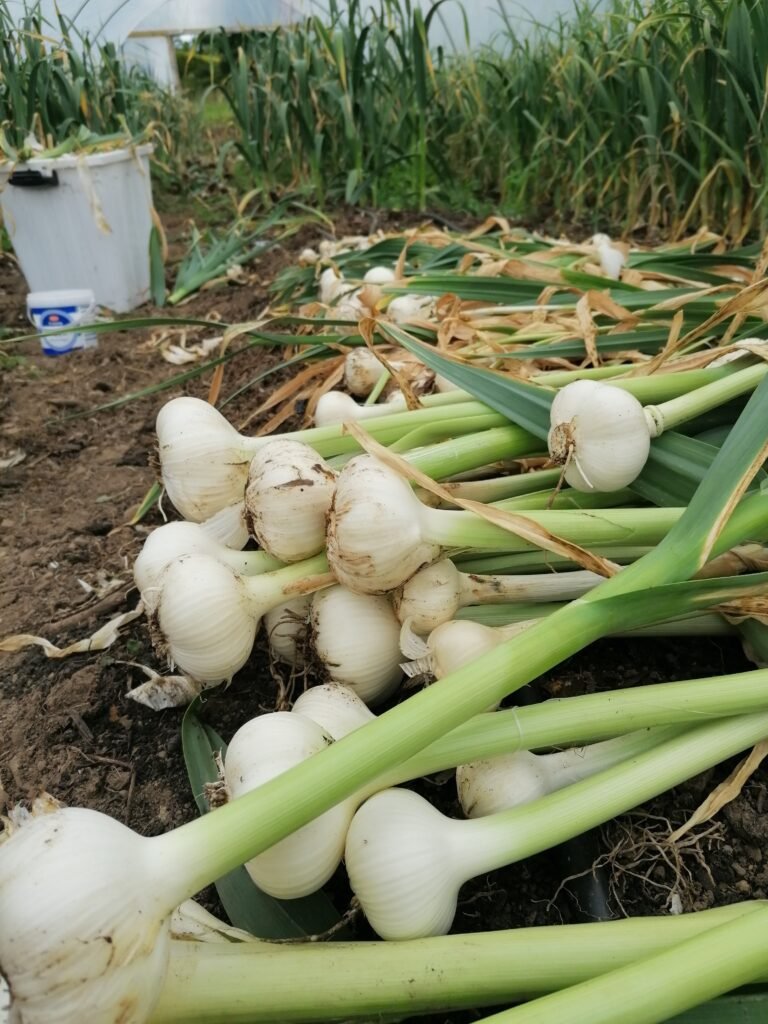
Harvesting garlic feels a bit like waiting for the perfect moment at a party — you want to catch it just as it’s at its peak, not too early and definitely not too late. So, how do you know when your garlic is ready for the big harvest? Look for those yellowing, dying-back leaves — when about half to two-thirds of the foliage has turned brown, it’s showtime. That’s your garlic telling you, “I’m ready!”
When it comes to tools, think gentle but firm — a garden fork or shovel works wonders. Slide it carefully under the bulbs and lift them out like you’re rescuing a delicate treasure. Avoid tugging or yanking, because bruised or nicked garlic bulbs are the enemy of long-term storage.
Speaking of which, keeping those bulbs intact is key! Damaged garlic can start to rot or sprout way before its time. So, no chopping or bruising during harvest. Treat your garlic like the precious, smelly gems they are — handle with care, and they’ll reward you with months of flavorful cloves.
With the right timing and a gentle touch, you’ll set yourself up perfectly for the next step: curing your garlic into a pantry superstar.
Pre-Curing: Cleaning and Preparing Garlic
Before your garlic heads off to its curing spa retreat, it needs a little pre-treatment — think of it like a gentle rinse-off, but without the actual water! Start by brushing off the excess soil with your fingers or a soft brush. Be careful not to rub too hard, or you might nick those delicate papery skins that protect your garlic during curing. Those skins are like garlic’s cozy pajamas — you want to keep them intact!
Now, about trimming: hold off on cutting the roots or tops just yet. Leave the stems and roots as they are for now, since they help the garlic dry evenly and stay healthy during curing. You’ll get to the trimming party later, once the curing process is complete.
And here’s a big garlic no-no: don’t wash your garlic with water before curing!
Moisture is garlic’s arch-nemesis when it comes to long-term storage. Wet garlic can easily turn into a soggy mess or start to mold. So, resist the urge to wash — a good dry brushing is all it needs at this stage.
By prepping your garlic gently and properly, you’re giving it the best chance to cure perfectly and keep its flavor locked in for months to come.
How to Cure Garlic: Step-by-Step
Ideal Temperature and Humidity Conditions
Garlic loves a cozy, airy spot to dry out — think of it as a spa day but with no steam or hot stones. The perfect temperature is between 60°F and 70°F (15°C to 21°C), with low humidity to keep things crisp. Too much moisture, and your garlic might get moldy or start sprouting — yikes! Make sure your curing area has good airflow, so those bulbs can breathe easy and dry evenly.
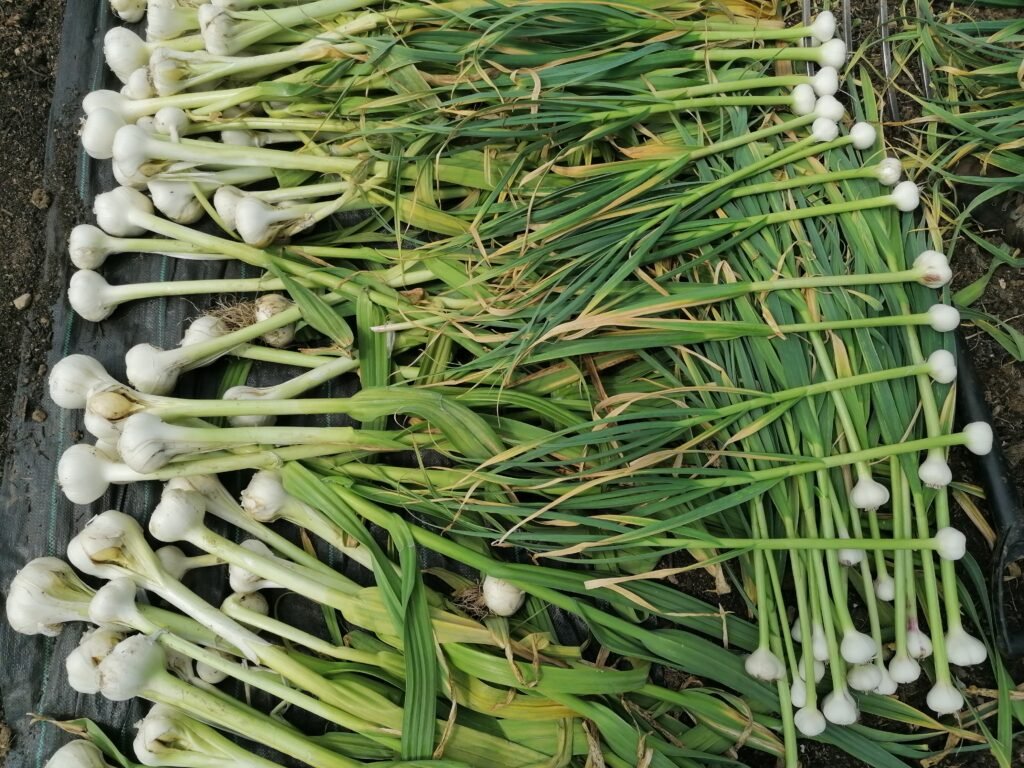
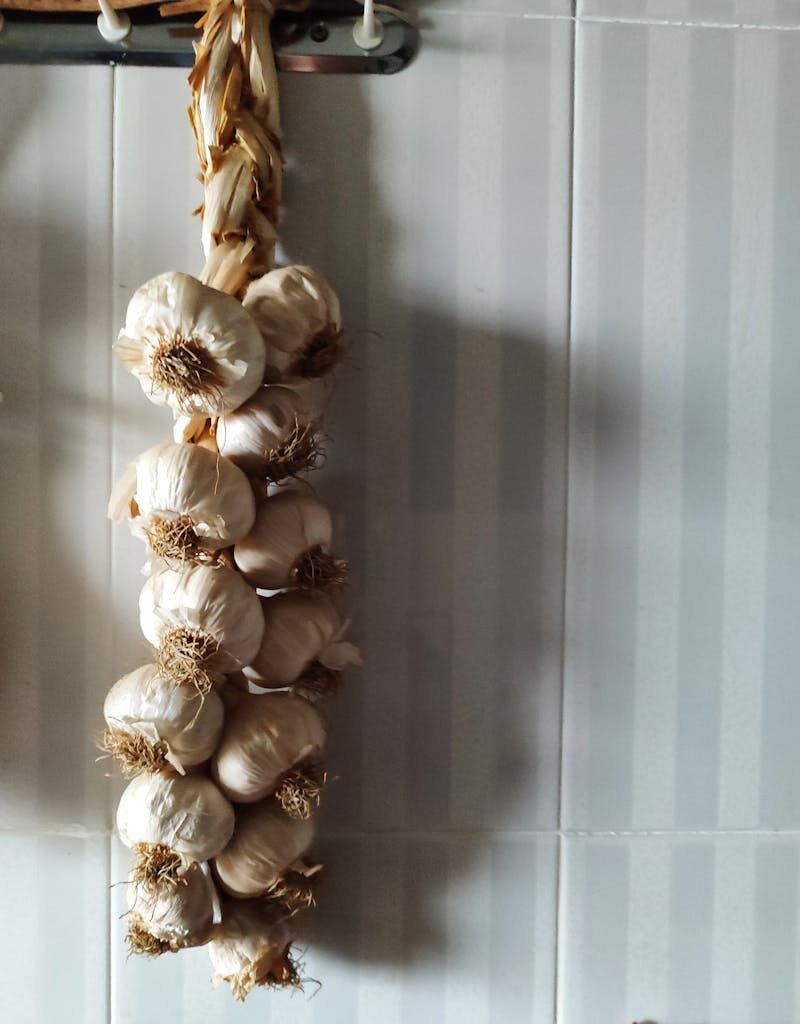
Hanging vs. Rack Curing Methods
There are two classic ways to cure garlic: hanging and rack curing. Hanging garlic braids or bundles is like giving your garlic a fun aerial yoga session — suspended in the air with plenty of circulation. If you don’t have space for hanging, a mesh rack or screen works great too, letting air flow all around each bulb. Both methods get the job done, so pick whichever fits your space and style.
How Long to Cure Garlic (Timeframes by Type and Environment)
Patience is key! Usually, garlic takes between 2 to 4 weeks to cure properly. Hardneck varieties might cure a bit faster than softnecks, but the environment plays a big role too. In a dry, warm spot, your garlic could be ready in 2 weeks, while cooler or more humid spots might need closer to a month. Keep checking, but don’t rush it — curing is all about letting nature do its thing.
How to Know When It’s Fully Cured
So, how do you tell when your garlic has finished its curing makeover? The stems should be dry and brittle, almost like straw, and the outer skins papery and snug around the cloves. Give a gentle squeeze — the bulb should feel firm, not soft or squishy. If all these signs check out, congratulations! Your garlic is ready for long-term storage and all the delicious meals ahead.
Common Garlic Curing Mistakes to Avoid
Overdrying or Undercuring
It’s a bit like Goldilocks — your garlic doesn’t want to be too dry or too moist. Overdrying can make the cloves brittle and flavorless, while undercuring risks mold and sprouting. Aim for that perfect middle ground where the garlic is dry enough to store but still juicy and flavorful inside.
Curing in Direct Sun or Damp Spaces
Garlic is shy about the spotlight — curing it in direct sunlight can scorch the skins and cause uneven drying. On the flip side, damp or humid spots turn your garlic curing into a mold fest. Find a cool, shaded, and well-ventilated space where your bulbs can relax and dry at their own pace.
Stacking Bulbs or Poor Airflow Issues
Garlic needs personal space! Piling bulbs on top of each other or cramming them into tight spots cuts off airflow and invites rot. Spread them out nicely on racks or hang them loosely so air can swirl around each bulb, keeping them happy and healthy through the curing process.
Post-Curing: How to Trim and Store Garlic
When and How to Trim Stems and Roots
Once your garlic is fully cured, it’s time to give it a little makeover. Trim the stems about an inch above the bulb and snip off the roots close to the base. This cleanup helps keep your garlic neat and reduces the risk of mold or pests during storage. For precise trimming, I recommend using sharp garden shears or pruning scissors — tools like the Fiskars Garden Snips or the Corona Precision Pruning Shears work wonders.
Best Storage Containers and Locations
Garlic loves to breathe, so storing it in a dry, cool, and dark spot with good airflow is key to keeping it fresh for months. Mesh bags, hanging racks, or ventilated baskets are ideal for this job. I personally swear by the Growers’ Supply Garlic Storage Rack and the Mesh Produce Bags — they help garlic stay fresh and mold-free for the long haul.
How to Check for Spoilage or Mold
Even with perfect curing and storage, it’s smart to keep an eye on your garlic stash. Look for any soft spots, unusual discoloration, or fuzzy mold growth. If you spot any, remove the affected bulbs to prevent spread. A handy tool for close inspection is a small magnifying glass, like the Carson Mini-Mag, which makes spotting trouble easy. For prevention, natural antifungal sprays such as Neem Oil can keep your garlic safe and sound.
Creative Uses for Cured Garlic
Making Garlic Powder or Garlic Salt
Once your garlic is fully cured and dry, you can turn it into flavorful garlic powder or garlic salt—a fantastic way to preserve the taste and add it to all your favorite dishes.
Simple Garlic Salt Recipe:
- 100 g cured garlic cloves (dried and ground)
- 200 g fine sea salt
Mix the ground garlic powder evenly with the sea salt. Store in an airtight container. Use it to season meats, veggies, or popcorn!
For grinding, a quality spice grinder like the KRUPS Electric Spice Grinder or the Cuisinart Mini-Prep Food Processor works great.
Infused Oils and Vinegar (and Safety Warnings)
Garlic-infused oils and vinegars bring wonderful aroma and taste to salads and cooking—but be careful! Garlic in oil creates a low-acid, anaerobic environment perfect for botulism bacteria growth. To stay safe:
- Always use dried garlic or fully cured garlic cloves to reduce moisture
- Refrigerate infused oils and use within 7 days
- Alternatively, freeze the oil in ice cube trays for longer storage
Basic Garlic-Infused Oil Recipe: - 250 ml extra virgin olive oil
- 3–4 fully cured garlic cloves (peeled and lightly crushed)
Warm the oil gently (don’t boil), add garlic, and let it infuse for 1 hour at low heat, then cool and strain. Store in a clean glass bottle like the Oliveware Glass Infusion Bottle or Le Chateau Oil and Vinegar Dispenser Set in the fridge. Use quickly to avoid risk.
Braiding Softneck Garlic for Storage and Display
Softneck garlic varieties are perfect for braiding—this old-school technique not only looks beautiful but helps with air circulation to extend shelf life. Plus, it makes for a charming kitchen display! If you’re just starting out, braided garlic kits like the The Growers’ Box Garlic Braiding Kit or a set of Natural Raffia Craft Twine will help you get the perfect braid every time.
Conclusion:
And just like that, curing garlic becomes a little less mysterious, doesn’t it? Sure, there’s a bit of waiting involved, and maybe a dusty stem or two in your hair—but that’s all part of the charm. We’ve found that garlic is one of those crops that gives back what you put in tenfold. It’s tough, it’s generous, and when you cure it right, it’s like tucking little flavor treasures away for the long months ahead.
Now, curing might be only half the job, but it’s the half that makes the whole thing shine. With just a bit of know-how—harvest timing, a good breeze, and a bit of patience—you’ll be rewarded with bulbs that last well into winter (and if you’re like us, they won’t last that long because you’ll eat them all!).
As you store your cured garlic, don’t forget the creative side. Powder, salt, oils, vinegars, braids—there’s something joyful about turning a garden task into a kitchen delight. And if this is your first garlic harvest, welcome to the club. It only gets better from here.
If you’re just dreaming about growing your own garlic next season—or thinking of doubling your patch like we did—don’t miss our guide to growing garlic. It’s where the journey begins, and trust us, it’s a good one.
So here’s to full baskets, papery skins, and the rich, deep flavor of garlic grown with love. Happy curing, friends.