Let’s be honest—life gets busy. One minute you’re tending your windowsill herbs with loving care, and the next you’re racing out the door, keys in one hand and a half-drunk coffee in the other, completely forgetting about that poor parsley plant. It happens to all of us. That’s where a DIY self-watering planter really earns its keep.
Between juggling work, family, and remembering to defrost something for dinner, little things—like watering your plants—can slip through the cracks. And when it’s time for a holiday (finally!), unless you’ve got a very reliable neighbour or a plant-sitter on speed dial, coming home to wilted, crispy greens is almost guaranteed.
That’s why I fell in love with self-watering systems. They’re like a quiet little insurance policy for your plants, giving them just what they need without the daily fuss. Best of all, you don’t need to spend a cent on fancy gadgets—you can make your own using bits and bobs from the recycling bin.
In this post, I’ll walk you through how to make a clever, low-maintenance planter that waters itself while you get on with life. And if you want to dig deeper into other set-it-and-forget-it watering options, check out this full guide to self-watering planters for even more ideas.
So grab a bottle, some string, and a bit of potting mix—and let’s make a planter that’s as smart as it is sustainable.
What Is a Self-Watering Planter and Why Use One?
If you’ve ever returned home to droopy basil or a browning peace lily, then you’ll understand the quiet brilliance of a self-watering planter. At its core, it’s a simple setup: a hidden reservoir holds water, and a wicking system (often just a humble piece of string or fabric) gently draws moisture up into the soil as your plant needs it. No overwatering, no drying out—just steady, reliable hydration.
But the beauty doesn’t stop there. One of the biggest perks? Consistent moisture means happier roots and less guesswork for you. You’ll water far less often, which is perfect if you’re forgetful, busy, or planning a well-deserved holiday.
These planters are especially ideal for herbs, leafy greens, and indoor plants that prefer an even keel. Plus, they’re wonderfully eco-friendly. By reducing water waste and using recycled materials, you’re not just helping your plants—you’re helping the planet too.
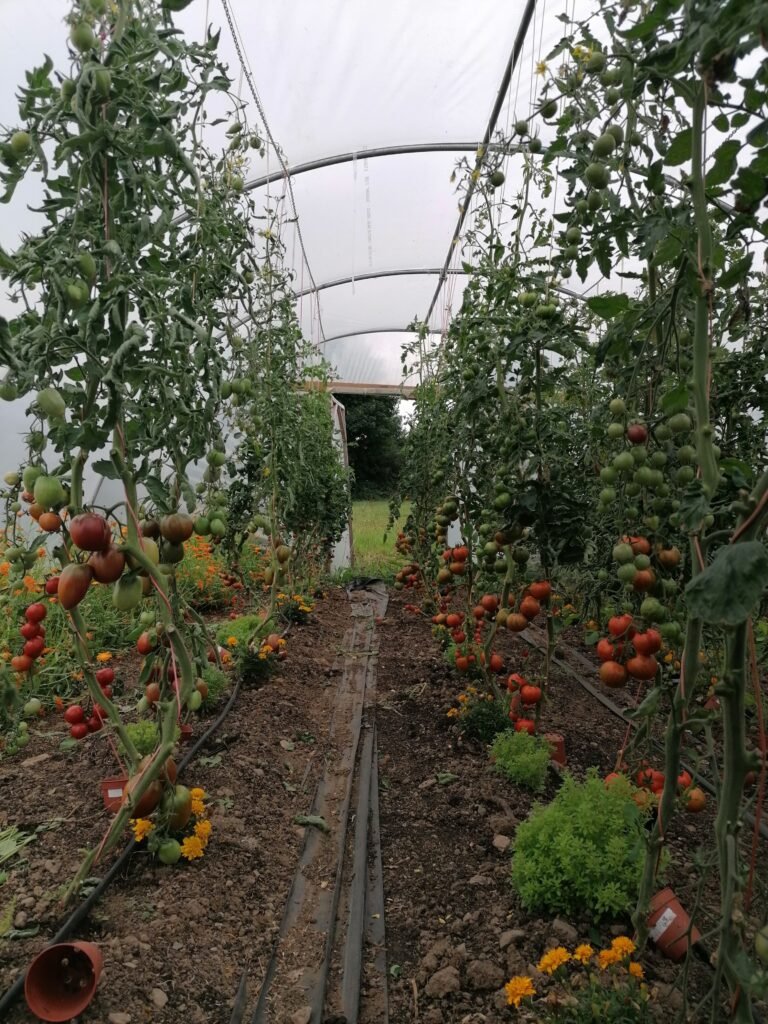
And let’s not forget: during hot summers or dry spells, a DIY self-watering planter can mean the difference between thriving tomatoes and a sad, thirsty garden. It’s a small change that makes a big difference.
Self-Watering Systems Through History: Ancient Wisdom, Modern Magic
Before plastic bottles and capillary mats, ancient gardeners were already a step ahead when it came to clever watering tricks. In fact, the idea behind a DIY self-watering planter isn’t new at all—it’s simply a modern echo of age-old techniques that worked with nature, not against it.
One of the most inspiring examples is the olla (pronounced oy-ya), an unglazed clay pot that dates back thousands of years and has been used across arid regions of the world—from China and North Africa to the American Southwest. Gardeners would bury these clay vessels beside their plants, fill them with water, and let the porous walls slowly seep moisture into the surrounding soil. The plants, in turn, would “drink” only what they needed. It’s a deeply efficient and sustainable way to water, and yes—people are still using it today!
Similarly, ancient Mesopotamians used channels and buried jars, while in parts of India, stone reservoirs and clever drip techniques were standard practice. These weren’t just survival strategies—they were acts of deep respect for water, land, and rhythm.
Today’s homemade self-watering planters follow the same principle: slow, steady hydration delivered right at the roots. So the next time you repurpose an old yogurt tub into a mini oasis for your basil, take a moment to smile—you’re part of a long and wise tradition of thoughtful, hands-off gardening.
Essential Supplies You Can Find at Home
Essential Supplies You Can Find at Home
Before you rush off to the hardware shop, take a wander through your recycling bin and that drawer of “random bits” everyone seems to have. Chances are, most of what you need to build your DIY self-watering planter is already in your home, just waiting for a second life in the garden.
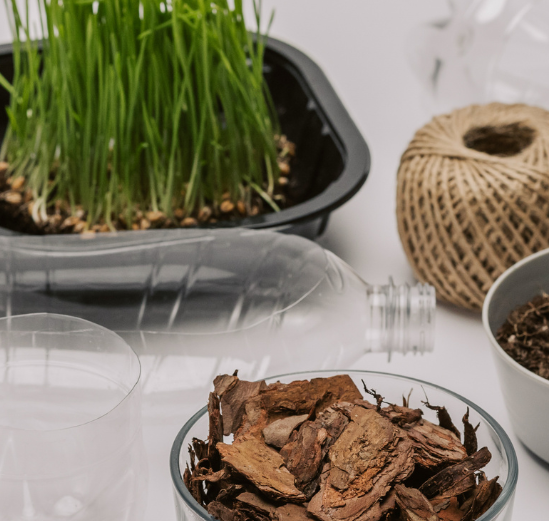
- Plastic bottles, old buckets, yogurt tubs, or takeaway containers make perfect reservoirs and planters. Even a cracked flowerpot can be reborn!
- Cotton rope, an old shoelace, or strips of fabric can be used as a wick to deliver water right where your plants need it.
- Upcycling tips galore: A milk jug becomes a reservoir. A chipped teacup? A charming herb planter. It’s all about seeing potential in the overlooked.
- Keep it safe: If you’re growing edibles, try to use food-safe plastics and avoid anything that may leach toxins into the soil.
- Optional but handy tools: A sturdy pair of scissors, a sharp utility knife, or even a drill will make assembly quicker and cleaner.
The best part? There’s a quiet kind of joy in turning everyday “junk” into something beautiful and useful. It’s the ultimate win-win: less waste, more green, and one step closer to a low-maintenance garden that waters itself.
Step-by-Step Guide to Building a DIY Self-Watering Planter
Ready to build your own little garden helper? Don’t worry—it’s simpler than it sounds, and once you’ve done it once, you’ll wonder how you ever gardened without it. Let’s walk through it together, step by step.
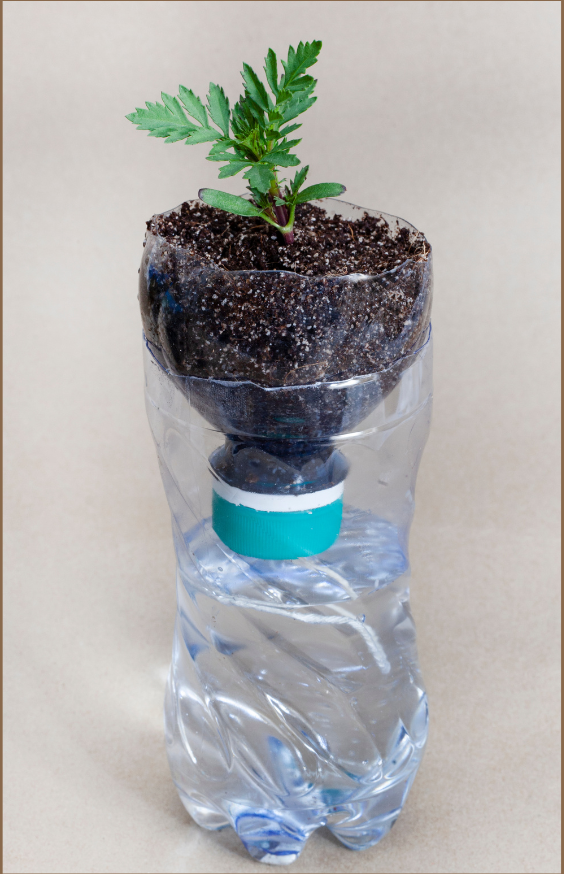
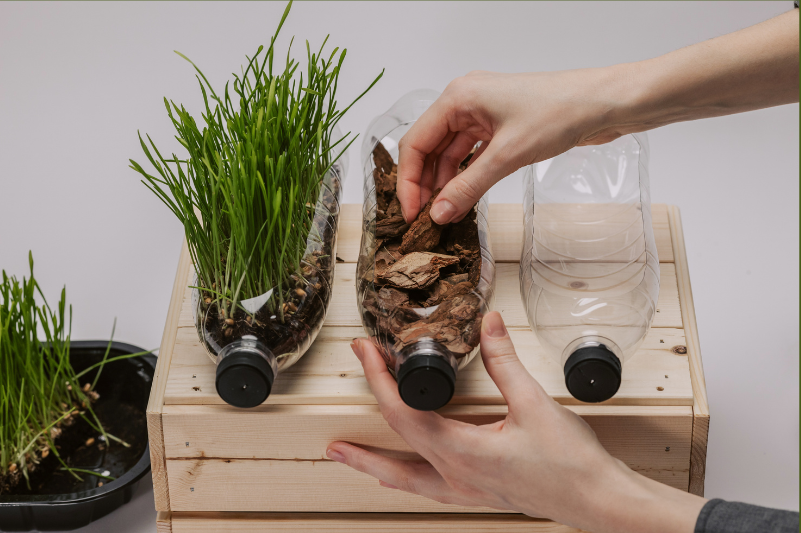
- Choose your container and reservoir
This could be two stacked yogurt tubs, a deep bucket with an inner pot, or even a large plastic bottle sliced in half. You’ll want one container to hold water and another for soil and roots. - Cut and prepare your wicking system
Grab a length of cotton rope, an old shoelace, or a strip of clean, absorbent fabric. This will draw water from the reservoir into the soil like magic. - Make overflow holes
Using a drill or something pointy (carefully now!), poke a small hole in the outer container just above the reservoir line. This prevents soggy roots if it rains or if you overfill. - Assemble the layers
Thread your wick through the base of the inner container so it hangs into the reservoir. Add a mix of good-quality potting soil, making sure the wick is nestled down where roots will grow. - Fill the reservoir and give it a test
Add water to the bottom section and check to see if the wick begins to draw moisture upward. If it stays dry, adjust or dampen the wick first. - Add your plant babies and top up the soil
Plant your herbs, lettuce, or cheerful petunias and finish with a sprinkle of soil. Done and dusted!
Now sit back, relax, and let your planter do the heavy lifting while you enjoy a cup of tea. Or go on that well-deserved weekend away—your plants are in good hands.
Variations for Different Sizes and Plant Types
One of the best things about self-watering planters? They’re as flexible as your garden dreams. Whether you’re working with a windowsill or a sprawling patio, there’s a version to suit your space and your plants. Let’s explore a few creative tweaks to fit your setup:
- Start small with a mason jar for herbs
For windowsill basil or a sprig of thyme, a simple mason jar with a bit of cotton string and a plastic cup insert works like a charm. Plus, it looks adorable. - Go big with a storage tub for tomatoes
Need something heftier? A large plastic storage bin can be transformed into a tomato-growing powerhouse. With a deep soil layer and a generous reservoir, it’s perfect for thirsty plants. - Try hanging planters made from recycled bits
Don’t have floor space? No problem. Old plastic bottles or even tin cans can become hanging self-watering pots when you add a wick and a bit of creativity. - Easily adapt for indoor or outdoor use
Whether your setup lives in the kitchen or on the porch, you can adjust the container style and drainage to suit the environment. Just be sure to protect surfaces indoors with a tray. - Customize based on your plant’s personality
Lettuce loves steady moisture, while rosemary prefers it a bit drier. Tweak your soil mix, wick thickness, or watering schedule based on what each plant thrives on.
With a bit of imagination and a few household odds and ends, you can tailor your self-watering planter to any plant, any place. It’s like giving your garden a little thoughtful upgrade!
Troubleshooting Common Problems
Even the best DIY projects hit a few bumps. Luckily, most issues with self-watering planters are easy to fix with a tweak or two.
- Water not wicking properly?
Start by checking the wick placement. It should fully touch both the soil and the bottom of the reservoir. - Dealing with algae or mold in the reservoir?
Cover the water chamber to block sunlight. Less light means fewer spores and less green gunk building up. - Wick seems too slow or too fast?
Try adjusting the thickness or length. A thicker wick moves more water, while a thinner one slows the flow. - Noticed signs of root rot or constant soggy soil?
Add overflow holes or check that they’re not blocked. Let the topsoil dry slightly before refilling the reservoir. - Want to keep things running smoothly through the seasons?
Empty and clean your planter every few months. In winter, bring it inside or drain to avoid freeze damage.
A few quick checks now and then will keep your DIY system humming along—no soggy surprises, just happy, hydrated plants!
Maintenance and Care Tips for Long-Term Use
Even the most low-maintenance planters appreciate a little TLC now and then. With just a few simple habits, your self-watering system can thrive season after season.
- Refill the reservoir before it runs dry.
Depending on the weather and plant size, this might be every few days—or once a week during cooler spells. - Give your planter a gentle clean now and again.
Rinse the reservoir and wipe away any grime or algae. A little vinegar helps keep things fresh and tidy. - Keep an eye on your plant’s mood.
If the leaves droop or the soil looks too dry or soggy, check the water level and wick connection. - Rotate your planter regularly.
This helps ensure even sun exposure and drainage—especially helpful for plants that lean or reach for the light. - Consider a yearly refresh.
After a long growing season, repot with fresh soil, inspect the wick, and decide if it’s time for a rebuild.
With these easy steps woven into your weekly rhythm, your DIY planter will keep nurturing your plants quietly in the background—no fuss, just that lovely hum of self-sufficiency.
Wrapping It Up: A Little Time Now, A Lot Less Fuss Later
So there you have it—a clever little system to keep your plants happy without demanding daily attention. And let’s be honest, anything that saves time and keeps the garden thriving while we’re off living life? That’s worth its weight in worm castings.
With a DIY self-watering planter, you’ll spend less time fussing and more time enjoying the good bits—like watching new leaves unfurl or sipping tea beside a tomato that’s actually fruiting for once. Plus, it’s one more way to upcycle those odds and ends lying around the house.
Of course, no system is totally hands-off. But with a few minutes here and there, you’ll stay ahead of the game. And when life throws a heatwave or a last-minute weekend away your way? You’ll be ready.
As always, the real magic is in the details. That’s why your next step is choosing the right soil. Because even the best planter can’t fix poor drainage or compacted compost.
Ready to mix up something that holds moisture but doesn’t drown your roots? Pop over to the next post for The Best Soil Mix for Self-Watering Containers. It’ll walk you through the perfect blend—whether you’re planting herbs, lettuce, or that tricky basil you’ve been trying to impress.
Until then, happy planting—and may your plants sip steadily, even while you sleep in.