We knew we needed a better way to feed our soil—something long-term, something real. However, if I’m honest? Our bank account didn’t quite match our dreams of lush, living garden beds. That’s exactly when I stumbled across JADAM fertilizer at home, and everything began to shift.
At first, it wasn’t just the price—or rather, the lack of one—that caught my eye. More importantly, it was the philosophy. Unlike conventional methods, JADAM isn’t about buying your way to better crops. Instead, it’s about working with the natural world, using the microbes and materials already beneath your feet to build healthy, living soil. No flashy labels. No expensive plastic tubs. Just buckets, leaf mold, and time.
In the beginning, I wasn’t entirely sure what I was doing. After all, fermenting forest bits in the garden shed felt more witchy than scientific (which, honestly, I kind of loved). But then something changed. The first time I poured that dark, earthy brew around our tomatoes and watched them perk up—like they’d just had a good cry and a nap—I was hooked.
So if you’re like us, with more compost piles than coins, and more curiosity than credentials, this guide is for you. Here, I’ll walk you step-by-step through how to make JADAM fertilizer at home—from gathering leaf mold to brewing your first batch of microbial magic.
Because in the end, good soil doesn’t have to cost the earth. It just needs love, leaf mold, and a whole lot of microbes.
“If you want to find the secrets of the universe, think in terms of energy, frequency, and vibration.” – Nikola Tesla
What Is JADAM and Why Is It Revolutionary?
JADAM began in South Korea, founded by a farmer named Youngsang Cho. His mission was clear: to make farming natural, simple, and dirt cheap. From the very beginning, his goal wasn’t to sell products—it was to empower growers.
Unlike many organic methods, JADAM doesn’t rely on expensive inputs or branded solutions. Instead, it makes use of what’s already around you—leaf mold, water, sea salt, and a little local know-how. That shift in mindset changes everything.
In fact, that’s exactly what sets JADAM apart. While other systems often encourage you to buy your way to better results, JADAM teaches you how to make your own solutions—right from your garden gate, using ingredients you can gather for free.
Even better, this method doesn’t fight against nature. Rather, it works with it. It enhances soil life, strengthens plant immunity, and steadily builds long-term fertility. Over time, your garden becomes more resilient, more alive.
You can think of JADAM like a homemade probiotic for your soil—rich with life, balanced in nutrients, and deeply nourishing to every root it touches.
For home gardeners especially, it’s a total game changer. Not only is it affordable and accessible, but it also frees you from the cycle of constant garden centre runs and synthetic fixes.
So in the end, it’s simple: more microbes, fewer bills. Less waste, more abundance. And honestly—what’s not to love?
Essential JADAM Fertilizer Ingredients You’ll Need
You don’t need much to get started—just a few natural ingredients and some basic supplies. Let’s break it down:
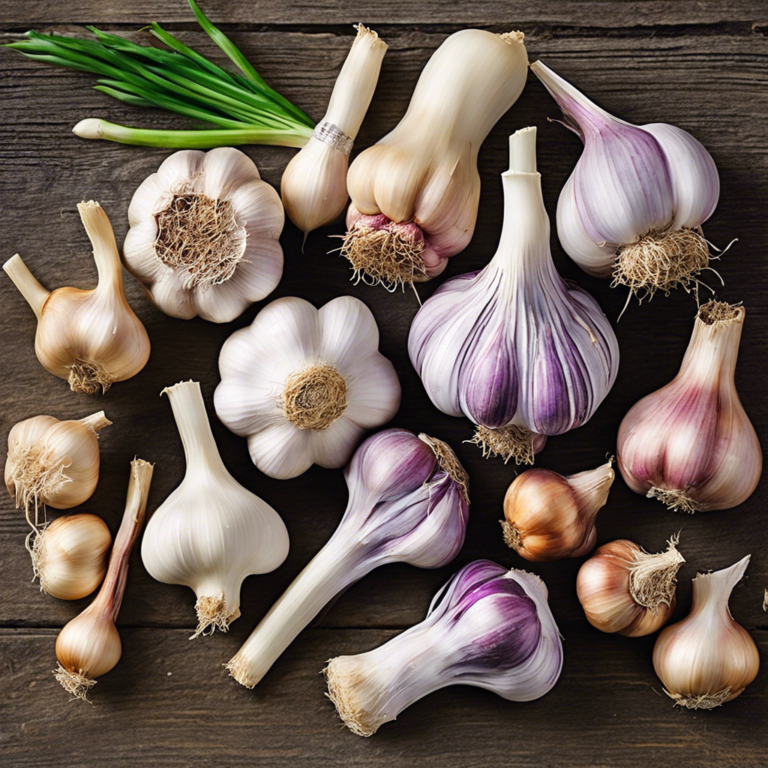
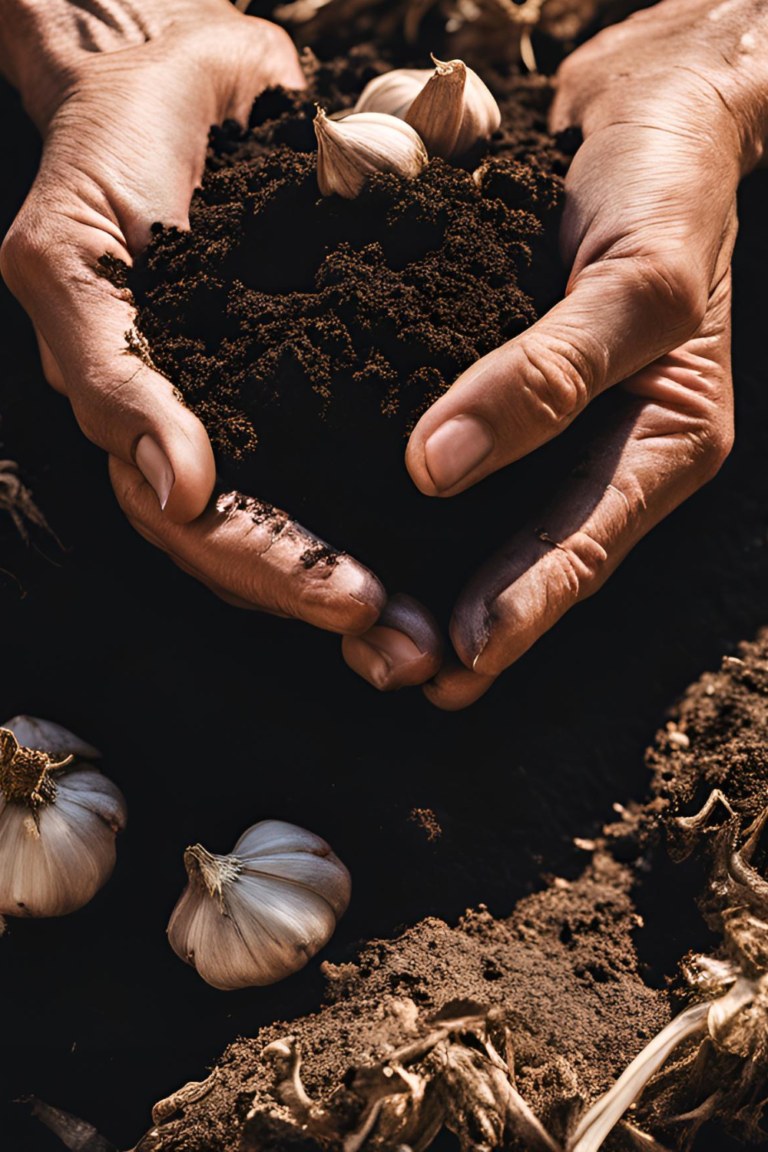
Leaf Mold: Where to Find It and How to Collect It Safely
First, head to a nearby forest or hedgerow. Look for crumbly, dark material beneath old leaves.
That’s your gold—full of living microbes.
Be gentle when collecting, and only take a little from each spot. That way, you protect the ecosystem.
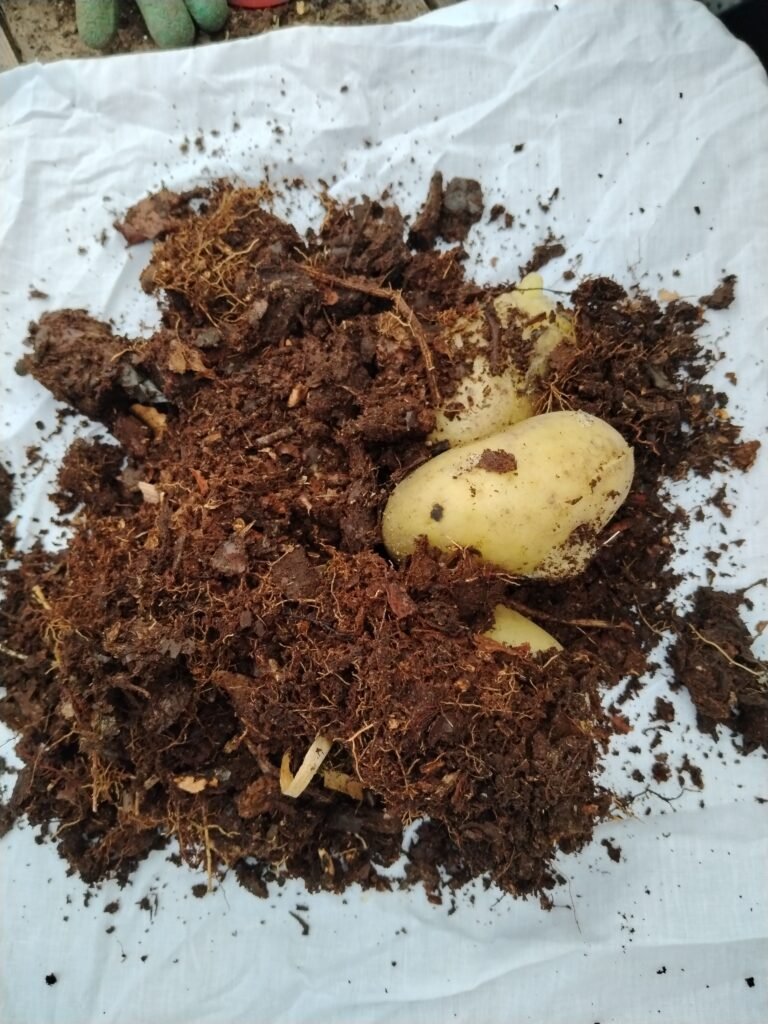
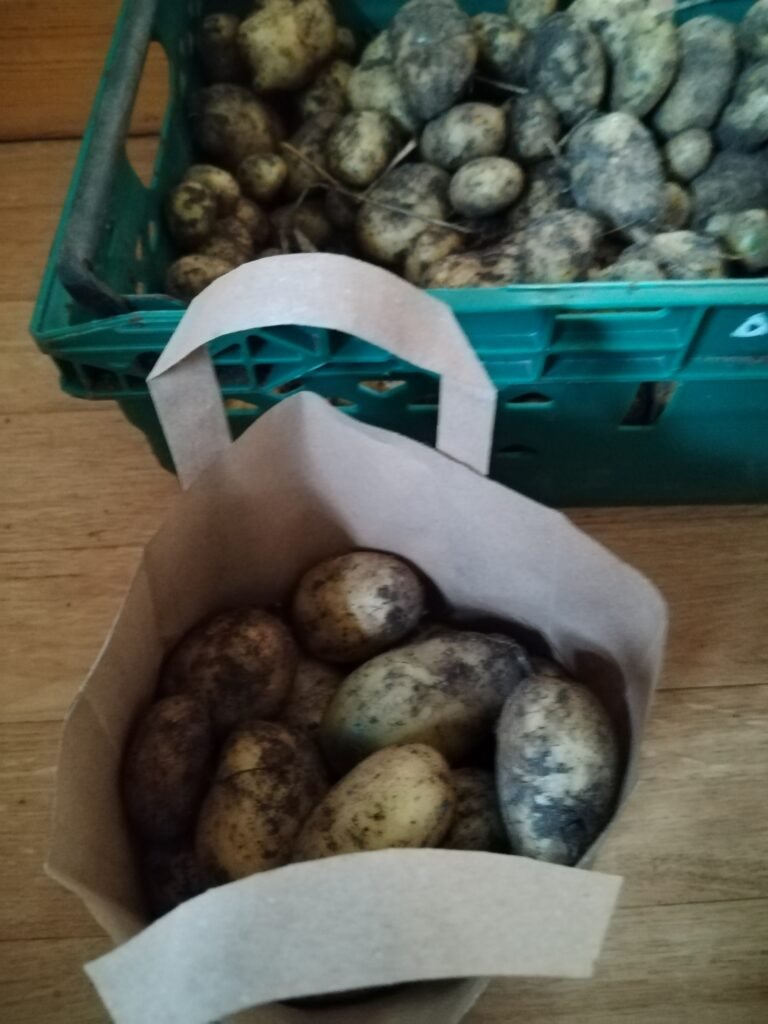
Brown Sugar or Potatoes for Microbial Activation
Next, microbes need food.
Brown sugar works beautifully, but boiled potatoes do the trick too (we prefer potatoes as there’s always plenty on the go here).
Use whichever you have on hand. Just keep it natural and simple.
Rainwater or Chlorine-Free Water—and Why It Matters
Chlorine can kill the very microbes you’re trying to grow.
So, always use rainwater or let tap water sit for 24 hours.
This gives chlorine time to evaporate. Simple, but essential.
Optional: Minerals and Sea Salt for Nutrient Diversity
Want to give your brew a little extra kick?
A pinch of sea salt or some natural minerals can help.
But don’t overdo it—microbes like balance.
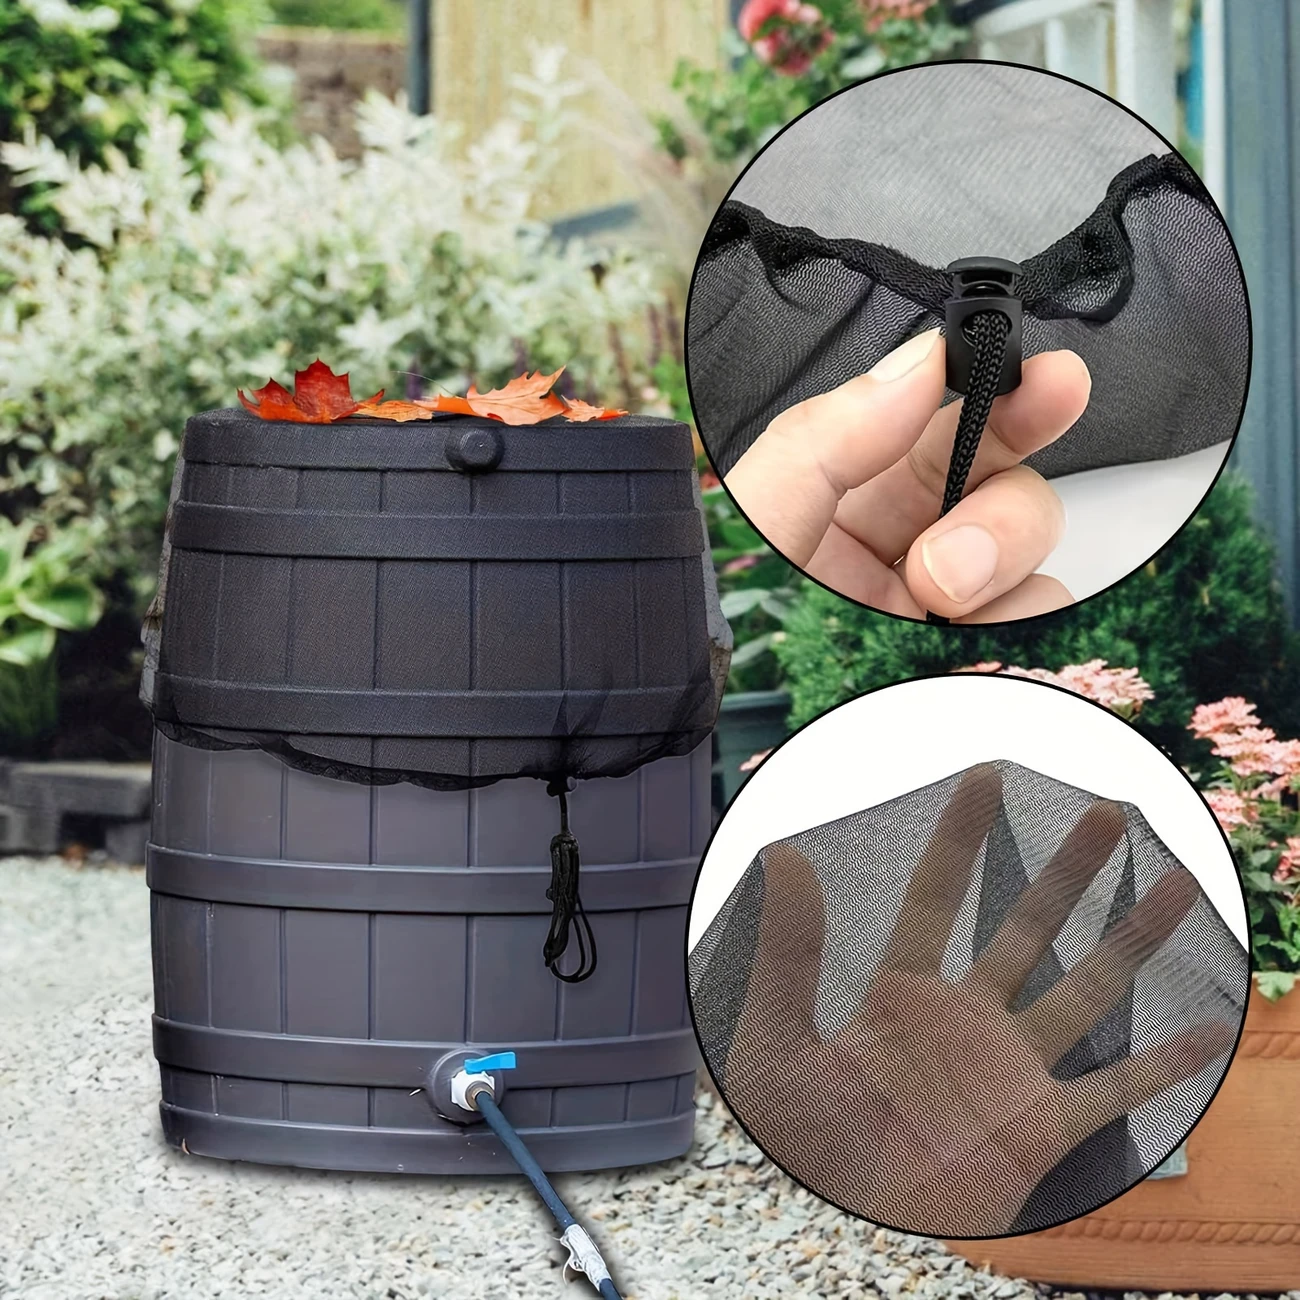
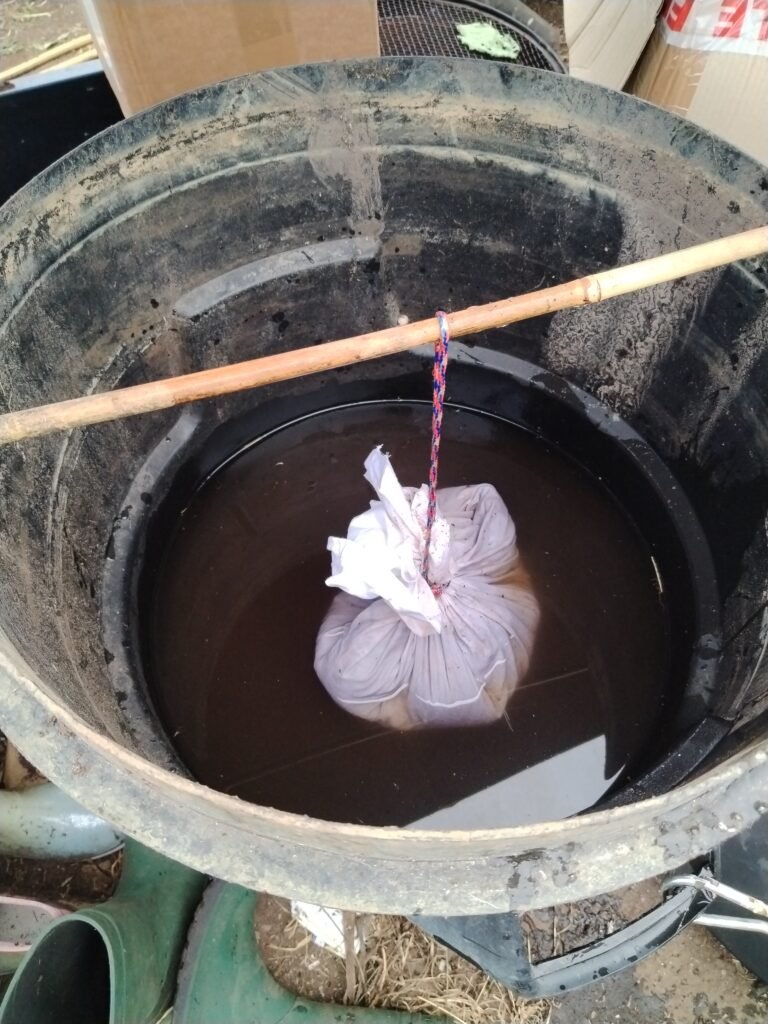
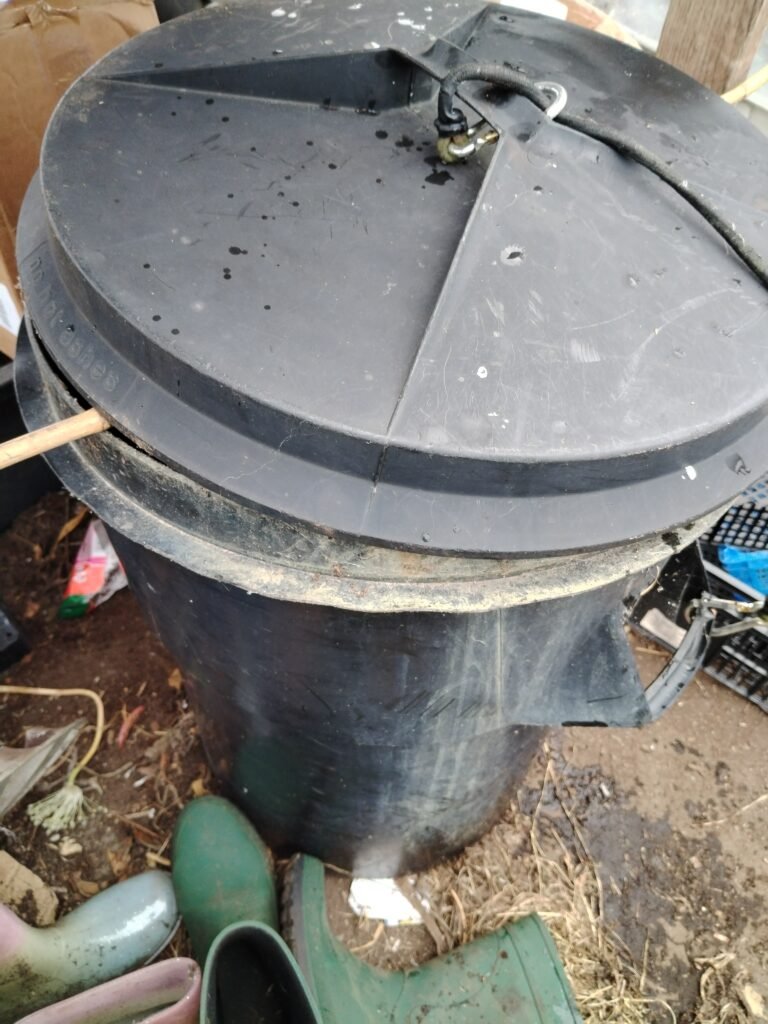
Simple Equipment Checklist: Buckets, Mesh Bags, and a Dark Container
You don’t need anything fancy.
A food-grade bucket, a mesh bag for the leaf mold, and a lid to block out light.
That’s it. You’re ready to brew.
Step-by-Step Guide to Making JADAM Liquid Fertilizer (JLF)
This part is where the magic happens. Don’t worry—it’s simple, and you’ll be amazed at what a bucket can do.
Step 1: Harvest and Prepare Leaf Mold Properly
Choose a healthy forest floor. Look for dark, crumbly material rich with life.
Sift out sticks and stones. Keep it moist, but not soggy.
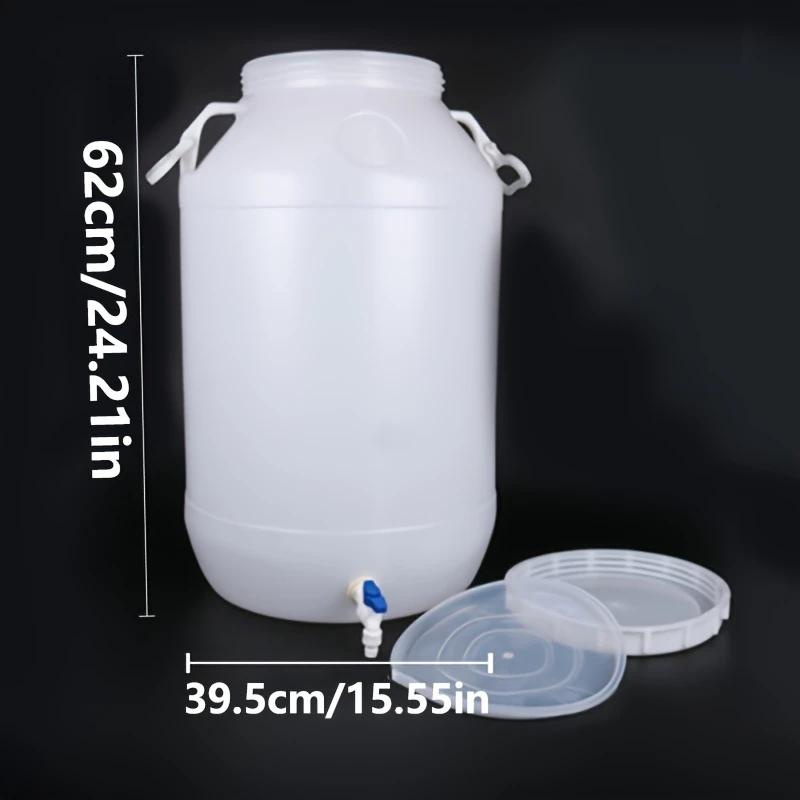
You’ll want around 500g of leaf mold for a 20-litre bucket.
Step 2: Combine Ingredients in the Right Ratios
Add your leaf mold to a mesh bag or nylon stocking.
Place the bag into your bucket of rainwater (20L is perfect).
Add 2–3 boiled potatoes (mashed) or 2 tablespoons of brown sugar. Stir gently.
Want to go further? Add a teaspoon of sea salt or a pinch of natural rock dust.
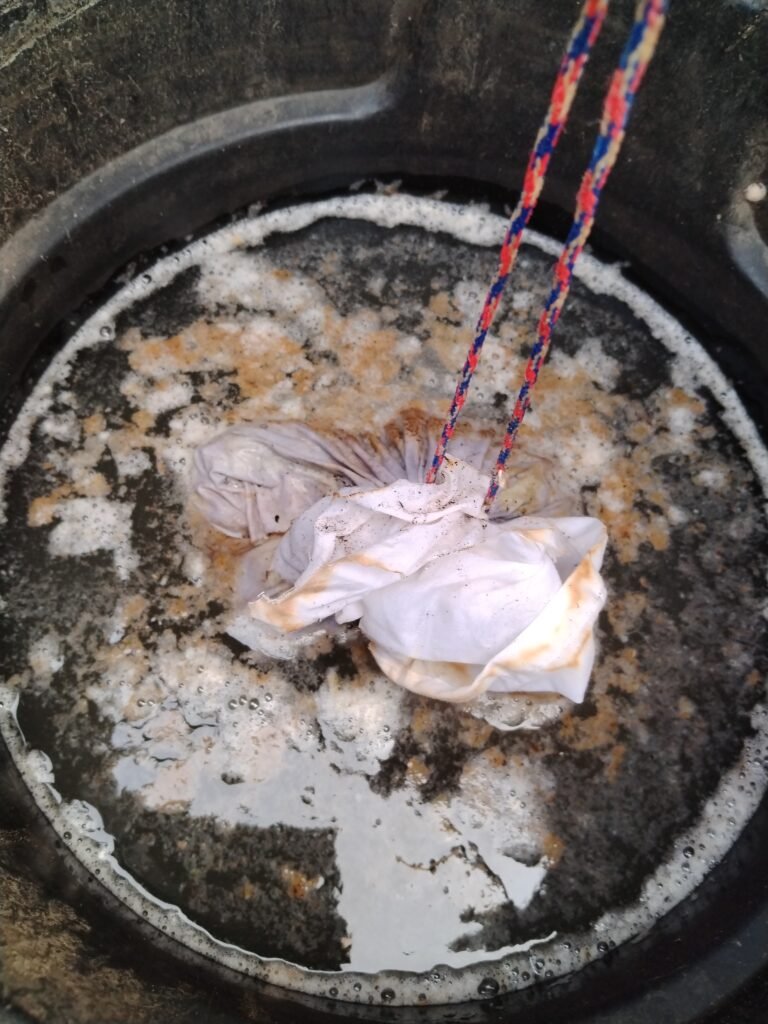
Step 3: Stir, Wait, and Watch
Cover loosely—airflow is important. Stir once a day if you can.
Over the next few days, it’ll begin to smell earthy and alive.
Foam may appear. That’s a good sign! The microbes are waking up.
Step 4: Know When Your JLF Is Ready
After 5–10 days, your liquid should be tea-colored and rich-smelling.
That means it’s ready to feed your soil.
If it still smells raw or inactive, give it a bit more time.
Step 5: Troubleshoot Smells, Foaming, or Slow Fermentation
A rotten smell? Something went wrong—start fresh.
No foam? It might be too cold or your leaf mold wasn’t active enough.
Cloudy, sweet, and a bit bubbly? That’s the sweet spot.
How to Use JADAM Fertilizer in Your Garden
So, you’ve brewed your JLF—what now? Here’s how to make every drop count, step by step.
First, Choose the Right Dilution Ratio
To begin with, always dilute before use. It’s potent and needs softening.
For leafy greens and young seedlings, go for a 1:30 ratio.
Next, for mature vegetables and flowers, 1:20 tends to work well.
Lastly, for trees or hungry crops like tomatoes, use 1:10.
Always observe how your plants respond—adjust if needed.
Then, Decide Between Foliar Spray or Soil Drench
On one hand, foliar spraying gives quick results.
Use it early in the morning or after sunset to avoid leaf burn.
On the other hand, soil drenching feeds microbes and roots alike.
Ideally, alternate both methods every week or so for balanced results.
Next, Know When and How Often to Apply
Start using JLF as soon as your seedlings are strong.
Throughout the growing season, apply every 7 to 10 days.
However, during flowering or fruiting, you might ease up.
Too frequent use can sometimes stress the plants, so watch closely.
Finally, Can You Mix It with Other Natural Fertilizers?
Yes—but with care.
JLF plays well with compost tea, fermented plant juice, and seaweed extracts.
However, it’s best to rotate them rather than mix them all at once.
After all, the goal is harmony, not overload.
Practical JADAM Applications: Tailored Solutions for Real Garden Goals
Once you understand the basics, it’s time to go beyond just JLF.
JADAM offers a toolbox of microbial and mineral-based solutions—each with its own role in garden health.
Whether you’re aiming for lush leafy greens, sweeter tomatoes, or pest control without panic, here’s how to get more specific.
JADAM Garden Goals Chart
| Your Goal | What to Use | How to Apply | When |
|---|---|---|---|
| Lush leafy greens | JLF from comfrey, nettle, grass clippings | Foliar spray (1:20 dilution) | Weekly during early growth |
| Bigger, juicier tomatoes | JLF from tomato foliage + Wood Vinegar + JMS | Soil drench + foliar spray combo | Flowering through fruiting |
| Natural pest control | JWA (wetting agent) + JS (sulfur) | Foliar spray—avoid hot sun | At first sign of pests or mildew |
| Boost root development | JLF from dandelion root or legume-rich leaf mold | Soil drench (1:30 dilution) | After transplanting |
| Improve plant immunity | JMS (microbial solution) | Soil drench or seed soak | Every 2–4 weeks |
| Recover stressed plants | Mild JLF + sea salt trace mix | Light foliar spray (1:40 dilution) | As needed |
Storing and Reusing JADAM Solutions
Before you dive in elbow-deep, let’s talk safety.
JADAM may be natural and budget-friendly—but it’s still teeming with life.
Keep It Clean When Working with Microbes
Always start with clean hands, clean tools, and a clean workspace.
Wash your hands before and after handling JLF or any live solution.
Use buckets with lids and avoid leaving organic matter exposed.
It’s a simple habit that keeps your brews thriving and your plants safe.
Protect Yourself When It Counts
Most days, bare hands and a bit of common sense are enough.
But for sulfur-based mixes or strong plant extracts, gloves are a good idea.
If you’re working with anything dusty or extra pungent, pop on a mask.
No need for hazmat suits—just thoughtful, practical protection.
Selling What You Grow? Know the Rules
Thinking about selling your produce or seedlings? Great!
But before you do, check local regulations.
Some areas require testing or certification—especially when natural pest control is involved.
It’s also smart to track what you apply and when.
That way, if questions ever come up, you’ve got it all covered.
A little paperwork goes a long way in building trust with your customers.
JADAM Safety, Hygiene, and Legal Considerations
Before you dive in elbow-deep, let’s talk safety. JADAM is low-cost and natural—but it’s still alive.
Stay Clean When Handling Live Microbes
Always wash your hands before and after making JLF. Use clean tools and buckets to avoid contamination. Don’t let organic matter sit around uncovered. This simple step keeps unwanted bacteria out of your brew.
Gear Up When Needed
Most days, you’ll be fine with just your hands and a bit of grit. But when handling strong plant extracts or mixing sulfur-based solutions, wear gloves. If there’s strong odor or dust, a mask can help too. It’s not about fear—it’s just smart gardening.
Thinking About Selling Your Goods?
Now this part gets a bit more official. If you plan to sell plants or produce using JADAM solutions, check your local rules. Some regions require registration or testing—especially if you’re using natural pesticides. Keep basic records of what you apply and when. Transparency helps build trust if you’re going public with your homegrown harvests.
Wrapping It Up: Your Soil, Your Rules
So, there you have it—a homemade fertilizer that’s affordable, effective, and entirely alive. By now, you’ve seen how JADAM isn’t just a method; it’s a mindset. One that says you don’t need deep pockets to grow deeply nourishing food.
When we first started looking for a long-term way to improve our soil, we didn’t know where to begin. That’s why we wrote What Is JADAM Farming? A Beginner’s Complete Guide as a starting point. This post builds on that by showing you what’s possible when you work with nature—right down to the microbes.
If you’re just dipping your toes into natural gardening, JADAM is a brilliant next step. It gives you the tools to create your own inputs, reduce your dependency on outside resources, and bring your soil back to life—without spending a fortune.
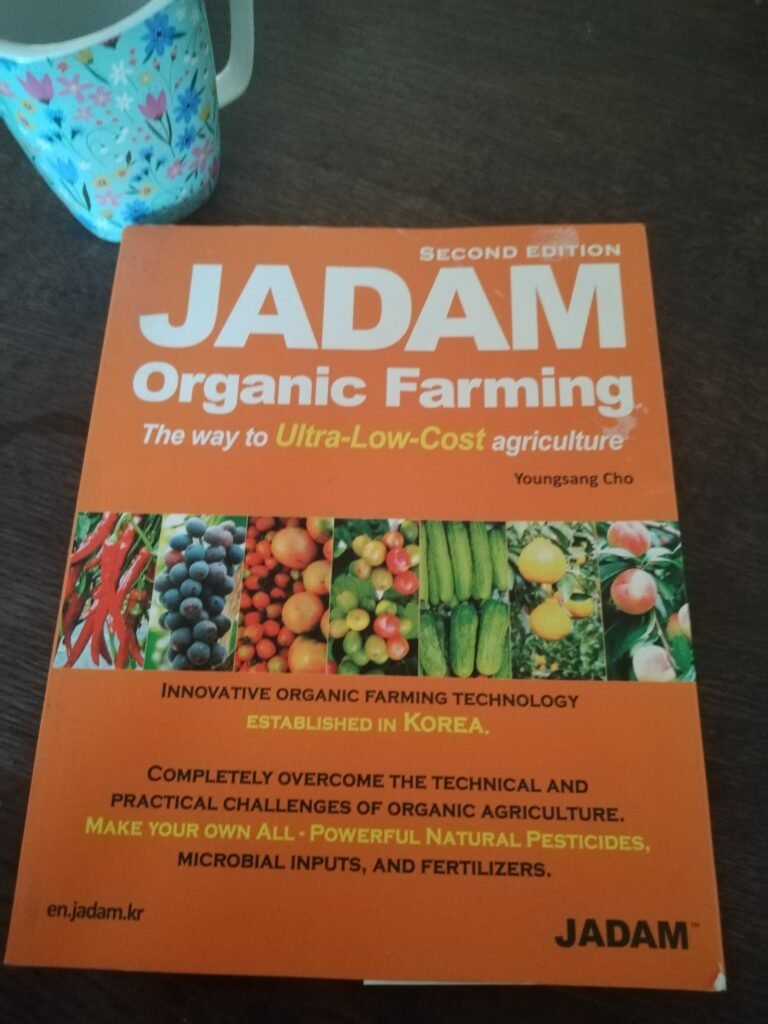
And if you’d like to dig deeper (pun fully intended), we highly recommend the book that started it all: JADAM Organic Farming: The Way to Ultra-Low-Cost Agriculture by Youngsang Cho. It’s as practical as it is revolutionary, and it belongs on every low-budget gardener’s shelf.
To sum it up—your soil can be healed, your garden can thrive, and you don’t need to go broke doing it.
Start small, stay curious, and trust that the microbes know what they’re doing.