Did you know that how to pickle Jerusalem artichokes is a skill that connects us to over 4,000 years of history? From ancient Mesopotamians preserving cucumbers to workers munching on pickled veggies while building the Great Wall of China, pickling has long been a way to transform humble ingredients into something bold, tangy, and irresistibly moreish.
Here on our farm, we’ve been growing Jerusalem artichokes for the last couple of years—big, knobbly, golden beauties that thrive with little fuss. There is a whole post on how to add them to your garden or plot if you are interested or just haven’t met this quirky root yet and want to know it all. It’s part of the sunflower family, loaded with gut-friendly prebiotic fiber, and just so happens to be perfect for pickling.
Today, I’m diving deep into the art of pickling Jerusalem artichokes—whether you’re a curious beginner or a seasoned fermenter, this guide will walk you through everything from brining basics to flavor variations. So, grab your jars, let’s turn those knobbly roots into crunchy, probiotic-packed delights!

Some of the links in this post are affiliate links, including links to products on Amazon. This means if you click and make a purchase, I may earn a small commission at no extra cost to you. I only recommend items I genuinely love and believe could add value to your life. Thank you for supporting this blog—it helps keep the content free and full of ideas just for you!
The Rich History of Pickling
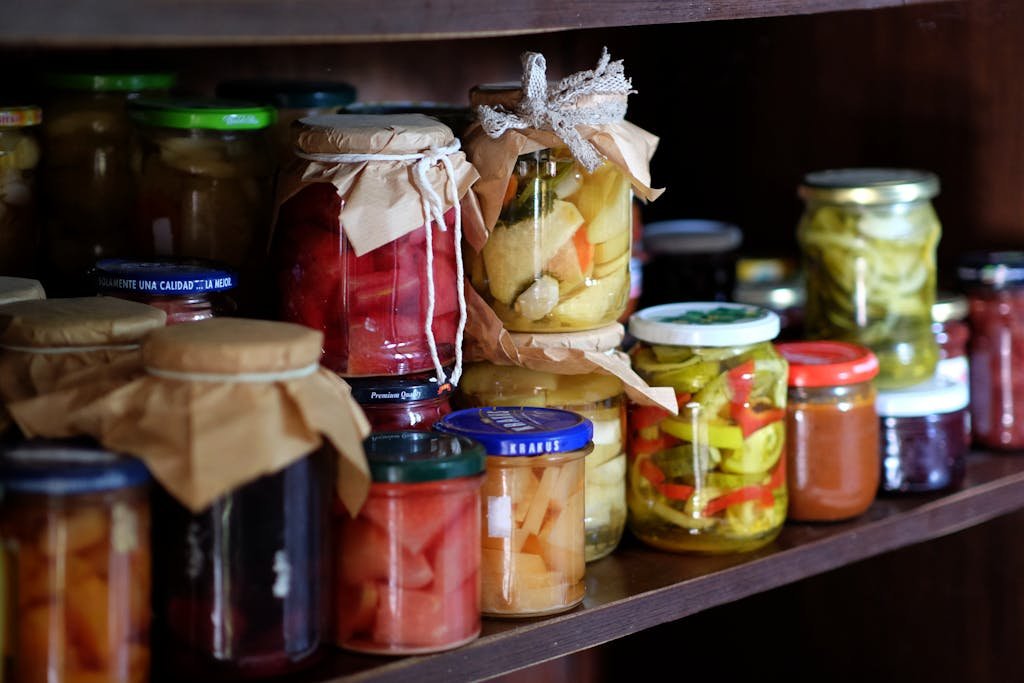
You won’t believe this, but pickling has been around since ancient Mesopotamians figured out they could make their cucumbers last longer! It’s pretty amazing how our ancestors stumbled upon this genius preservation method that would change food storage forever.
Back in those days, pickling wasn’t just a hobby – it was literally a lifesaver! Sailors relied heavily on pickled foods during long voyages, and fun fact: pickled vegetables helped prevent scurvy on those epic journeys. I love how different cultures developed their own unique pickling styles – from German sauerkraut to Korean kimchi, each region put its own spin on the practice.
What really blows my mind is how pickled foods played such a huge role in human migration and trade. Even Cleopatra believed pickled foods made her beautiful – talk about a royal endorsement! In Medieval times, pickled vegetables were considered a luxury item, and having a good pickle recipe was like having a secret family treasure. Today, we’re experiencing a huge pickling revival, with home preservers putting modern twists on these age-old techniques. Isn’t it amazing how something so ancient is still totally relevant in our modern kitchens?
Understanding the Science Behind Pickling
Let me tell you something cool about pickling – it’s basically like a tiny science experiment happening right in your kitchen!
The magic all starts with creating an environment where bad bacteria can’t survive, but the good guys thrive. You know how salt makes you thirsty? Well, it does the same thing to bacteria – it pulls the water right out of them, which helps preserve your food. When we add vinegar to the mix, we’re creating what scientists call an “acidic environment” (fancy, right?).
Here’s a science fact: the vinegar actually changes the pH level of your food, making it impossible for harmful bacteria to grow. It’s like creating a force field around your vegetables! The best part is, some pickling methods actually encourage helpful bacteria to grow – these are the probiotics everyone’s talking about these days.
Trust me, once you understand these basics, you’ll feel like a kitchen scientist every time you make a batch of pickles. I love how something so scientific can also be super simple and fun to do at home. Whether you’re using grandma’s recipe or trying something new, you’re participating in some seriously cool food science. And let’s be honest – watching those bubbles form during fermentation is weirdly satisfying!
Essential Equipment for Pickling Success
Alright, let’s talk gear! You don’t need a fancy setup to master how to pickle Jerusalem artichokes, but having the right tools will make the whole process easier.
First up, mason jars—the superheroes of the pickling world. A good set of wide-mouth glass jars ensures easy filling and a perfect seal, which is essential when you’re preserving these knobbly, gut-friendly roots. Pair them with a wide-mouth funnel (otherwise the bine goes everywhere).
Handling hot jars? A sturdy pair of canning tongs is a must—they keep your fingers safe while lifting jars in and out of the water bath. Speaking of which, if you’re serious about learning how to pickle Jerusalem artichokes like a pro, investing in a water bath canner will take your game to the next level.
Now, let’s talk slicing. A mandoline slicer (watch those fingers!) helps you get those perfectly even Jerusalem artichoke slices, making your pickles look as good as they taste. If you prefer a bit more control, a sharp chef’s knife and wooden cutting board will do the trick.
Getting the right salt-to-water ratio is key when learning how to pickle Jerusalem artichokes, so a set of measuring spoons and a digital kitchen scale will keep your brine spot on. A food-safe thermometer is another game-changer, ensuring everything is at the ideal temperature for the best pickle crunch.
And here’s a pro tip: keep some pH test strips on hand. They’re like little insurance policies for your pickles, making sure your batch is safely acidic for long-term storage.
You don’t need every tool right away, but starting with clean, sterile jars and reliable basics will set you up for pickling success. Now that you’ve got the gear, let’s get into how to pickle Jerusalem artichokes and turn those golden roots into crunchy, probiotic-packed delights!
Why Jerusalem Artichokes Make Perfect Pickles
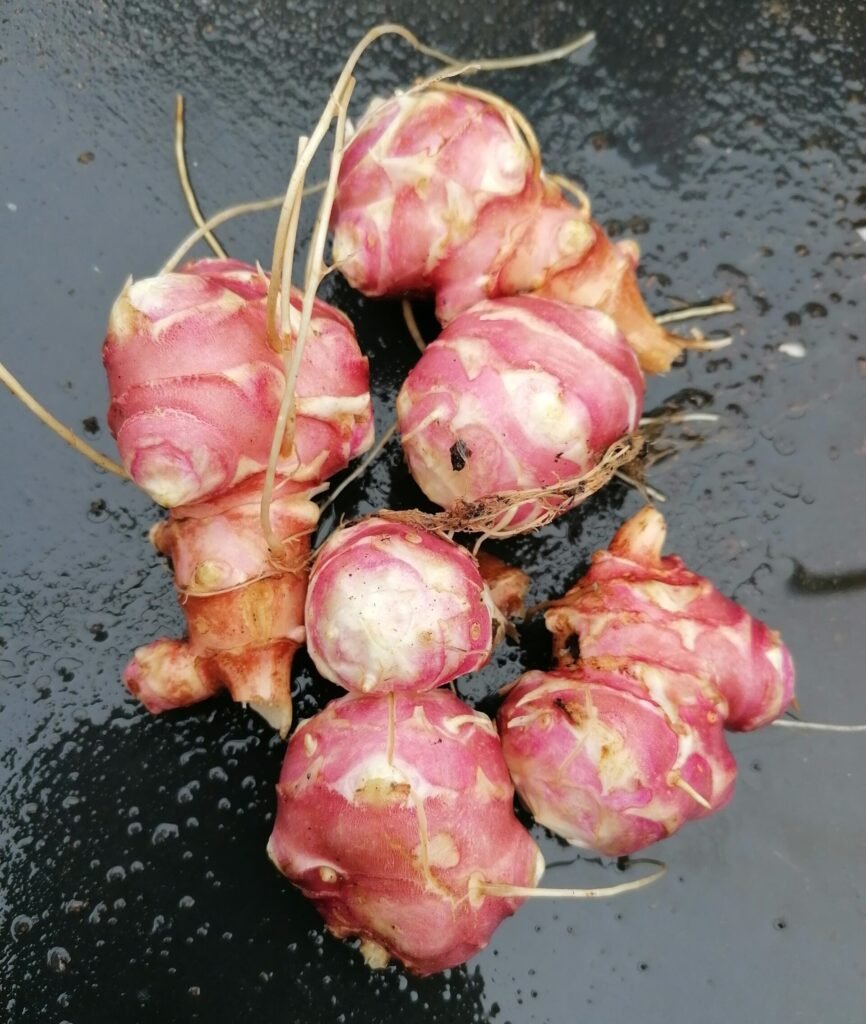
Can we talk about how amazing Jerusalem artichokes are for pickling? These knobby little vegetables might look weird, but they’re absolute rock stars in the pickling world!
First off, their firm texture holds up beautifully during the pickling process – no mushy disappointments here, folks. You might be surprised to learn that Jerusalem artichokes aren’t actually artichokes at all – they’re part of the sunflower family (which is why some people call them sunchokes). These versatile veggies are packed with something called inulin, which makes them a fantastic option for anyone watching their blood sugar.
I absolutely love how they maintain their delightful crunch even after pickling – it’s like a party in your mouth! The best time to harvest these beauties is after the first frost when their natural sweetness really comes through. When you’re picking them out, look for firm, clean-looking tubers without any soft spots – think potato shopping, but more fun!
One thing I’ve learned from experience is to scrub them really well before pickling – those nooks and crannies can hide dirt like nobody’s business. The natural sweetness of Jerusalem artichokes creates this amazing flavor contrast with the tangy pickling brine. You’ll be amazed at how these humble roots transform into crave-worthy pickles that’ll have your friends begging for the recipe!
Must-Read Books for Pickling Enthusiasts
Oh my goodness, let me share some absolute game-changers in the pickling book world!
“The Joy of Pickling” by Linda Ziedrich is like the pickling bible! – I literally sleep with this one on my nightstand during canning season. If you’re into the science-y side of things, you’ve got to check out
“Fermented Vegetables” by the Shockeys – they break down the fermentation process in a way that actually makes sense!
I’m totally obsessed with Karen Solomon’s “Asian Pickles” because it opened up a whole new world of flavors I never even knew existed.
Diane Devereaux’s pressure canning guide is perfect for those days when you want to feel extra confident about food safety – she explains everything so clearly that even my pickle-phobic friends feel comfortable giving it a try.
These books aren’t just collections of recipes; they’re like having a wise pickling mentor right in your kitchen. I love how each author brings their own personality and experience to the table – it’s like getting advice from different friends who all love pickling as much as you do. What makes these books special is how they combine traditional wisdom with modern food science – it’s the best of both worlds!
Pickling is more than just a preservation method – it’s a window into human history and a vital part of countless culinary traditions. Armed with this knowledge about the history, science, and techniques of pickling, you’ll be well-prepared to tackle our upcoming Jerusalem artichoke pickling recipe. Remember, every pickle jar tells a story of human ingenuity and the timeless quest to preserve nature’s bounty!
Pickled Jerusalem Artichokes
Prep Time: 20 minutes
Cook Time: 15 minutes
Resting Time: 1 week
Total Time: 1 week and 35 minutes
Yield: 2 x 1-litre jars
Ingredients:
- 900g Jerusalem artichokes, thoroughly cleaned
- 750ml white vinegar (5% acidity)
- 750ml water
- 6 cloves garlic, peeled and lightly crushed
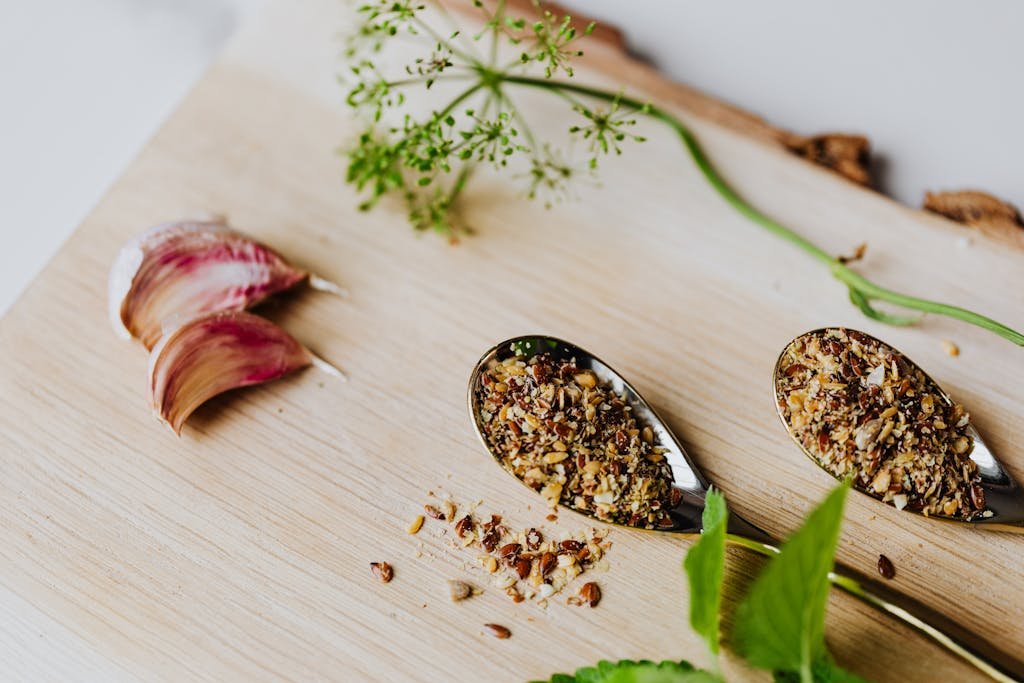
- 4 sprigs fresh dill (or 15g dill seeds)
- 20g yellow mustard seeds
- 4 bay leaves
- 45g kosher salt
- 25g granulated sugar
Equipment:
- 2 x 1-litre mason jars with lids
- Large saucepan
- Sharp knife or mandoline
- Canning funnel (recommended)
- Clean kitchen towels
Instructions:
- Prepare the Jars:
- Sterilize your mason jars and lids in boiling water for 10 minutes
- Let them air dry on a clean kitchen towel
- Prepare the Jerusalem Artichokes:
- Scrub artichokes thoroughly under cool running water
- Either leave small artichokes whole or slice larger ones into 6mm rounds
- If slicing, try to keep the thickness consistent for even pickling
- Pack the Jars:
- Divide the garlic, dill, mustard seeds, and bay leaves between the jars
- Pack the Jerusalem artichokes into the jars, leaving 1.5cm headspace
- Pack them tightly but don’t crush them
- Make the Brine:
- In a large saucepan, combine vinegar, water, salt, and sugar
- Bring to a boil over high heat, stirring to dissolve the salt and sugar
- Reduce heat and simmer for 5 minutes
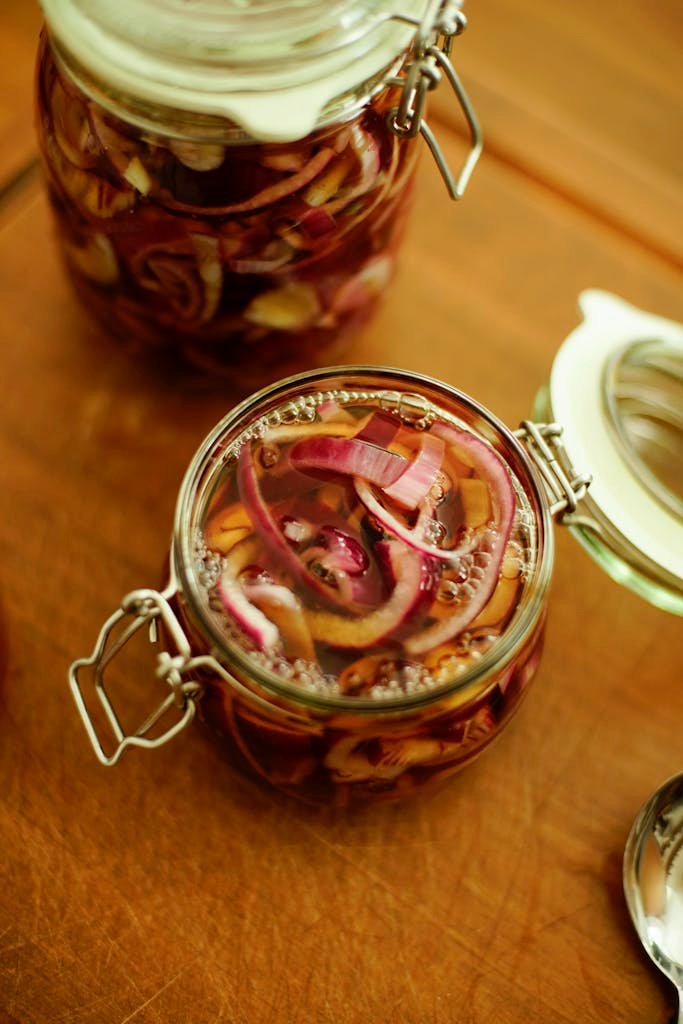
- Fill and Seal:
- Carefully pour the hot brine over the artichokes, leaving 6mm headspace
- Gently tap jars on counter to release any air bubbles
- Wipe jar rims clean with a damp paper towel
- Secure lids and bands finger-tight
- Cool and Store:
- Let jars cool to room temperature (about 2 hours)
- Store in refrigerator for at least 1 week before eating
- Keeps for up to 3 months when refrigerated
Recipe Notes:
- For crunchier pickles, slice artichokes thicker (around 8mm)
- Add 2g red pepper flakes per jar for spicy pickles
- Make sure to use vinegar with 5% acidity for safe pickling
- Pickles will become more flavorful over time
- If artichokes are very fresh, no need to peel them
Storage Tips:
For best texture, consume within 3 months
Always use clean utensils when removing pickles from jar
Keep refrigerated after opening
Check for signs of spoilage before eating